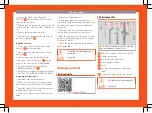
The essentials
●
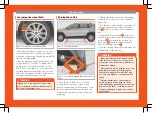
The height of the parked vehicle can
change as a result of variations in
temperature and loading.
CAUTION
The vehicle must not be raised on the
crossbar. Only place the jack* on the
points designed for this purpose on the
strut. Otherwise, the vehicle may be dam-
aged.
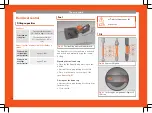
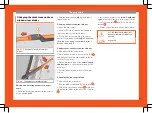
Removing and fitting a wheel
Change the wheel after loosening the wheel
bolts and raising the vehicle with the jack.
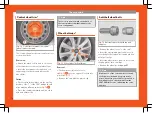
Taking off the wheel
●
Unscrew the wheel bolts using the box
spanner and place them on a clean surface.
●
Take off the wheel.
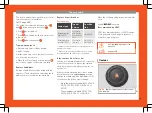
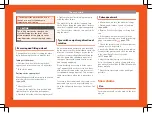
Putting on the spare wheel
When fitting tyres with a compulsory rotation
direction, observe the instructions in
●
Mount the wheel.
●
Screw on the wheel bolts in position and
tighten them loosely with a box spanner.
●
Carefully lower the vehicle using the jack*.
●
Tighten the wheel bolts in diagonal pairs
using the wheel brace.
The wheel bolts should be clean and turn
easily. Before fitting the spare wheel, inspect
the wheel condition and hub mounting surfa-
ces. These surfaces must be clean before fit-
ting the wheel.
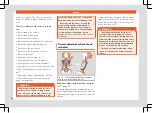
Tyres with compulsory direction of
rotation
A directional tread pattern can be identified
by the arrows on the sidewall that point in the
direction of rotation. Always observe the di-
rection of rotation indicated when fitting the
wheel to guarantee optimum properties of
this type of tyres with regard to grip, noises,
wear and aquaplaning.
If it is absolutely necessary to fit the spare
tyre* against the direction of rotation, drive
with care as this means the tyre does not of-
fer optimum driving properties. This is of par-
ticular importance when the road surface is
wet.
To return to directional tread tires, replace the
punctured tyre as soon as possible and re-
store the obligatory direction of rotation of all
tyres.
Subsequent work
●
Alloy wheels:
replace the wheel bolt caps.
●
Plate wheels:
replace the wheel hubcap
›››
●
Return all tools to their proper storing loca-
tion.
●
If the replaced wheel does not fit in the
spare wheel housing, store it safely in the lug-
gage compartment
›››
●
Check the tyre pressure of the newly moun-
ted tyre as soon as possible.
●
In vehicles fitted with a tyre pressure indica-
tor, adjust the pressure and store the reading
in the radio/Easy Connect system*
›››
●
Have the tightening torque of the wheel
bolts checked as soon as possible with a tor-
que wrench (it should be 140 Nm). Meanwhile,
drive carefully.
●
Have the flat tyre replaced as quickly as
possible.
Snow chains
Use
Snow chains should only be used on the front
wheels.
58
Summary of Contents for Ateca 2018
Page 1: ...Owner s manual SEAT Ateca 575012720BG Inglés 575012720BG 07 18 SEAT Ateca Inglés 07 18 ...
Page 105: ......
Page 106: ...Operation Fig 121 Instruments and controls 104 ...
Page 390: ...Technical data Dimensions Fig 314 Dimensions Fig 315 Angles and ground clearance 388 ...
Page 392: ......
Page 409: ......
Page 410: ......
Page 412: ...Owner s manual SEAT Ateca 575012720BG Inglés 575012720BG 07 18 SEAT Ateca Inglés 07 18 ...


