The essentials
Central wheel trim*
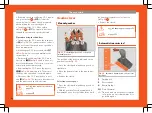
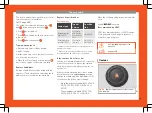
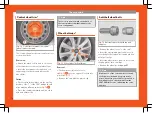
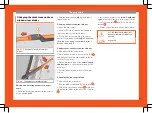
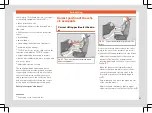
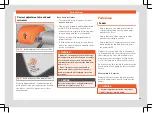
Fig. 74
Correct positioning of the central
wheel trim for steel rims.
The central trims must be removed for access
to the wheel bolts.
Removing
●
Attach the wire hook (vehicle tools) to one
of the chambers of the central wheel trim.
●
Insert the box spanner through the hook,
supporting it on the tyre and remove the
wheel trim.
Fitting
●
Fit the central wheel trim onto the rim. The
bottom of the “S” of the SEAT badge should
align with the inflation valve
●
Press the central trim firmly until it locks in
with an audible click.
Note
There is also a valve mark on the back of
the central wheel trim that indicates the
correct alignment.
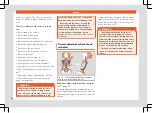
Wheel bolt caps*
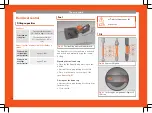
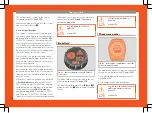
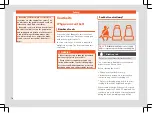
Fig. 75
Wheel: wheel bolts with caps.
Removal
●
Fit the plastic clip (vehicle tools
) over the cap until it clicks into
place
.
●
Remove the cap with the plastic clip.
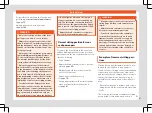
Anti-theft wheel bolts
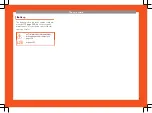
Fig. 76
Anti-theft wheel bolt with cap and
adapter.
●
Remove the wheel cover* or the cap*.
●
Insert the special adapter (vehicle tools)
onto the anti-theft wheel bolt and push it on
as far as it will go.
●
Insert the wheel brace (vehicle tools) onto
the adapter as far as it will go.
●
Remove the wheel bolt
Note
Make a note of the code number of the an-
ti-theft wheel bolt and keep it in a safe
place, but not in your vehicle. If you need a
new adapter, you can obtain it from the
SEAT Official Service, indicating the code
number.
56
Summary of Contents for Ateca 2018
Page 1: ...Owner s manual SEAT Ateca 575012720BG Inglés 575012720BG 07 18 SEAT Ateca Inglés 07 18 ...
Page 105: ......
Page 106: ...Operation Fig 121 Instruments and controls 104 ...
Page 390: ...Technical data Dimensions Fig 314 Dimensions Fig 315 Angles and ground clearance 388 ...
Page 392: ......
Page 409: ......
Page 410: ......
Page 412: ...Owner s manual SEAT Ateca 575012720BG Inglés 575012720BG 07 18 SEAT Ateca Inglés 07 18 ...

