S&C Instruction Sheet 681-530
45
Factory Defaults and Factory Default Reset
• The Interrupter ID for both ways will be reset to Interrupter 1 and Interrupter 2.
After initiating a reset to factory-default settings, make sure to follow the procedure
described in the “After Resetting Factory Default Settings” section below.
To restore the overcurrent control to the default settings:
STEP 1.
Log in to the control as “admin.” (See the “Accessing the Overcurrent Control
with a Web Browser" section on Page 18.) From the
Control Settings
tab, go
to the
Factory Default
menu.
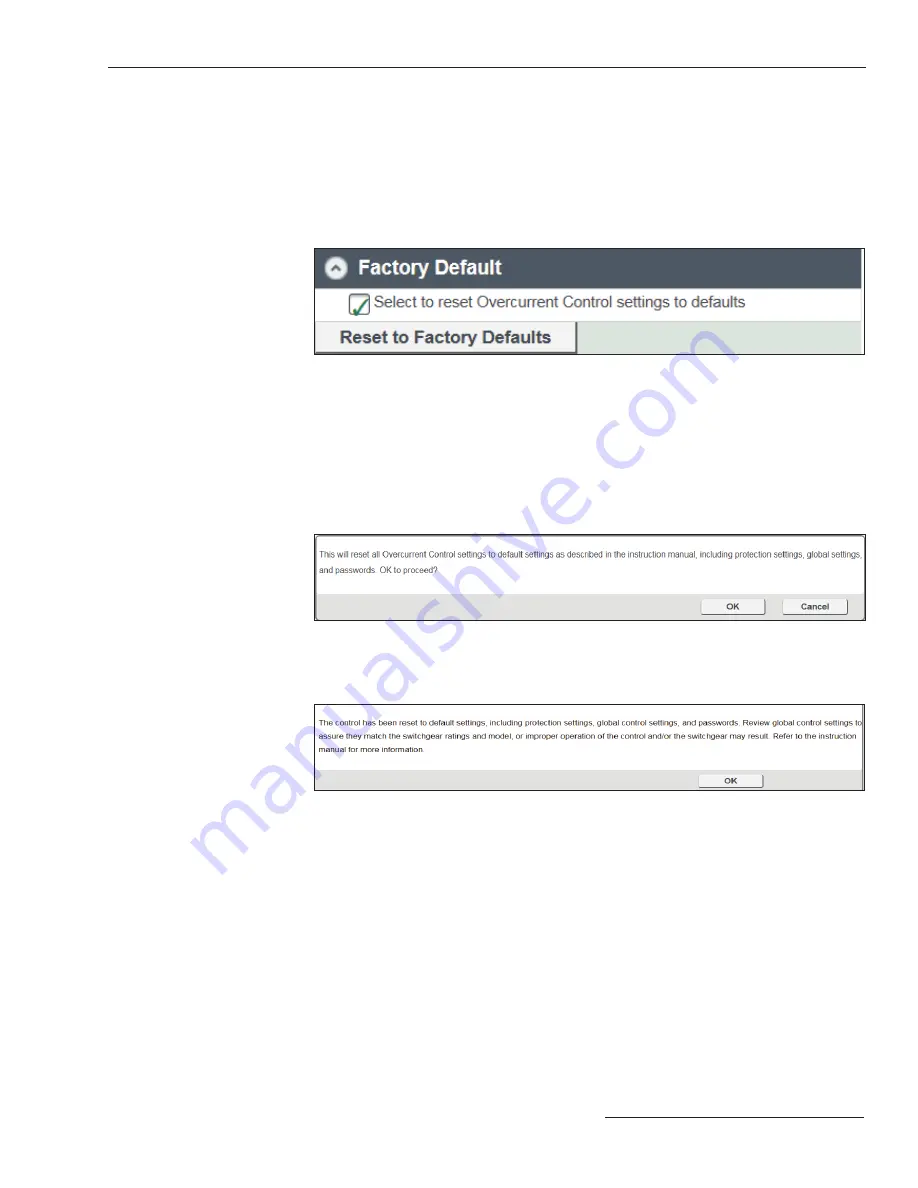
Figure 35. The Factory Default reset menu.
STEP 2.
Under the Factory Default menu, click the Select to reset Overcurrent Control
settings to defaults checkbox. See Figure 35.
STEP 3.
A confi rmation window will open asking to confi rm resetting of the overcurrent
control. Click on the
OK
button to reset the overcurrent control. See Figure 36.
When the factory reset is complete, a confirmation message will appear. See
Figure 37.
Figure 36. Click on the OK button to confirm resetting the overcurrent control to the factory-
default.
Figure 37. The factory reset confirmation message.
After Resetting Factory Default Settings
The following steps must be completed after resetting the factory default settings:
STEP 1.
Change the overcurrent control passwords as explained in the “Logging in for
the First Time” section on page 21.
STEP 2.
Make sure the Global Settings (
Frequency
, C
ontinuous Current
,
Fault
Interrupting Rating
, and
Trip Mode
) match the confi guration of the system
and the Vista Underground Distribution Switchgear as stated on the switchgear
nameplate as explained in the “Changing the Global Settings” section on
page 29.
STEP 3.
Update the Interrupter IDs to match the way designations on the Vista
switchgear, or change to the user's preferred naming convention.
STEP 4.
Reprogram the Overcurrent Protection Settings as explained in the
“Programming the Overcurrent Protection Settings” section on page 34.


