13-10
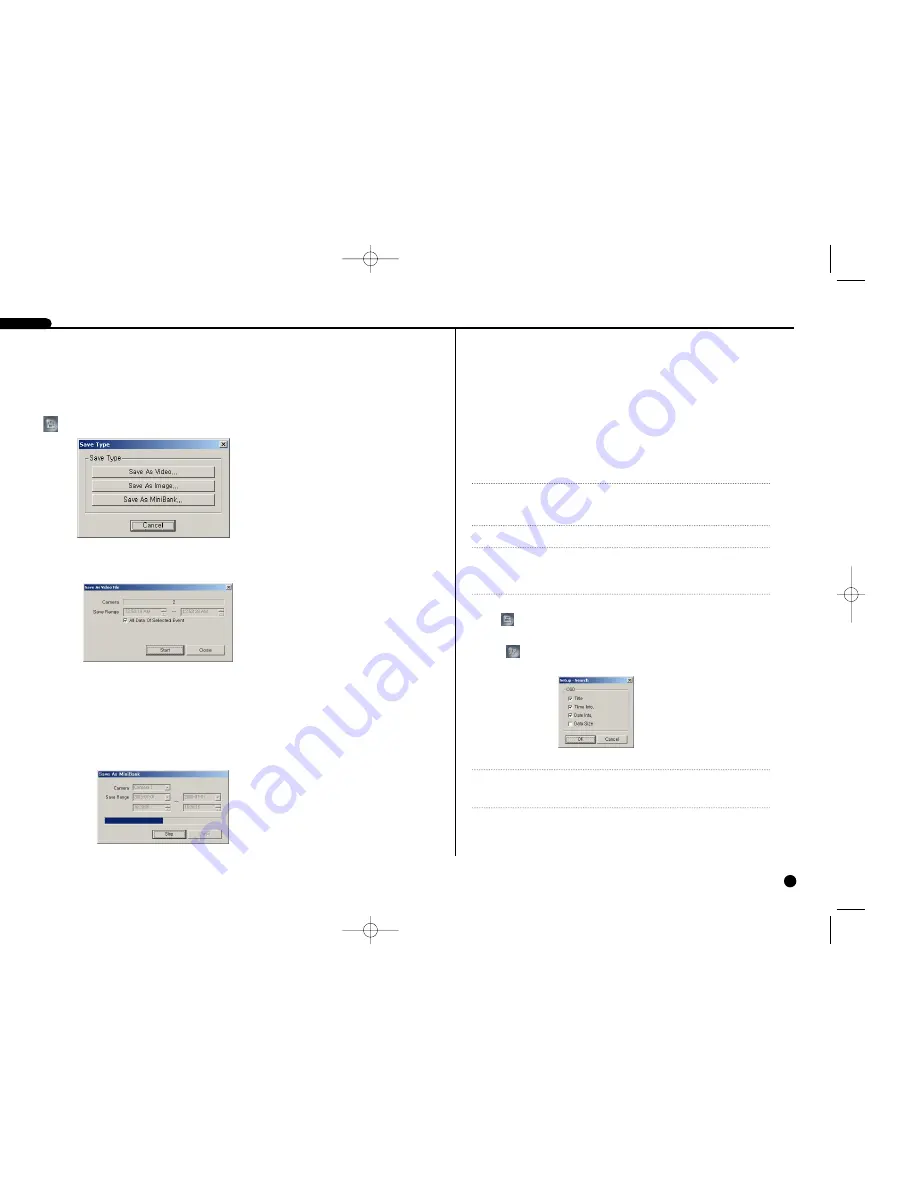
Select the camera number for which you want to save video in the Camera, and set
the time range you want to save in the Save Range. Click the Start button, and select
a Save in, enter a File name and then select a Save as type (.exe) for the video you
are saving. Then click the Save button.
Prints the current image.
Setup
Sets up the on-screen display (OSD) options.
SHR SMART VIEWER
13-9
Save
❿
Save As Video
Saves any video clip of recorded data in an AVI (Audio Video Interleaved) file for
mat.
First, set the time range you want to save in the Save Range. If you want to save all
recorded data by the event you select in event list, place a check in the All Data Of
Selected Event box. (This check box is visible in the Event mode only.) Click the Start
button, and then set the file name and the video compression codec.
❿
Save As Image
Saves the current image in a bitmap or JPEG file format.
❿
Save As MiniBank
Saves any video clip of recorded data in an .exe file format.
NOTE
NOTE
Do not save files larger than 2GB.
NOTE
NOTE
In the Event Search mode, you will not be able to use this function. Also, this func-
tion may not be supported, depending on the specification of the remote DVR.
NOTE
NOTE
OSD options can vary with the specification of the remote DVR.
SHR-4040P/ENG-2 7/24/03 10:26 AM Page 13-9
Summary of Contents for SHR-4040P
Page 1: ......
Page 5: ......
Page 12: ......
Page 14: ......
Page 21: ......
Page 31: ......
Page 34: ......
Page 35: ......
Page 39: ......
Page 40: ......
Page 42: ......
Page 45: ......
Page 46: ......
Page 49: ......
Page 52: ......
Page 61: ......
Page 66: ......
Page 72: ......
Page 73: ......
Page 75: ......


