92
8.
To capture an image from the video while recording, tap
. This feature is not available when the anti-shake
feature is activated.
9.
Tap the Video key ( ) again to stop the recording and
save the video file to your Camera folder.
10.
Once the file has been saved, tap the image viewer,
then tap
to play your video for review.
11.
Press
to return to the viewer.
Camcorder Options
Options are represented by icons across both sides of the
screen.
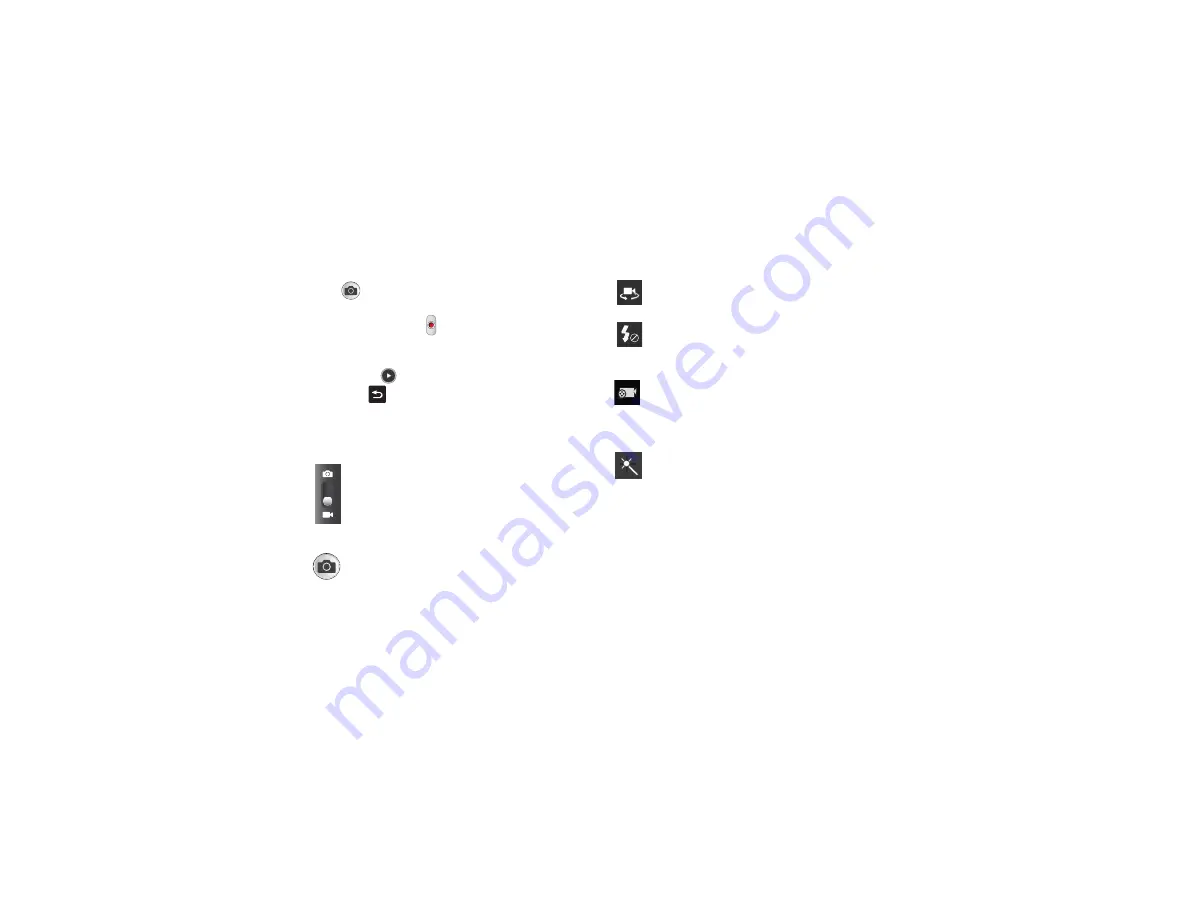
Camera / Camcorder Mode
: allows you to take a photos
or videos. Once you change the mode, the
corresponding indicator appears at the top left of the
display. Slide the button up for Camera, or down for
Camcorder.
Live Shooting
: takes a photo during a video recording
session in Camcorder mode. You can view the photo in
your image viewer or Gallery.
Self portrait
: allows you to activate the front facing
camera so you can take videos of yourself or video chat.
Flash
: allows you to set the flash options to Off or On.
When you set the flash to On, it stays on continually while
you are taking a video.
Recording mode
: allows you to set the recording mode
to: Normal, which is limited only by available space on
the destination location; Limit for MMS, which is limited
by MMS size restrictions; Slow motion; or Fast motion.
Effects
: allows you to change the color tone or apply
special effects to the video. Options include: No effect,
Cold vintage, Warm vintage, Posterize, Solarize, Green
point, Blue point, Red-yellow point, Washed out,
Cartoonify, Black and white, Sepia and Negative.


