English _
57
●
●
Setup
Screen
J
`
Before using, set the minimum and maximum motion sizes to suit desired motion range to be detected.
`
Detected size of an object may have difference with the actual size according to its shape.
`
Up to 16 objects from the top side of the screen can be displayed.
`
In the following cases, motion detection performance may be impaired or a malfunction may occur.
-
The object color or brightness is similar to the background.
-
Small activities around the border area of the camera’s field of view.
-
Multiple movements continue occurring at random due to a scene change, rapid lighting changes or other reasons.
-
A fixed object continues moving in the same position.
-
Motions of less position changing such as approaching to the camera or fading away from the camera.
-
Moving object approaches to the camera too close
-
An object hides other objects behind.
-
Two or more objects overlap or one object divides in multiple portions.
-
Too fast object (for a proper detection, one object should be found overlapping between contiguous frames).
-
Reflection / blur / shadow due to a strong light such as direct sunlight, illumination, or headlamp.
-
In severe snow, rain, wind or in dawn / dusk.
to use motion detection
It detects a motion that meets all conditions specified by sensitivity, size and area.
1.
Select a motion detection mode.
2.
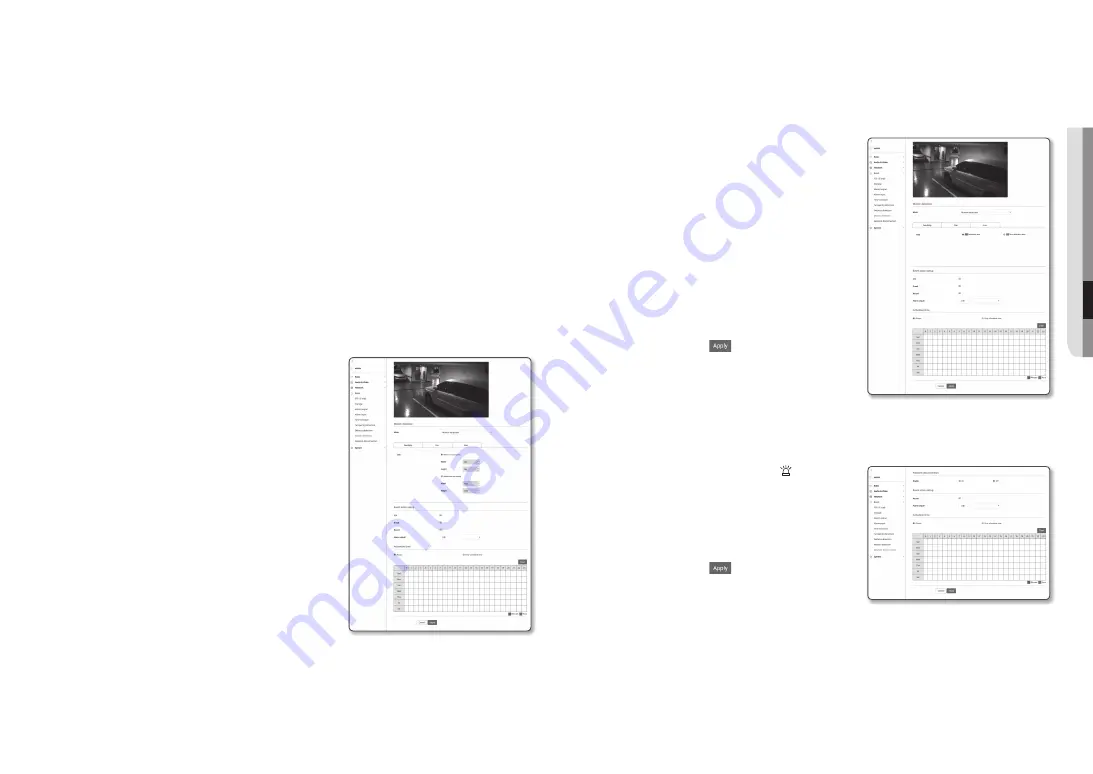
Select <
Sensitivity
> tab to set the sensitivity level. You can
set the sensor’s sensitivity to detect a motion out of the
background from the monitoring video.
J
`
In a situation that definitely distinguishes objects out of backgrounds,
set this to a low sensitivity level. For opposite case that is hard to
distinguish objects like low illuminated situation, set this to a high
level.
3.
Select <
Size
> tab.
You can limit the minimum/maximum size of motion to be
detected.
•
Minimum size (pixel) : To set the minimum size of detected
motions, select <
minimum size (pixel)
> and then point
and drag to the desired size on the screen using the
mouse.
•
Maximum size (pixel) : To set the maximum size of
detected motions, select <
maximum size (pixel)
> and
then point and drag to the desired size on the screen with
your mouse.
J
`
Motions smaller than the specified minimum size or bigger than the maximum size are not detected. To avoid unintended
detections caused by great and small noises, set minimum/maximum motion sizes appropriately in accordance to your
environments.
Note that same motions on the same location can be differently detected in their detection size; it is recommended to
consider and include the tolerable difference when setting the minimum/maximum detection sizes.
4.
Select <
area
> tab.
You can specify an area on the screen to include or exclude
the area to/from detection.
You can specify up to 4 areas.
•
Detection area : Sets the entire screen as excluded from
detection, and adds specified area as motion detection
area. Select 4 vertices in the image with your mouse to
specify the detection area.
•
Non detection area : Sets the entire screen as motion
detection area, and excludes specified area as not to be
detected. Select 4 vertices in the image with your mouse
to specify the non-detection area.
5.
To delete a designated area, right click the mouse on the
video and click the [
Delete
] button displayed on the popup
window.
6.
When done, click [
apply (
)
].
network disconnection
When the network is physically disconnected, it is considered as an event to be saved.
1.
From the Setup menu, select the <
event ( )
> tab.
2.
Click <
network disconnection
>.
3.
Set whether or not to <
enable
>.
4.
Specify the activation time and activation condition.
`
For more information about <
Activation time
> and <
Action
>, refer to
“
Alarm input
”. (page 55)
5.
When done, click [
apply (
)
].


