Configuration Guide Smart Web Configuration
1-14
1.9 VLAN
1.9.1
VLAN
Choose
VLAN
to access the
VLAN
page. The
VLAN
page contains the
VLAN Set
and
Trunk Set
tab pages.
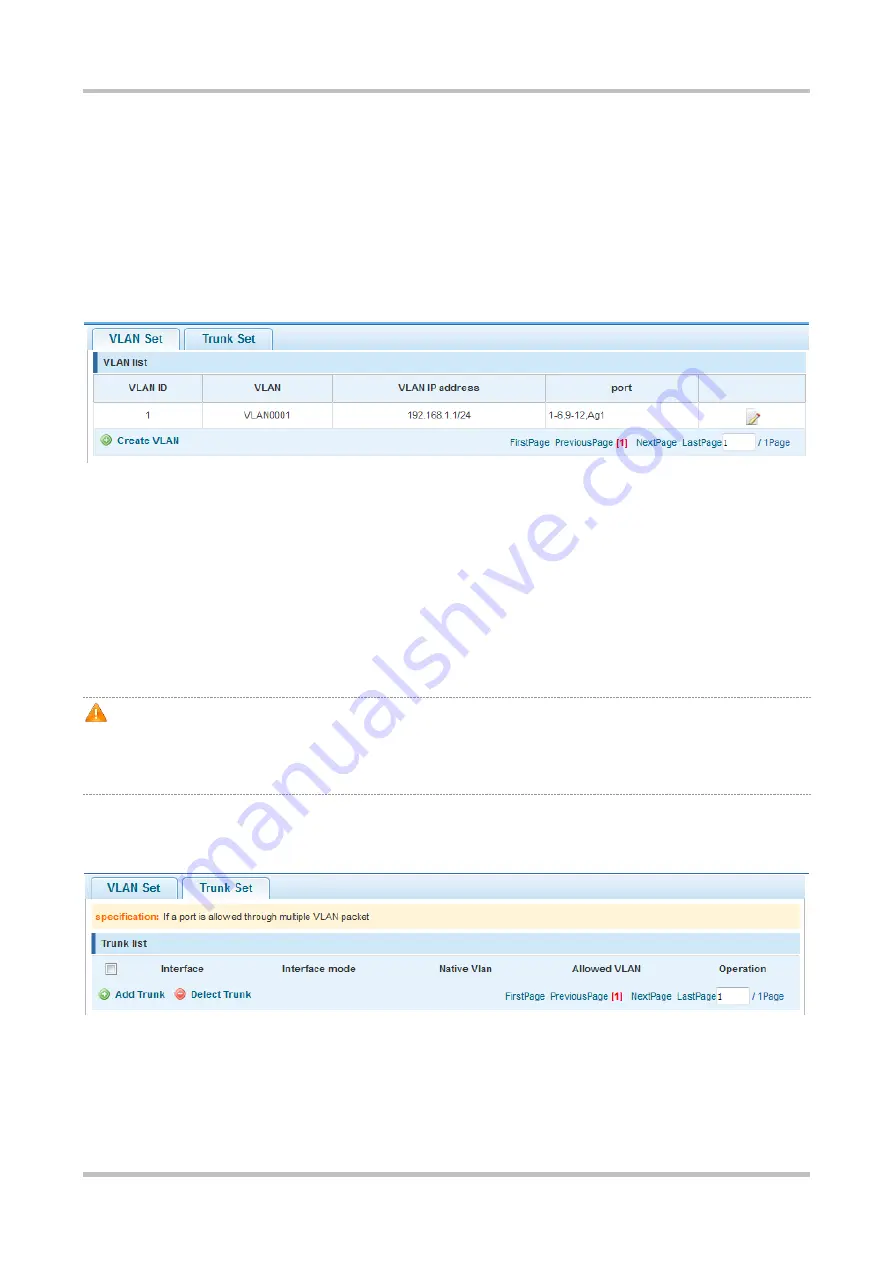
VLAN Set
Figure 1-19 VLAN Set
Configuration description:
Creating a VLAN: To create a VLAN, enter the VLAN ID. Other information is optional. Click
Create VLAN
. A creation
success message is displayed and the created VLAN is displayed in the VLAN list.
Editing a VLAN: Click the edit icon in the last column of the VLAN list. Information about the VLAN is displayed. Edit the
information and click
Save editing
. An editing success message is displayed.
Deleting a VLAN: Click the delete icon in the last column of the VLAN list. A message is displayed, asking you whether to
delete the VLAN. Click
Yes
. A VLAN deletion success message is deleted, indicating that the VLAN is deleted. VLAN 1 is
the default VLAN and cannot be deleted.
VLAN 1 is the default management VLAN. It can be modified but cannot be deleted. When changing the IP address
of VLAN 1, ensure that the new IP address is reachable. After change, the SmartWeb redirects to the login page, on
which you need to log in again. If the page direction fails and a message is displayed, indicating the page cannot be
found, the configured IP address may be unreachable. In this case, check the network connection.
Trunk Set
Figure 1-20 Trunk Set
Configuration description:
Creating a trunk port: Select a port on the panel, and enter the native VLAN and permitted VLANs (for example, 3
–
5, 8,
10), and click
Add Trunk
. A creation success message is displayed. The created trunk port is displayed in the trunk list.


