


•
Variable Speed 2/3
— press
VAR 2
, or
SHIFT
+
VAR 2
(variable speed 3) to set the
speed and press
VAR PLAY
to play the clip.
Tip:
If you need to skip a clip, or play a clip over again,
you can use the
and
to select which clip is taken next
on the Play List.
7.
Press
EXIT
to exit
PLAY LIST
mode and return to
PL EDIT
mode.
To Export/Melt a Play List
Content from a replay event can be saved and exported
(melted) to a standard clip format that can be archived
and played in normal server operation. Each Play List,
or clip, included in the melt is exported to a separate
media file.
The replay event export/melt uses the same export
method and destination folder as the export function of
the server.
Tip:
If you want to export/melt a clip from a single camera, press
SHIFT and then the softkey for the camera you want to export.
This works in any operational mode where the softkey buttons
are assigned to cameras.
Tip:
You can export/melt the clips from the Play Lists in a replay
event from the Clip Library in Mira Explorer. Right-click on the
replay event you want to export the Play List from and click Melt
Replay Event. Select the Play List(s) you want to export and
click Finish. Refer to
on page 45 for more
information.
1.
Press
PLAY LIST
>
Edit Item Flags (10)
>
PLAY
LIST Library (1)
.
2.
Select the Play List that you want to export and press
LOAD PLAY LIST (1)
.
3.
Press
Edit Item Flags
.
4.
Press
SHIFT
>
MELT PLAY LIST (2)
.
5.
Press the softkey for the export destination you want
to use.
Note:
A yellow error message is shown if there is a problem
exporting a clip. Check the export destination settings.
Each clip entry turns green and (
^
) is shown next to
the
Clip ID
as it is exported. The green highlight
indicates that the clip has been exported. A green
clip entry will not be exported again unless the clip
is changed or the melt flag is reset. When a clip is
changed the entry returns to normal and will need
to be exported again. This allows you to create a
master melt where only the new or altered clips are
exported.
Tip:
Press SHIFT > RESET ALL MELT FLAGS (10) to
clear the green highlights from all the clips. All the clips can
now be exported again.
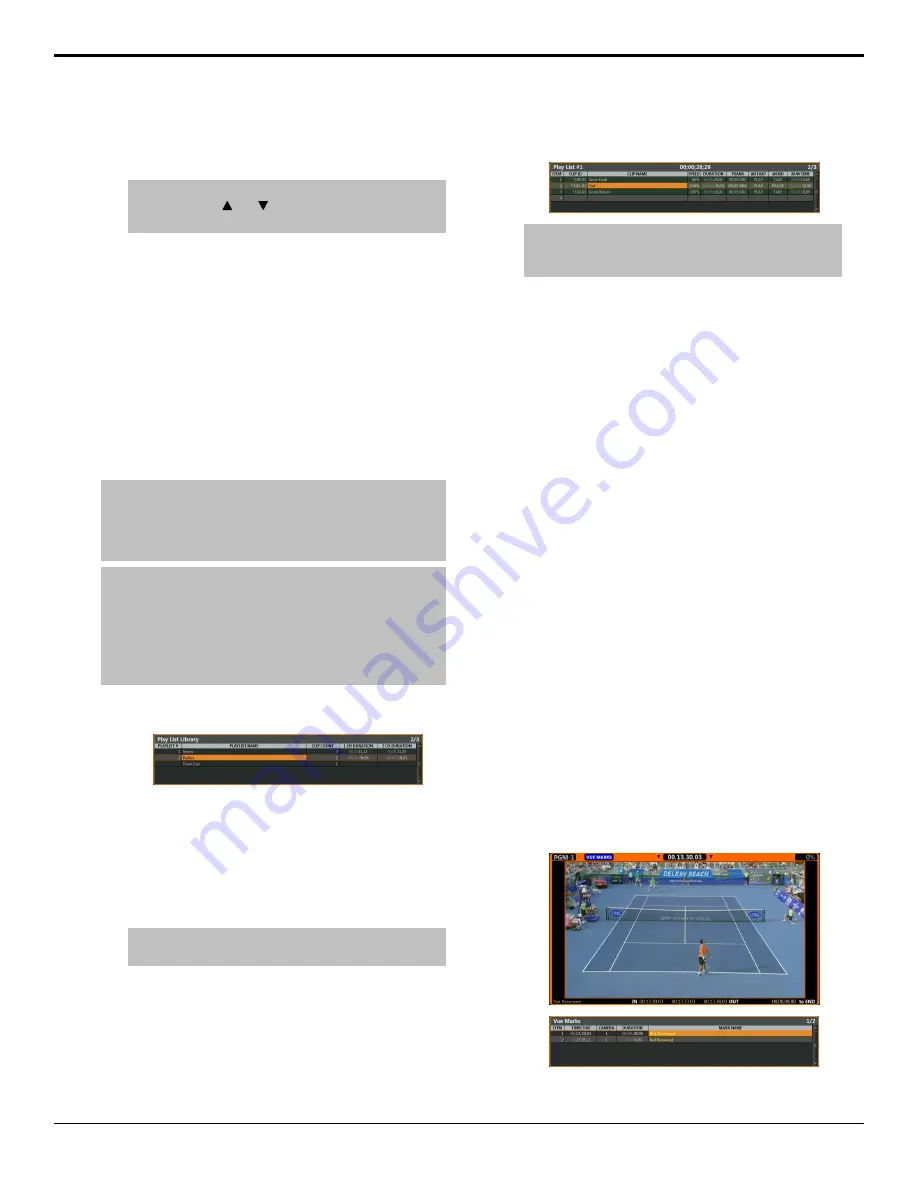
Vue Marks
You can quickly create a mark point of the active camera
to mark an event that you can come back to later.
Creating the mark point automatically creates a point of
interest (POI), in-point, and out-point based on the
Auto-Mark IN/OUT setting of the User Setup.
You can only create up to 999 mark points in a replay
event.
To Create a Mark Point
You can create a mark point during any operational mode.
The timecode for that point is saved to the Vue Marks
list, and you can continue with your current operation.
Creating a mark point does not disrupt the current
operation of the server.
When something interesting happens on one of the
cameras, press
MARK
in the
ROTARY DIAL
area.
A mark point is created at the timecode that the
button was pressed.
To View and Edit Marks
Marks are stored in the
VUE MARKS
list and can be
viewed and edited.
1.
Press
SHIFT
>
VUE MARKS
.
The playout channel goes into
VUE MARKS
mode
and the
Vue Marks
list is shown. Each mark has a
timecode, camera, and duration.
2.
Select the mark that you want to edit.
24
• Replay — Mira Manual (v6.1)
Summary of Contents for Abekas Mira
Page 1: ...Mira Manual v6 1 ...


