


Tip:
In PL EDIT mode, press PLAY LIST to go to PLAY
LIST mode and press the button again to jump to the first
clip in the current Play List.
•
APPEND
— press
APPEND
to add the selected clip
to the end of the current Play List.
•
INSERT
— press
SHIFT
>
APPEND
to add the
selected clip to the end of the current Play List.
•
CUT
— press
CUT
to cut the selected clip in the Play
List. You can paste the clip to a new location, or use
this as a way to delete a clip from the list.
•
DELETE LIST
— press
SHIFT
>
CUT
to delete all
the clips in the current Play List.
•
COPY
— press
COPY
to copy the select clip in the
Play List. You can paste the clip to a new location,
or use this as a way to delete a clip from the list.
•
PASTE
— press
PASTE
to paste a clip from the
clipboard to the position just below the selected clip
in the Play List.
•
TAKE
— press
TAKE
to cut to the selected clip in
the Play List. Take can be used if a clip starts or ends
on a pause, or if you want to move to a different clip
in the list.
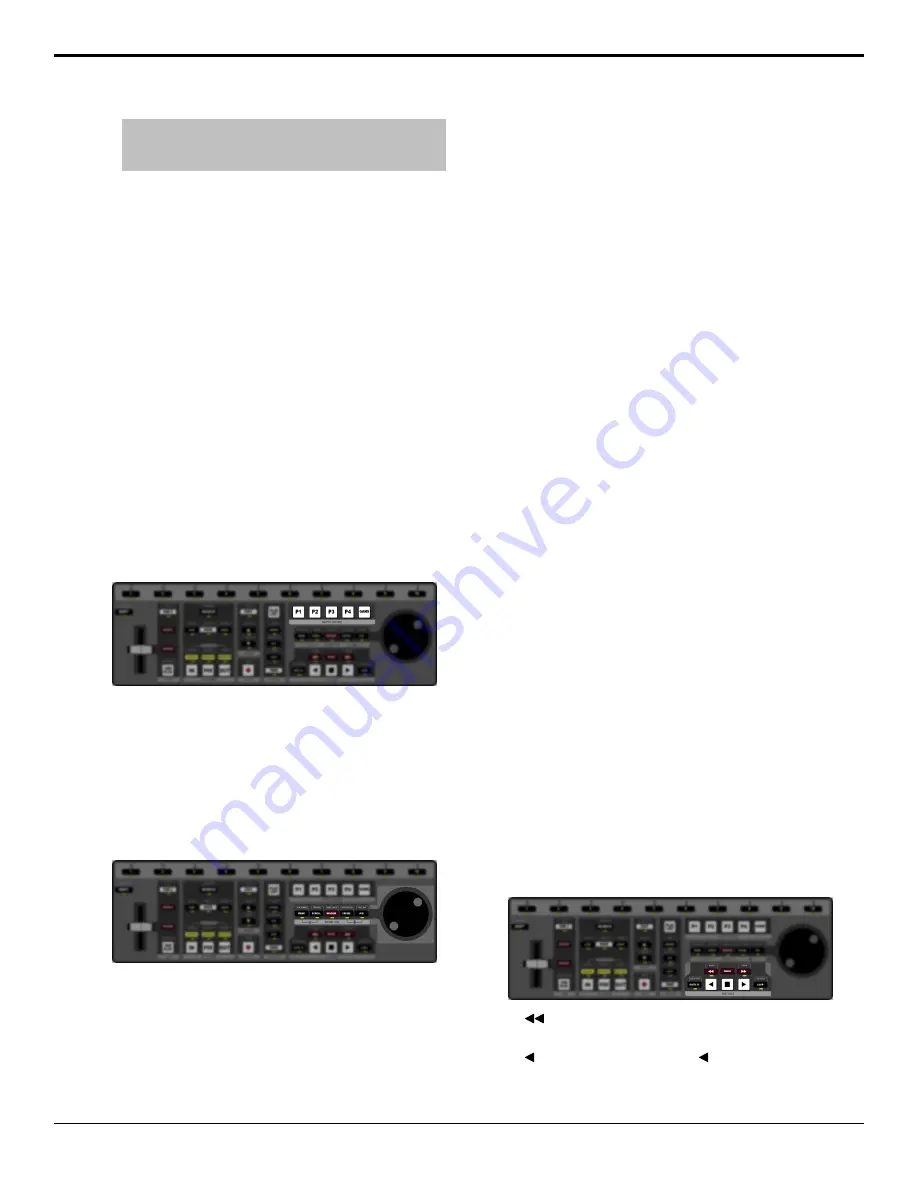
Output Control Area
•
P1
– press
P1
to select playout channel 1.
•
P2
– press
P2
to select playout channel 2.
•
P3
– press
P2
to select playout channel 3.
•
P4
– press
P2
to select playout channel 4.
•
GANGE
– press
GANG
to select all playout
channels.
Rotary Dial Area
•
Rotary Dial
– allows you to perform a variety of
functions, depending on the selection to the left of
the dial. By default, the rotary dial is used to jog
through the video loaded in the channel transport.
•
MARK
– press
MARK
to insert a point of interest
(POI) mark at the current timecode across all camera
inputs. The playout is not interrupted, but the mark
is recorded in the
VUE MARKS
list. In and
Out-points are automatically created based on the
Auto-MARK In and Out offsets from the
User Setup
menu.
•
VUE MARKS
– press
SHIFT
>
MARK
to view the
current list of marks
•
SCROLL
– press
SCROLL
to be able to use the
rotary dial to move up and down in a list.
•
BROWSE
– press
SHIFT
>
SCROLL
to have a clip
automatically loaded when it is highlighted.
•
WINDOW
–
•
MIN/MAX
– press
SHIFT
>
WINDOW
to hide the
row of camera inputs on the
Replay
window. Press
the buttons again to revert to the default layout.
•
CRUISE
– press
CRUISE
to use the rotary dial to
move backwards or forwards through a clip. As you
turn the dial you set the speed that you move through
the clip. The further you turn the dial, the faster you
move through the clip. When you stop rotating the
dial the clip keeps going at the set speed.
•
FAST CRUISE
– press
SHIFT
>
CRUISE
to cruise
through the clip at a faster speed. The speed is set
from the
User Setup
menu.
•
JOG
– use the rotary dial to move forwards or
backwards through a clip. As you turn the dial you
move through the clip. The faster you turn the dial,
the faster you move through the clip. When you stop
rotating the dial the clip stops.
•
FAST JOG
– press
SHIFT
>
JOG
to jog through
the clip at a faster speed. The speed is set from the
User Setup
menu.
•
User Setup Menu
– press the
MARK
and
SCROLL
buttons simultaneously to open the
User Setup
menu.
•
Panel Lock
– press the
CRUISE
and
JOG
buttons
simultaneously to lock the Control Surface. The
CRUISE
and
JOG
buttons flash red and server does
not respond to any other button, T-bar, or rotary dial
input. Press the buttons again to unlock the Control
Surface.
Play Back Area
•
– press and hold rewind the clip, or press and
release to jump a small interval.
•
STEP
– press
SHIFT
and
STEP
to reverse by
a single field.
•
PAUSE
– pause the playout of the current clip.
10
• Replay Overview — Mira Manual (v6.1)
Summary of Contents for Abekas Mira
Page 1: ...Mira Manual v6 1 ...


