9
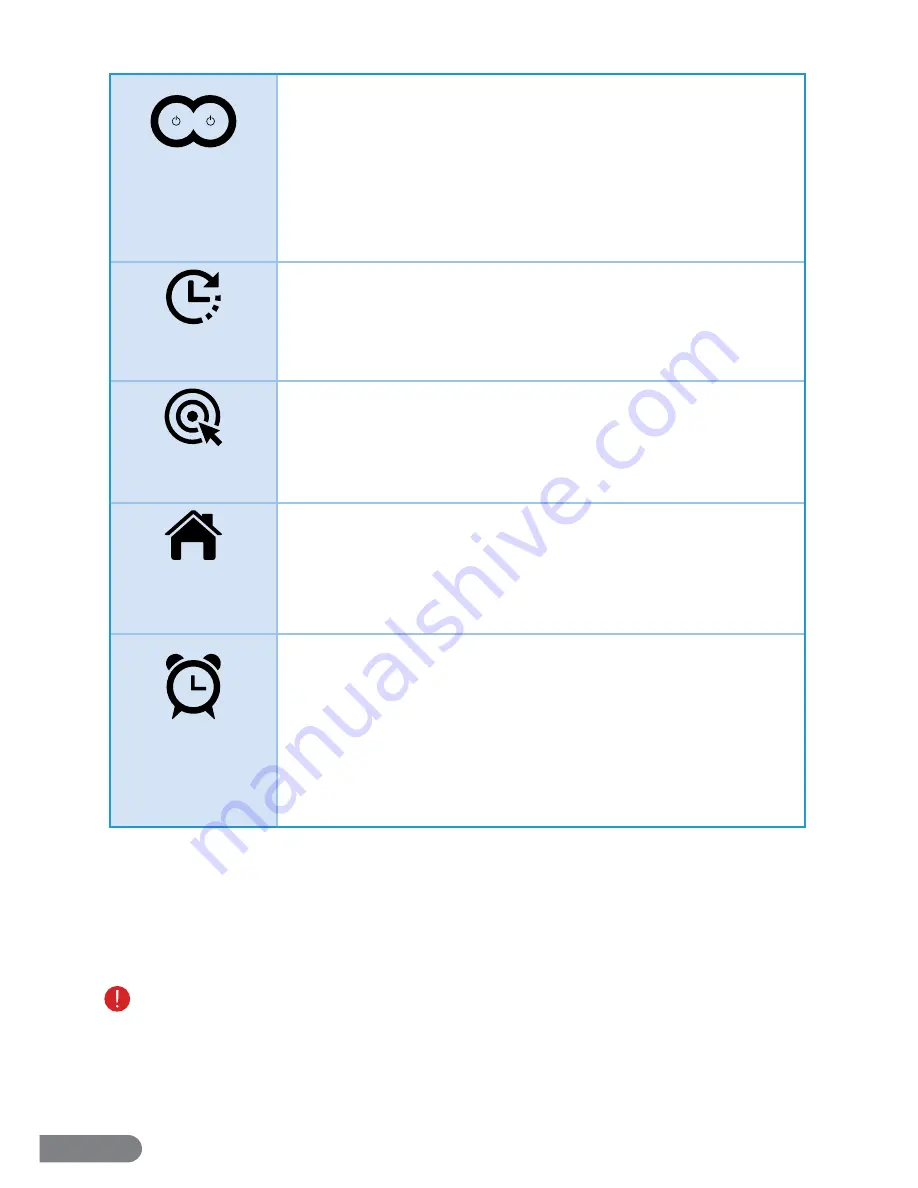
Start/Stop Key
(Control Panel,
Remote & App)
• Touch the Start/Stop Key in Standby Mode to start or stop an auto
cleaning cycle.
• Auto cleaning is ideal for any area. While auto cleaning, the vacuum uses
lasers to analyze its surroundings and determine how best to clean them and
adjusts its time accordingly. Auto cleaning time depends on the size of the
room and other factors. The vacuum will continue to clean until it is almost
out of power before returning to its Charging Station.
• Touch the Start/Stop Key to Start/Stop any cleaning cycle.
• When using the Clock or Schedule Functions, touch the Start/Stop
Key to exit.
Clock Setting Key
(Control Panel Only)
• Touch the Clock Key to begin changing the time.
• Touch the Spot Key multiple times to adjust the hour.
• Touch the Home Key multiple times to adjust the minute.
• Touch the Clock Key again to confi rm the new time.
• Touch the Start/Stop Key to exit and/or stop using this function.
Spot Cleaning Key
(Control Panel Only)
• Touch the Spot Key in Standby Mode to start a spot cleaning cycle.
• Spot cleaning is ideal for small areas. While spot cleaning, the vacuum
will slowly move back and forth to focus on one area. Spot cleaning takes
about 1 minute.
• When using the Clock Function, touch this key to adjust the hour.
Home Key
(Control Panel,
Remote & App)
• Touch the Home key in any mode to prompt the vacuum to return to its
Charging Station.
• Touch the Home key again to stop the vacuum from returning to its Station.
• When using the Scheduling Function, touch this key to adjust the minute.
Schedule Function
(Control Panel &
App)
• Touch the Schedule Key to begin setting a cleaning schedule.
• Touch the Spot Key multiple times to adjust the hour.
• Touch the Home Key multiple times to adjust the minute.
• Touch the Clock Key to save the cleaning schedule.
• Touch the Start/Stop Key to exit and/or fi nish using this function.
• At the scheduled time, the LaserEye will begin to clean automatically.
• Scheduled cleaning is deal for any space. At the scheduled time, the LaserEye
will leave its Charging Station, clean, and then return to its Charging Station.
Scheduled cleaning time depends on the size of the room and other factors.
Section 7. Maintenance Instructions
As with proper storage, proper maintenance will help improve your LaserEye’s performance.
Periodically, the LaserEye’s dustbin will need to be emptied and its fi lters changed. It is also
recommended to inspect the edge brush, wheels, and bottom of the vacuum and clean
everything regularly. Please make sure your vacuum is completely powered off before
performing any type of maintenance.
•
Clean the outside with dry, non-abrasive cloth only. Do not spray water or liquids onto the LaserEye.
•
Do not insert objects into the LaserEye or allow the LaserEye to clean up near any part of your body.
•
Do not use this device to pick up anything that is burning or smoking.
•
Do not place the LaserEye near any source of signifi cant heat or combustible materials.
•
Do not perform any maintenance when the power is on or the battery is charging.
•
When turning over the LaserEye, always place it on a level surface with padding underneath.
Summary of Contents for LASEREYE
Page 1: ...ROBOTIC VACUUM USER MANUAL TM...
Page 2: ...www rollibot com Customer Service 1 844 585 6295...
Page 20: ......


