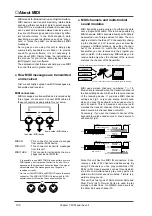
MIDI stands for Musical Instrument Digital Interface.
MIDI devices can transmit musically related data
such as performance data or data to select sounds.
Since MIDI is a world-wide standard, musical data
can be sent and received between devices even if
they are of different types and were made by differ-
ent manufacturers. In the MIDI standard, data
describing a musical performance such as “play a
note” or “press the pedal” are transmitted as MIDI
messages.
As long as you are using this unit to simply play
commercially available music data or to provide
sound for game software, it is not necessary to
know about MIDI. Simply follow the instructions in
the manual for your music data playback device
(MIDI player) or your software.
The explanation that follows will help you use MIDI
to control this unit in greater detail.
●
How MIDI messages are transmitted
and received
First we will briefly explain how MIDI messages are
transmitted and received.
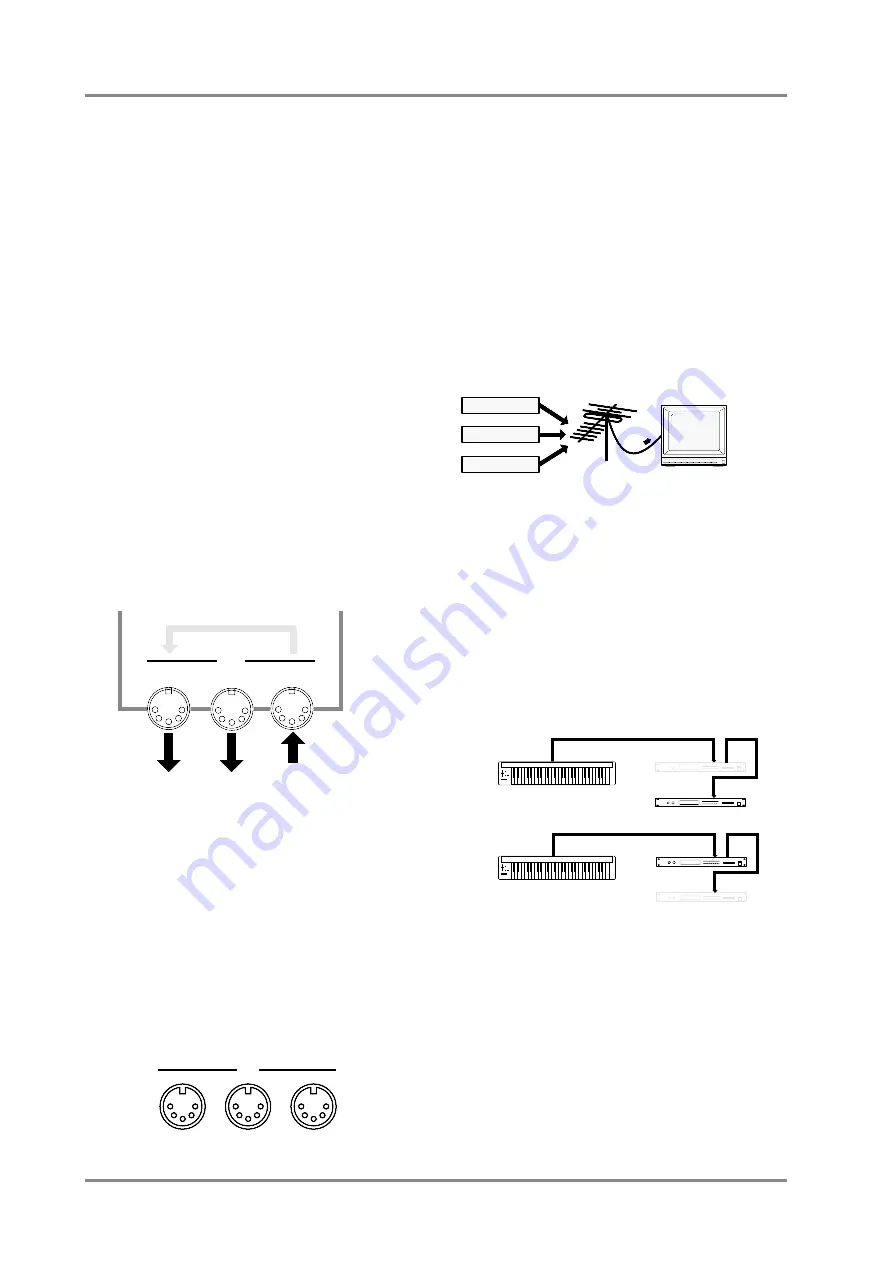
MIDI connectors
MIDI messages are transmitted and received using
three types of connector. Connect MIDI cables to
these connectors as appropriate for your setup.
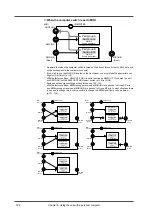
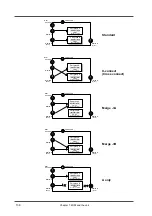
MIDI IN
: This connector receives messages
from another MIDI device.
MIDI OUT
: This connector transmits messages
from this unit.
MIDI THRU
: This connector retransmits the mes-
sages received at MIDI IN.
* It is possible to use MIDI THRU to connect two or more
MIDI devices, but in practice the limit is 5 units. This is
because as the signal path becomes longer, the signal
deteriorates and the messages can no longer be
received correctly.
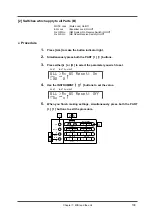
* On this unit, MIDI THRU and MIDI OUT share the same
connector. The MIDI OUT/THRU Select switch (p.136)
determines which function the connector will have.
●
MIDI channels and multi-timbral
sound modules
MIDI transmits a wide variety of performance data
over a single MIDI cable. This is made possible by
MIDI channels. MIDI channels allow specific data to
be selected out of a large amount of data. The con-
cept is similar to the idea of TV channels. By chang-
ing the channel of a TV receiver you can view the
programs of different stations. By setting the chan-
nel of the receiver to match the channel of the
transmitter, you can receive only the program you
wish to watch. In the same way, MIDI allows you to
receive data only when the channel of the receiver
matches the channel of the transmitter.
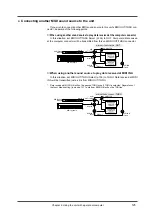
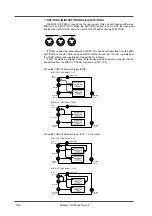
MIDI uses sixteen channels, numbered 1 — 16.
Music data is received when the transmit channel of
the transmitting device matches the receive channel
of the receiving device. If you make MIDI channel
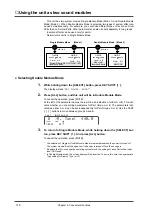
settings as Fig.1, only sound source B will sound
when you play the keyboard, and sound source A
will not sound. This is because sound source B
matches the transmit channel of the keyboard, but
sound source A's channel does not match.
Conversely, if you set the transmit channel of the
keyboard to match sound source A, sound source A
will sound (Fig.2).
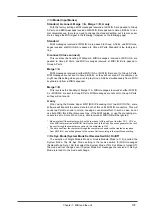
Since this unit has two MIDI IN connectors, it can
receive a total of 32 channels simultaneously. By
using 32 channels you can play ensembles of 32
Parts (p.23). Sound sources such as this unit which
are able to simultaneously play many parts are
called multi-timbral sound modules. Timbre is a
word meaning sound.
This unit has two types of Parts: Normal Parts and
Drum Parts (p.27). Normal Parts are used to play
melody or bass lines. On GM/GS sound sources,
the Drum Part uses channel 10.
MIDI
THRU
OUT
IN
to another MIDI device
from another MIDI device
OUT/THRU
IN A
IN B
MIDI
Station A
Station B
Station C
The cable from the antenna carries the TV signals from many broadcast stations.
The TV is set to the channel of the station you wish to watch.
Transmit channel : 2
Receive
channel : 2
Sound
Module A
MIDI OUT
Fig.2
Fig.1
MIDI IN
MIDI THRU
MIDI IN
Transmit channel : 1
MIDI OUT
MIDI IN
MIDI THRU
MIDI IN
Receive
channel : 1
Receive
channel : 2
Receive
channel :
1
Sound
Module B
Sound
Module A
Sound
Module B
MIDI keyboard
MIDI keyboard
Chapter 7. MIDI and the unit
130
■
About MIDI
Summary of Contents for SoundCanvas SC-88 Pro
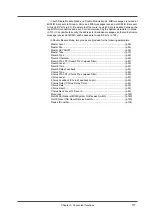
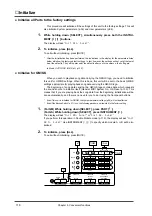
Page 9: ...Chapter 1 Try out the unit Quick start Chapter 1...
Page 18: ...Chapter 1 Try out the unit 16...
Page 19: ...Chapter 2 Parts and parameters Chapter 2...
Page 47: ...Chapter 3 System Effects Chapter 3...
Page 57: ...Chapter 4 Insertion Effects Chapter 4...
Page 97: ...Chapter 5 Convenient functions Chapter 5...
Page 121: ...Chapter 6 Using the unit with a personal computer Chapter 6...

