●
How each parameter works
*
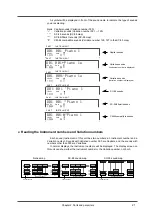
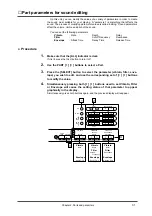
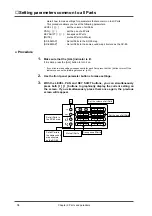
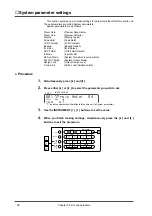
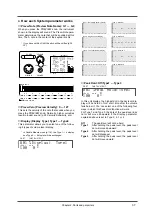
The settings made here apply to all Parts (when the [ALL] indicator is lit). If you wish to make
settings independently for each Part, use the procedure of p.25.
Chapter 2. Parts and paramters
35
❍
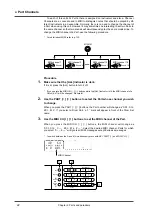
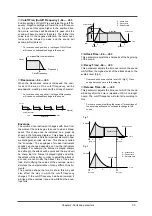
LEVEL (Master level): 0 — 127
This parameter adjusts the volume of all the Parts. As
the displayed value increases, the volume will
increase. The basic volume level of this entire unit is
adjusted by the Volume knob. If the volume knob is at
minimum position, there will be no sound even if you
increase this parameter.
❍
PAN (Master Pan): L63 — 0 — R63
This parameter sets the Pan (stereo position) for all
the Parts. As the displayed L value increases the
sound will move further left, and as the R value
increases the sound will move further right.
* For some instruments, a bit of sound may be heard
from the opposite speaker even if Pan has been set
fully left or right.
* If you are listening to this unit in mono, Pan settings will
have no effect.
❍
KEY SHIFT (Master Key Shift): -24 —
±
0 —
+24 semitone steps, 2 octaves
Key Shift adjusts the pitch of the sound in semitone
steps. For example if you were playing back song data
from a sequencer, you could use the Key Shift para-
meter to change the key of the song without changing
the sequencer settings. Or, if you are singing along
with sequence data, you can adjust Key Shift to move
the song to the key most comfortable for your voice.
As the displayed value rises (falls) one step, the pitch
will rise (fall) one semitone. This means that 12 steps
equal one octave.
* Even if you adjust Key Shift for all Parts, the pitch of the
Drum Part will not be affected.
❍
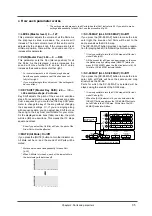
MUTE (All Mute): On/Off
If you press the [MUTE] button to turn the indicator on,
All Mute will be on, and the sound of all Parts will be
muted.
* Mute can also be set independently for each Part
(p.25).
* When All Mute is turned on, each of the lowest dots in
the bar display will be turned off.
❍
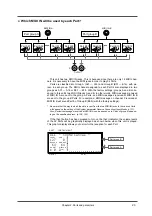
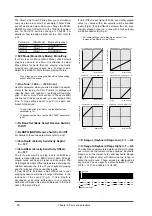
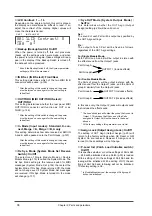
SC-55 MAP (ALL SC-55 MAP): On/Off
If you press the [SC-55 MAP] button to make the indi-
cator light, the sounds of all Parts will be set to the
same sounds as the SC-55 map.
The [SC-55 MAP] button provides one-touch prepara-
tion for playing back SC-55/55mkII performance data.
* It is also possible to turn the SC-55 map on/off for indi-
vidual Parts (p.25).
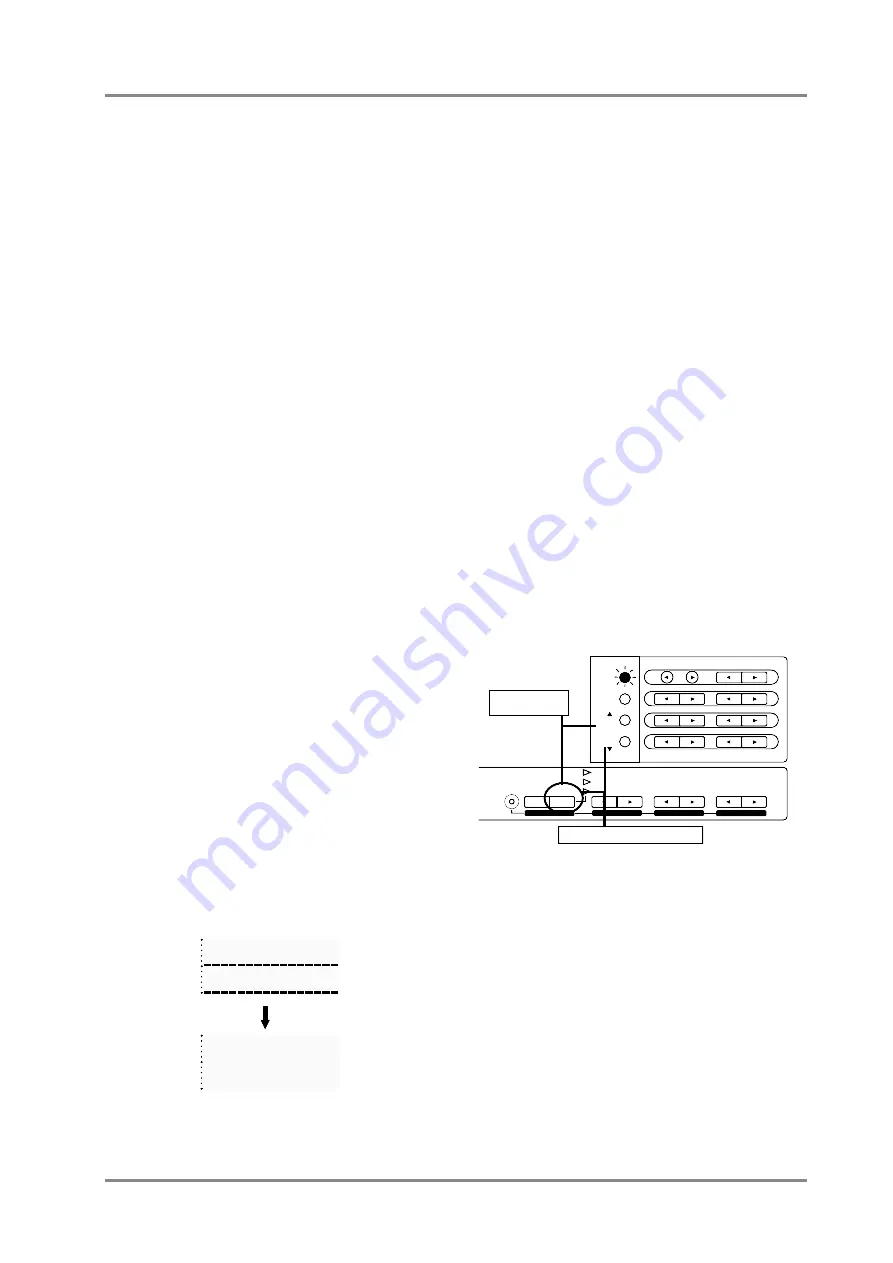
* All the sounds for all Parts can be arranged so they use
the Native map by holding down [SELECT] while you
press [SC-55 MAP] ( when the [ALL] indicator is lit ). At
this time, [SC-55 MAP] indicator blinks.
❍
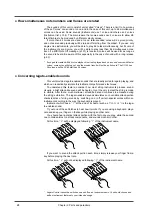
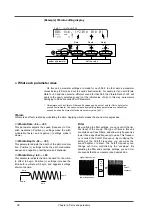
SC-88 MAP (ALL SC-88 MAP): On/Off
If you press the [SC-88 MAP] button to make the indi-
cator light, all Parts will have the same sound map
structure as the SC-88.
Parts for which the SC-55 MAP is selected will be
played using the sounds of the SC-55 map.
* It is also possible to turn the SC-88 map on/off for indi-
vidual Parts.(p.25)
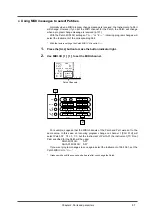
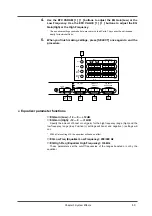
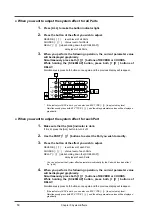
* When the [ALL] indicator is lit, you can hold down the
[SELECT] button and press the [SC-88MAP] button to
set all Parts to the SC-88 map. At this time, the [SC-
88MAP] indicator will blink.
1 2 3 4 5 6 7 8 9 10 11 12 13 14 15 16
1 2 3 4 5 6 7 8 9 10 11 12 13 14 15 16
INSTRUMENT
PART
LEVEL
PAN
REVERB
CHORUS
KEY SHIFT
MIDI CH
SELECT
EFX
ON/OFF
USER
INST
VIB RATE
ATTACK
VIB DEPTH
CUTOFF
DECAY
VIB DELAY
RESONANCE
RELEASE
DELAY
EFX VALUE
EFX PARAM
EFX TYPE
ALL
MUTE
SC-55
MAP
SC-88
MAP
Set the sounds of SC-88 Map
Set the sounds of
Native map
Summary of Contents for SoundCanvas SC-88 Pro
Page 9: ...Chapter 1 Try out the unit Quick start Chapter 1...
Page 18: ...Chapter 1 Try out the unit 16...
Page 19: ...Chapter 2 Parts and parameters Chapter 2...
Page 47: ...Chapter 3 System Effects Chapter 3...
Page 57: ...Chapter 4 Insertion Effects Chapter 4...
Page 97: ...Chapter 5 Convenient functions Chapter 5...
Page 121: ...Chapter 6 Using the unit with a personal computer Chapter 6...

