60
9 Software Guide
3D Engrave
This adds thickness to a flat (two-dimensional) graphic to create a relief (raised engraving).
You can also add thickness to images such as illustrations.
3D Engrave is a program for creating reliefs (raised engravings) and engravings on curved surfaces.
This section describes the steps for cutting a relief.
For detailed descriptions of the creation steps and more information about creating data for engraving.
Select the Output Device
See "5 Installing the Software - Program Settings" and choose the model you're using.
Decide on the Size of the Relief
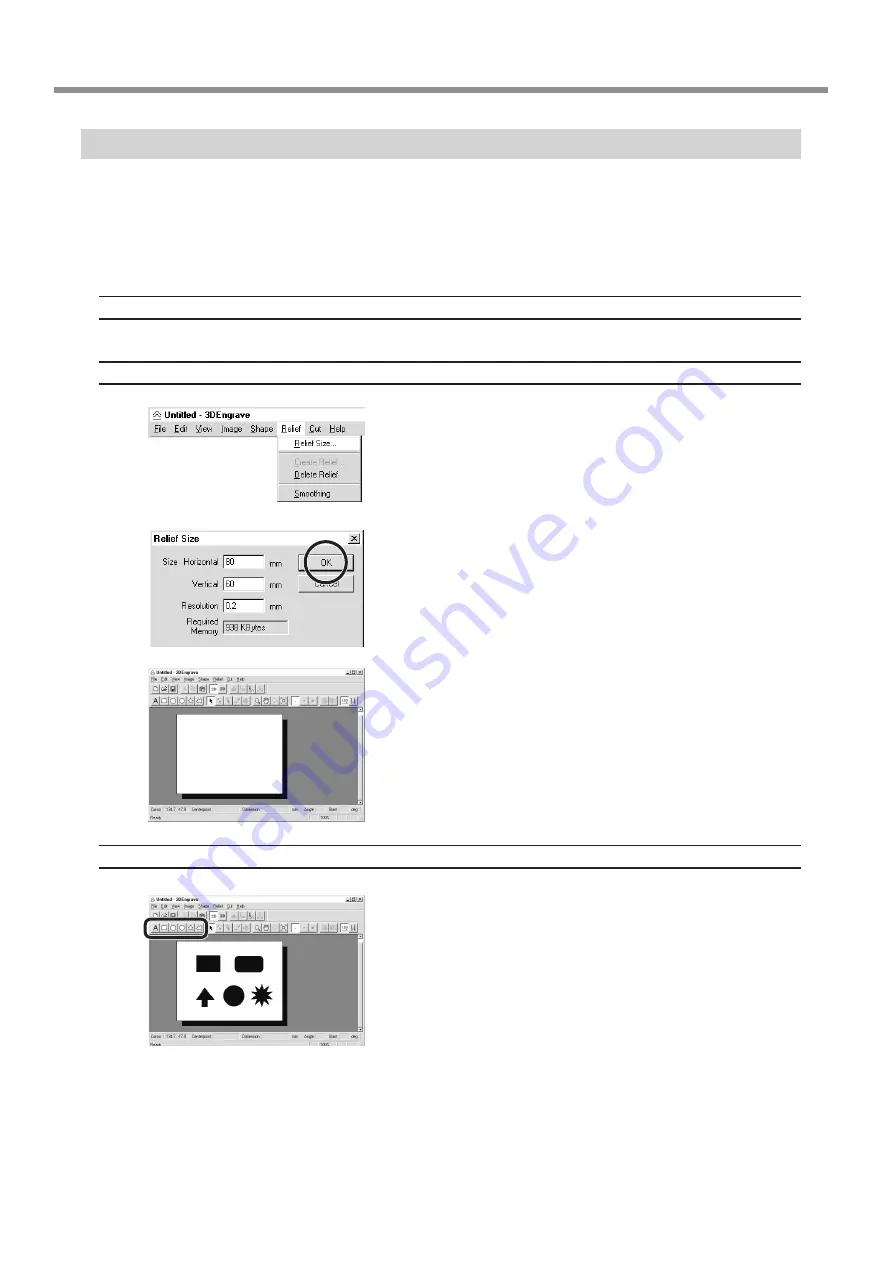
From the [Relief] menu, click [Relief Size].
The [Relief Size] dialog box appears.
Enter the size of the relief and the resolution (the degree
of detail of the relief), then click [OK].
The screen at right appears. The white area of the screen is the where
you design the relief.
The screen displayed at this time is called the "2D screen." It's the
screen for typing in text and creating shapes.
Creating Shapes and Entering Text
To create a shape, click one of the shape-drawing buttons
and drag.
To enter text, click the text-entry button, then click the
location where you want to insert text. While in this state,
type in the text with the keyboard.
To change the size of a shape or text, refer to "Dr. Engrave - Changing
the Size and Location of Shapes and Text."


