42
7 Operation Guide [Scanning Section]
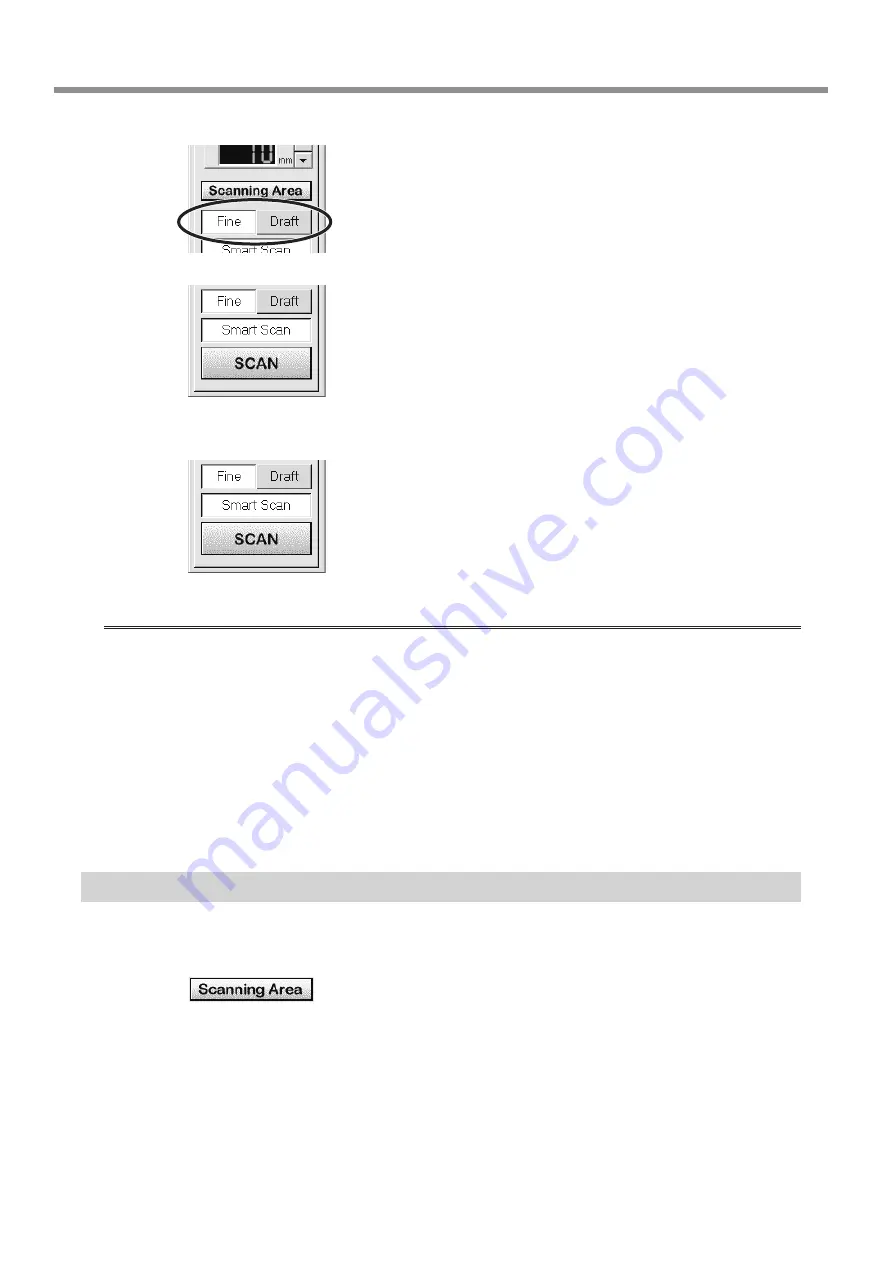
Make the selection for scanning quality.
Select [Smart Scan]. When this is selected, MODELA
identifies and limits the scanning area before performing
scanning (X and Y directions only).
To specify the scanning area manually, deselect [Smart
Scan], then click [Set Scanning Area].
For more information on how to specify this, see “Setting the Scan-
ning Area” in the next section.
For detailed description of the available Controller buttons, please
refer to the help screens for Dr. PICZA.
Click [SCAN] .
Scanning starts.
(During scanning, the sensor may emit a transmission sound, but
this is normal.)
If You’re Using Windows NT4.0/2000/XP
If the printer port for the Windows driver and the communication port for Dr. PICZA are set to the same port, you cannot use
Dr. PICZA. To perform scanning, you need to temporarily set the Windows driver printer port to a different port. After you
finish scanning, return the setting for the Windows driver to its original value.
Use the following examples as a guide to determine the amount of computer memory required to perform scanning.
* The figures shown below are the amounts used by Dr. PICZA alone. They do not take into account the amounts used by
the operating system or other programs.
Example: Required memory when scanning a 100 mm x 100 mm (3-15/16 in. x 3-15/16 in.) area
- Scanning at a pitch of 0.05 mm x 0.05 mm (0.002 in. x 0.002 in.) : Approx. 2 GB
- Scanning at a pitch of 0.1 mm x 0.1 mm (0.004 in. x 0.004 in.) : Approx. 500 MB
- Scanning at a pitch of 0.5 mm x 0.5 mm (0.020 in. x 0.020 in.) : Approx. 20 MB
Step 6: Setting the scanning area
If you wish to limit the scanning area, such as in cases where you wish to scan only a portion of an object, make the settings
as described below.
Click
in the Controller window.
The [Scanning Area] dialog box appears.


