44
7 Operation Guide [Scanning Section]
Step 7: Saving Scanned Data
Click
and choose [Save].
The [Save As] dialog box appears.
Choose the desired location for saving the file, enter a file name, and click [SAVE].
The extension ".pix" is appended to the file name.
If you want to export the data as a file in DXF or VRML format, please refer to the help screens for Dr.
PICZA.
Step 8: Edit the Scanned Data
The shape of an object can be edited. It is possible to vary the height, adjust the slant, or perform concave/convex inversion
(height inversion) for a desired surface.
You can use the toolbar button or select [Edit] on the menu bar.
Please refer to the help screens for Dr. PICZA for detailed explanations of the various functions that are available.
Be sure to save the scanned data before starting to edit. When you're done editing, be sure to save your file.
When Scanning Is Finished
CAUTION
When not in use for several hours, unplug the power-cord
plug from the electrical outlet.
Failure to do so may result in danger of shock, electrocution,
or fire due to deterioration of the electrical insulation.
Press the STANDBY key to switch off the power.
Remove the scan object from the table.
When not in use
- Remove any clay from table, and store the clay so that it will not dry out.
- Unplug the power-cord plug from the electrical outlet.
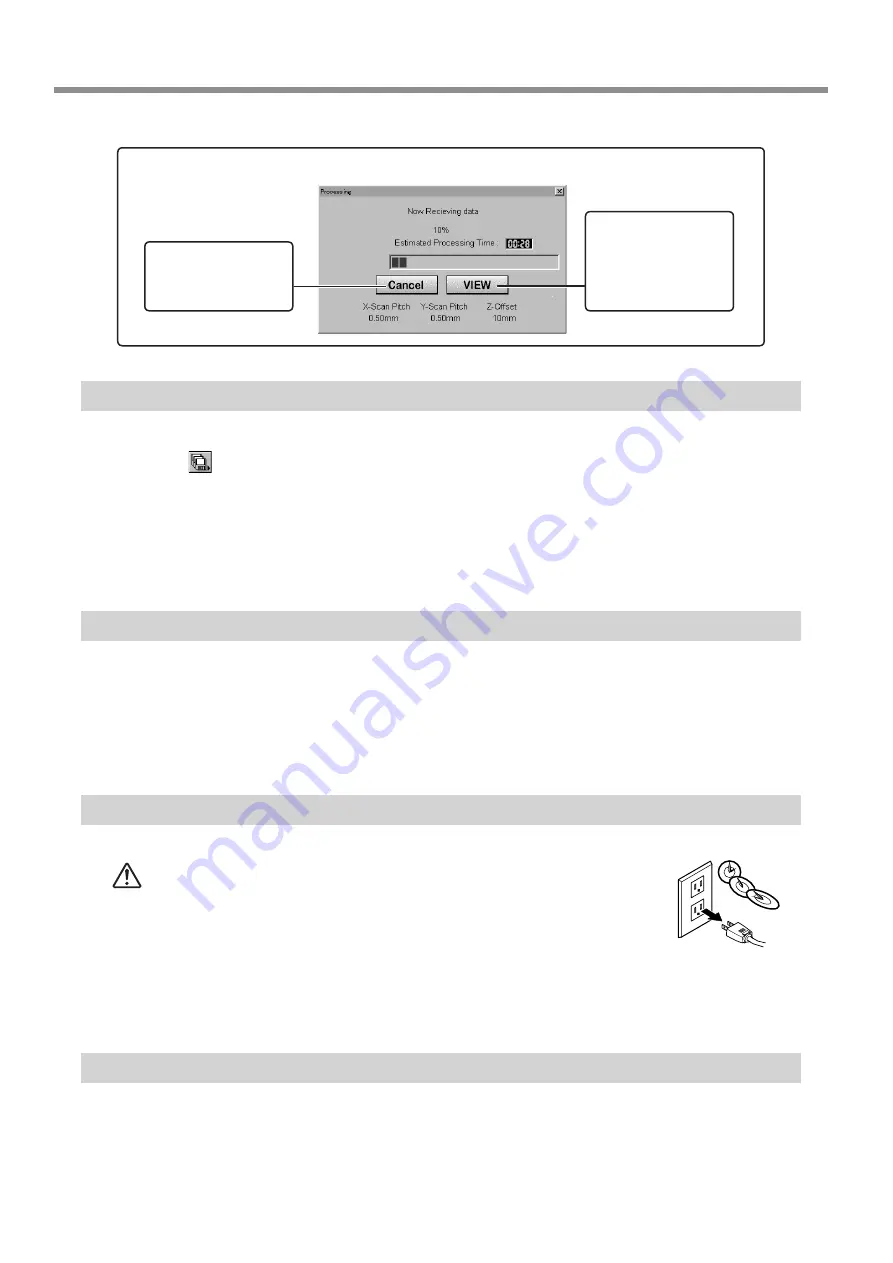
Cancels scanning/Pauses scanning
Scanning pauses
and the table moves
toward the front of
the unit. Click [VIEW]
again to resume scan-
ning.
Cancels scanning.
Any data scanned
before being canceled
remains in memory.


