Advanced Performance Features
45
In the UPPER section (be sure any Tone select buttons are turned off):
Ê
Press the [CURRENT DRAWBAR] button.
Ë
Play the Upper manual and adjust the UPPER and PERC drawbars to your liking.
Ì
Press and hold [DRAWBAR PRESET A] and then press the [CURRENT DRAWBAR] button.
All of the current drawbar settings are now stored under the [DRAWBAR PRESET A] button and can be
recalled at any time. Note that when [DRAWBAR PRESET A] is active the drawbars will not affect the
sound; the drawbars are active ONLY when the [CURRENT DRAWBAR] button is lit. You can, of course,
also create and store different settings for [DRAWBAR PRESET B] and [DRAWBAR PRESET C].
You can also copy the current or active drawbar settings from one manual to a Preset button of the other: Be
sure the destination Preset button is off, then press and hold that Preset button and then tap the desired
[CURRENT DRAWBAR] button from the source manual.
Several parameters (including drawbar click time and level) can be accessed whenever a [CURRENT
DRAWBAR] or [DRAWBAR PRESET] button is pressed. These parameters are listed and explained on
page 113. (When [CURRENT DRAWBAR] settings are 'captured' as described above, the other [CURRENT
DRAWBAR] parameters are also copied into the preset. These parameters can be edited individually for
each preset.) General on/off control of click sounds is controlled by the [DRAWBAR CLICK] button in the
EFFECTS section.
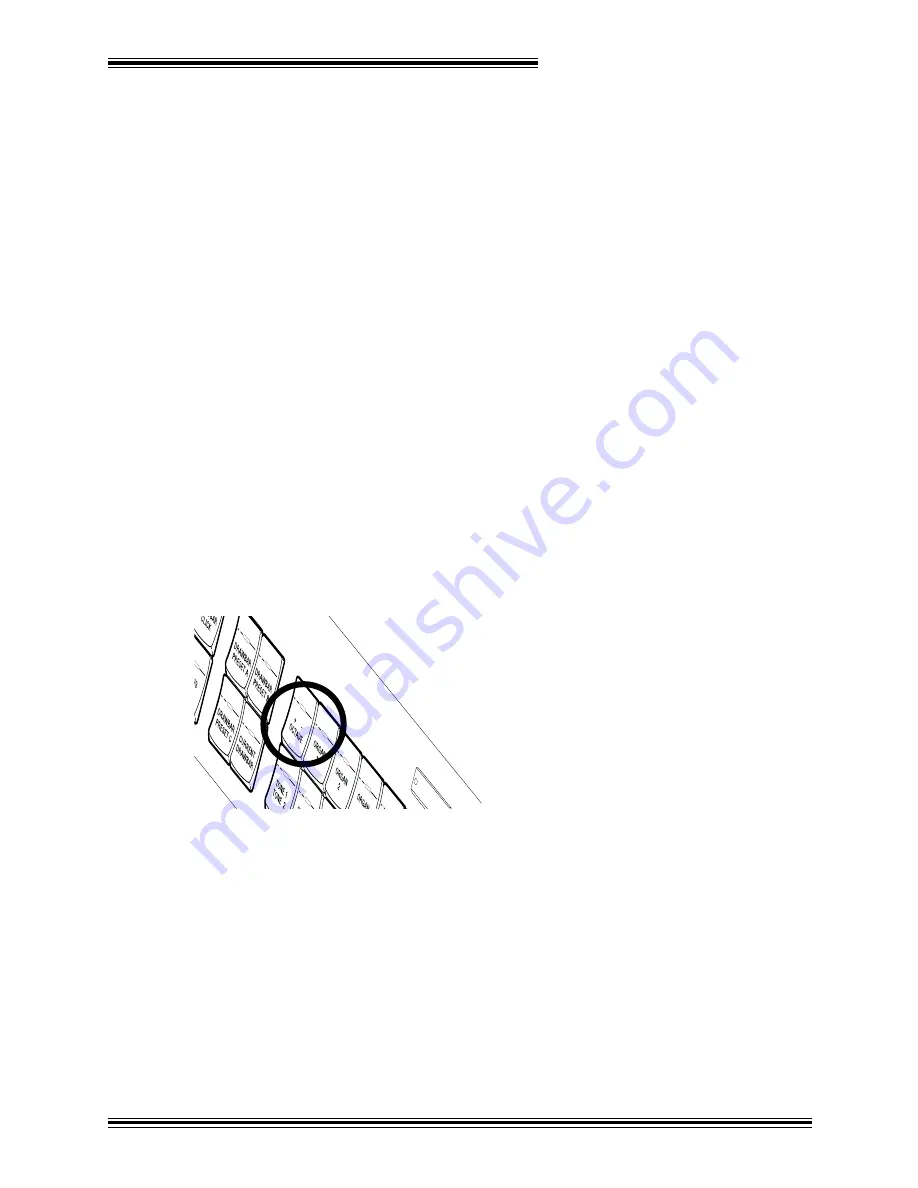
[/-] BUTTON
(UPPER; LOWER; BASS)
Each section contains a [+/- OCTAVE] button which is used to shift the pitch of the selected keyboard an
octave higher or lower:
UP
PER
When the button LED is...
Dark
: the keyboard is at normal pitch
Red
: the keyboard pitch is one octave higher than normal
Green
: the keyboard pitch is one octave lower than normal
NOTE: The [+/- OCTAVE] buttons do not affect Drawbar Tones. They do, however, affect Tone 1, Tone 2
and Solo Tones, as well as Classic Organ Tones and MIDI output. Notes sustained when a [+/- OCTAVE]
button is pressed are not affected either.
[HOLD] BUTTON
(UPPER; LOWER; BASS)
Each section of the W-5000 has a [HOLD] button. Quite simply, whenever this button is lit in a particular
section, notes played on the corresponding keyboard will be sustained* whenever the left 'kick' switch on the
Summary of Contents for W-5000
Page 1: ...INSTRUMENTS LLC W 5000 Contemporary Keyboard User s Guide...
Page 11: ...CHAPTER 1 Introduction Installation...
Page 22: ...Chapter 1 22...
Page 23: ...CHAPTER2 Performance Basics...
Page 41: ...CHAPTER3 Advanced Performance Features...
Page 48: ...Chapter 3 48...
Page 49: ...CHAPTER4 Effects...
Page 57: ...CHAPTER5 General Presets...
Page 65: ...CHAPTER6 Voicing Controller Settings...
Page 72: ...Chapter 6 72...
Page 73: ...CHAPTER7 The Floppy Disk Drive...
Page 84: ...Chapter 7 84...
Page 85: ...CHAPTER8 Audio...
Page 95: ...CHAPTER9 Using MIDI...
Page 109: ...CHAPTER10 Appendix...
Page 159: ...Appendix 159 AUDIO BLOCK DIAGRAM...
Page 165: ...INSTRUMENTS LLC 1905 530C...


