8.
Press [Subnet M] and [Gateway] to specify the subnet mask and gateway address in the
same manner.
9.
Make sure [Specify] is selected Press [OK]
1.
Press the [User Tools] key, and then display the [Network] screen.
[System Settings] [Interface Settings] [Network]
2.
Enable IPv4 protocol, and then specify the IPv4 address.
• [Effective Protocol]
Enable IPv4 protocol.
Press [Active] under "IPv4" [OK]
• [Machine IPv4 Address]
Specify the printer's IPv4 address and subnet mask.
[Specify] [Machine IPv4 Address] Enter the IP address [OK] [Subnet Mask]
Enter the subnet mask [OK] [OK]
• [IPv4 Gateway Address]
Specify the IPv4 gateway address for the printer.
Enter the gateway address [OK]
Receiving an IP address automatically (DHCP)
Follow the procedure below to set the printer to receive an IP address automatically using DHCP. The
DHCP feature is active by default, so this procedure is only required if you have changed the default
settings.
• When [Auto-Obtain (DHCP)] is selected, you cannot configure the IP address, subnet mask, or
gateway address.
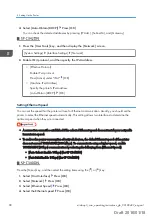
Press the [Menu] key, and then select the setting items using the [ ] or [ ] key.
1.
Select [Host Interface] Press [OK]
2.
Select [Network] Press [OK]
3.
Select [Machine IPv4 Address] Press [OK]
Configuration
midas-p3_com_operating_instructions_gb_00198499_eng.xml
91
Draft 2016/01/18


