THE PVCore 3D PRINTER
12/28/2016
BY RCJOSEB
PAGE 75 OF 107
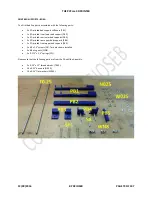
PRINT BED SUPPORTS – ASSEMBLY:
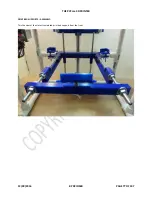
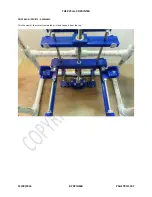
The print bed support is mounted to the Z Axis slide by placing its threaded rod into the slide and locking it in place with
opposing hex nuts. The upper print bed support is also locked in place using opposing hex nuts.
1.
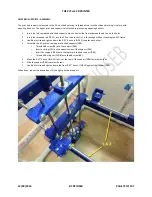
Insert the left completed print bed support onto the Z axis slide from underneath and line up the holes.
2.
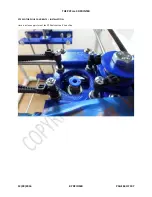
Insert the threaded rod (T0.25) into the Z Axis slide so that it’s in far enough without touching the PVC frame.
3.
Use Blue Loctite and tighten down the 0.25” hex nuts (N0.25) towards each other.
4.
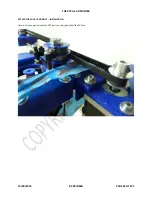
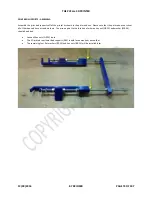
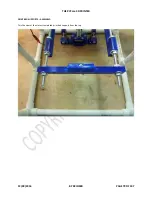
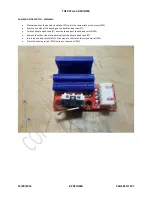
Assemble the 3D printed rear upper print bed supports (PB4):
o
Thread a #8 screw (S8) into the support (PB4).
o
Insert a spring (SP1) on the opposite side of the support (PB4).
o
Insert the support (PB4) onto the lower printed bed support (PB3).
o
Thread a #8 wing nut (WN8) onto the #8 screw (S8).
5.
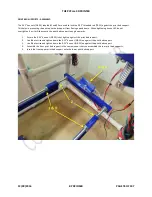
Move the 0.25” hex nut (N0.25) that is at the rear of the support (PB4) towards the rear.
6.
Slide the support (PB4) towards the rear.
7.
Use Blue Loctite and tighten down the front 0.25” hex nut (N0.25) against the support (PB4).
When done, repeat the above steps for the right print bed support.

