THE PVCore 3D PRINTER
12/28/2016
BY RCJOSEB
PAGE 71 OF 107
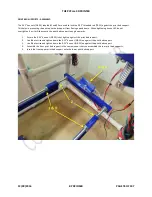
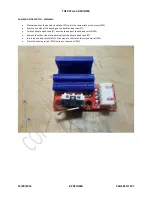
X AXIS ENDSTOP SWITCH MOUNT – ASSEMBLY:
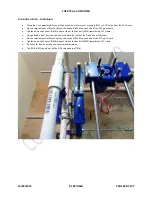
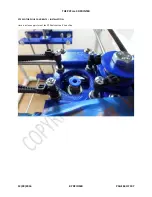
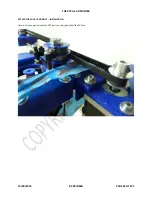
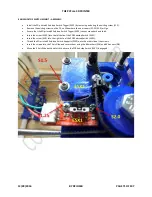
Install the 3D printed X Endstop Switch Trigger (ESX2) by removing and using the existing screw (S1.5).
Remove the existing screws on the Y Axis Slide where the new screws (S1.25/S2.0) will go.
Ensure that the 3D printed X Endstop Switch Trigger (ESX2) cannot move back and forth.
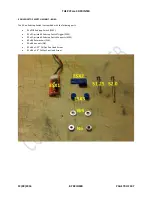
Insert the screw (S1.25) into the left hole of the PCB Endstop Switch (ESX1).
Insert the screw (S2.0) into the right hole of the PCB Endstop Switch (ESX1).
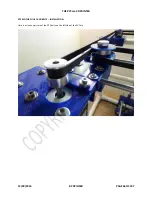
Thread the 3D printed X Endstop Switch Supports (ESX3) onto the other side of the screws.
Insert the screws into the Y Axis Slide and secure them using the #6 washers (W6) and #6 hex nuts (N6).
Move the X Axis Slide back and forth to ensure the PCB Endstop Switch (ESX1) is engaged.

