THE PVCore 3D PRINTER
12/28/2016
BY RCJOSEB
PAGE 43 OF 107
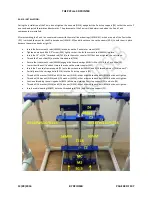
Z AXIS MOTOR MOUNT - ASSEMBLY:
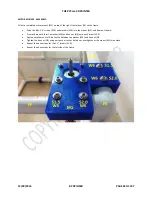
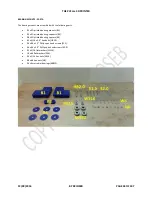
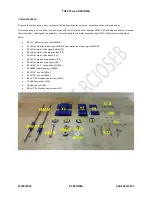
Orient the Nema 17 motor (NM) with the cables exiting to the right.
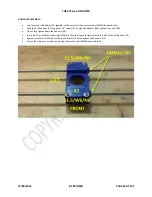
Slip the 3D printer motor mount (M2) over the motor (NM) with the cable cutout to the right.
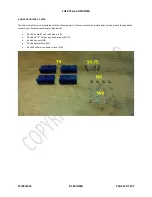
Use four M3 x 10mm (S10.0), #6 washers (W6) and Blue Loctite to attached the motor plate (M3) to the motor (NM).
Attach the flexible motor coupler (MC) to the Nema 17 motor (NM) with Blue Loctite.
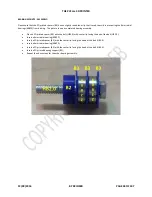
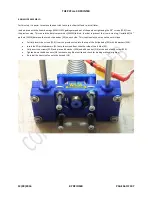
Attach the motor plate (M3) to the motor mount (M2) with two #6 washers (W6) and two #6 x 1.5 screws (S1.5).
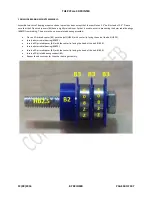
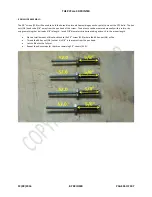
Thread the two carriage bolts (B51) all the way through the motor mount (M2) as shown.
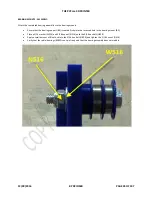
Thread one 5/15 washer (W516) and one 5/16 hex nut (N516) onto each carriage bolt (B516).
Apply s small amount of Blue Loctite to the carriage bolt and tighten down the 5/16 hex nuts (N516).
Do not overtighten the hex nuts (N516) or the motor mount (M2) may crack.
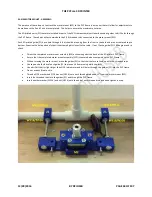
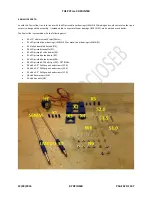
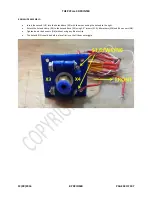
Insert two #6 x 0.5” Phillips pan head screws (S0.5) into the motor mount (M2) as shown.

