29
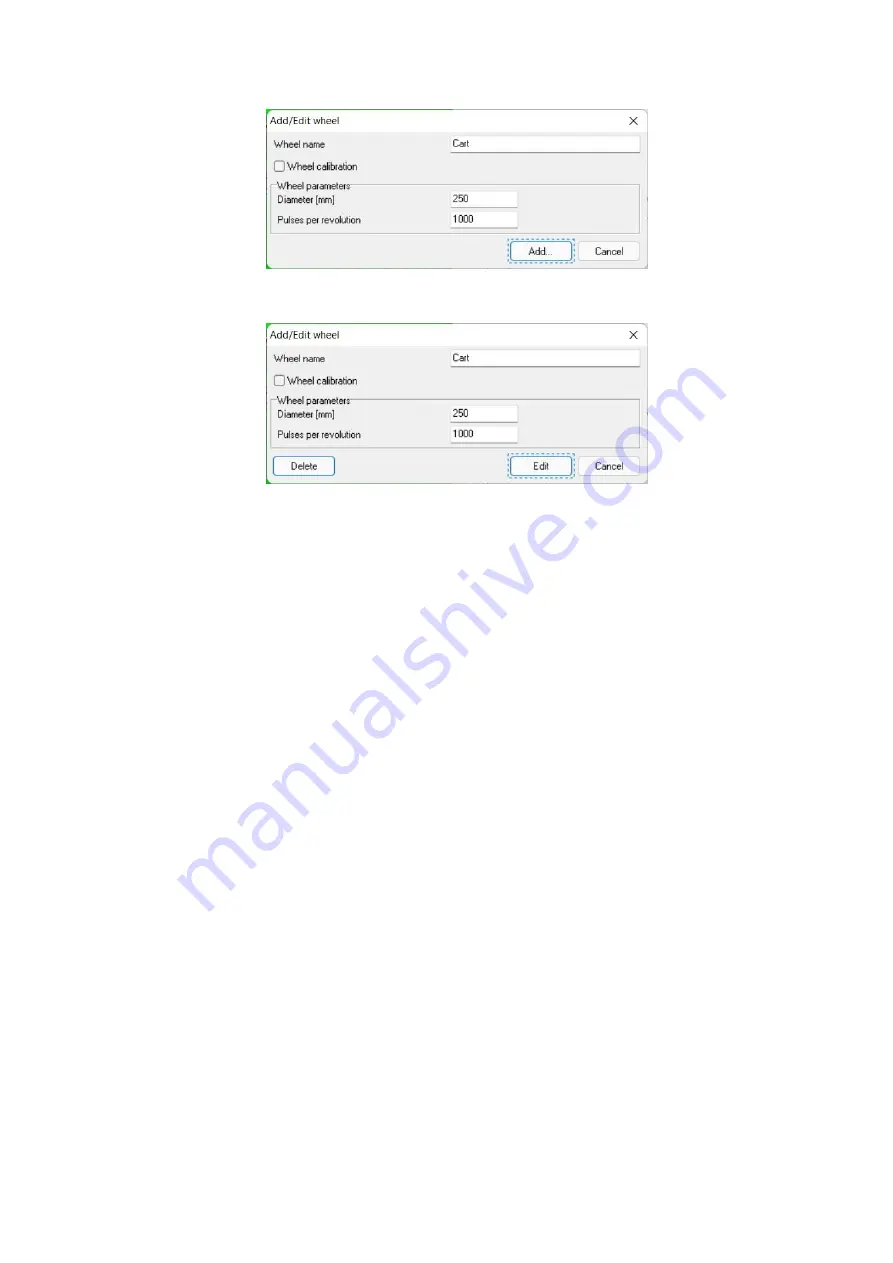
Fig.8.2. Survey wheel adding
Fig.8.3. Survey wheel editing
Note: The wheel’s diameter is changing during lifetime, due to its use and worn out.
o
Calibrating
– the wheel can be calibrated (or recalibrated) by passing a
precisely measured distance. In this case, user should select a calibration for an
existing wheel, or add a new one and select a wheel calibration instead of its
diameter and pulses per revolution. If selected wheel has a calibration
possibility, the
Recalibration
button appears in the wheel settings window,
press it and calibration window appears on the screen (Fig. 8.4). It is needed to
establish a connection with the GPR and get an access to the wheel data,
captured by the GPR for the wheel calibration. First of all, place the GPR
antenna, with the connected wheel, at the starting point of the calibrating path.
Setup all necessary settings of the GPR (take a look on the section 9. GPR
tuning at the page 34) and turn it on. Press the
Start
button and move the
antenna with a connected wheel for a precisely measured distance. Click the
Stop
button and enter the traveled distance. The software counts the number of
pulses received from the wheel encoder to assign it to the entered distance. It
will help to measure traveled distance precisely in the future. If necessary, you
can check the calibration quality by pressing the
Check
button and passing the
measuring distance again. These values should match with a correctly performed
calibration.


