I
NSTALLING
H
ARDWARE
C
ONFIGURATION
G
ROUP
4-
4
4
The
Country
of the organization
The
email address
of the organization.
The number of days the certificate will be valid in the
Valid For
field.
4. Choose the
Key Length
bit value of the certificate
5. Click
Generate
to generate the certificate.
6. Click
View SSL
tab to view the uploaded SSL certificate
in user readable format.
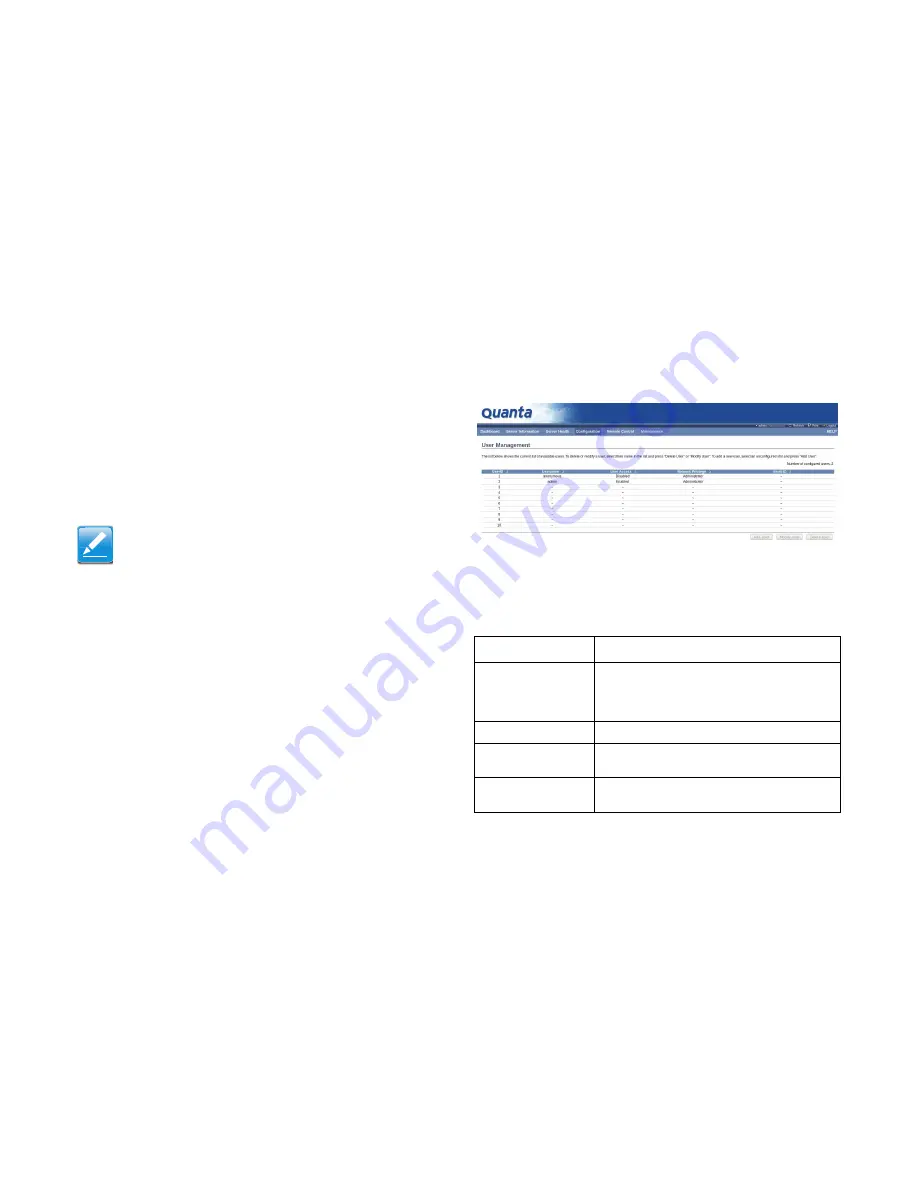
User Management
In MegaRAC GUI, the User Management page allows you to
view the current list of user slots for the server. You can add a
new user and modify or delete the existing users.
To open User Management page, click
Configuration > Users
from the main menu. A sample screenshot of User Manage-
ment Page is shown in the screenshot below.
Figure 4-35. User Management
The fields of User Management Page are explained below.
Note:
Once you Upload/Generate the certificates, only HTTPs ser-
vice will get restarted.
You can now access your Generic MegaRAC
®
SP securely
using the following format in your IP Address field from your
Internet browser: https://<your MegaRAC
®
SP’s IP address
here>
For example, if your MegaRAC
®
SP’s IP address is
192.168.0.30, enter the following:
https://192.168.0.30
Please note the <s> after <http>.You must accept the certifi-
cate before you are able to access your Generic MegaRAC
®
SP.
Table 4-42: User Management Page
I
TEM
D
ESCRIPTION
User ID
Displays the ID number of the user.
Note:
The list contains a maximum of ten users only.
User Name
Displays the name of the user.
User Access
To enable or disable the access privilege of the
user.
Network Privilege
Displays the network access privilege of the
user.
Summary of Contents for STRATOS S210 Series S210-X12MS
Page 21: ...About the Server Chapter 1 About the Server Chapter 1 ...
Page 37: ...Installing Hardware Chapter 2 Installing Hardware Chapter 2 ...
Page 78: ...BIOS Chapter 3 BIOS ...
Page 135: ...BMC Chapter 4 BMC Chapter 4 ...
Page 194: ...Jumpers and Connectors Chapter 5 Jumpers and Connectors Chapter 5 ...
Page 197: ...Rail Kit Assembly Chapter 6 Rail Kit Assembly Chapter 6 ...
Page 201: ...Troubleshooting Chapter 7 Troubleshooting Chapter 7 ...
Page 210: ...Safety Information Chapter 9 Safety Information Chapter 9 ...


