Configuring your Mailing System
129
8
Automatic Date Advance
The Automatic Date Advance function automatically changes the date printed on
mail pieces at a preset time to the next 'working day' date.
How to Set the Automatic Date Advance Time
How to Set the
Automatic Date
Advance Time
To set the auto date advance time and days:
1
As supervisor (see
How to Log in as Supervisor
p.110):
The
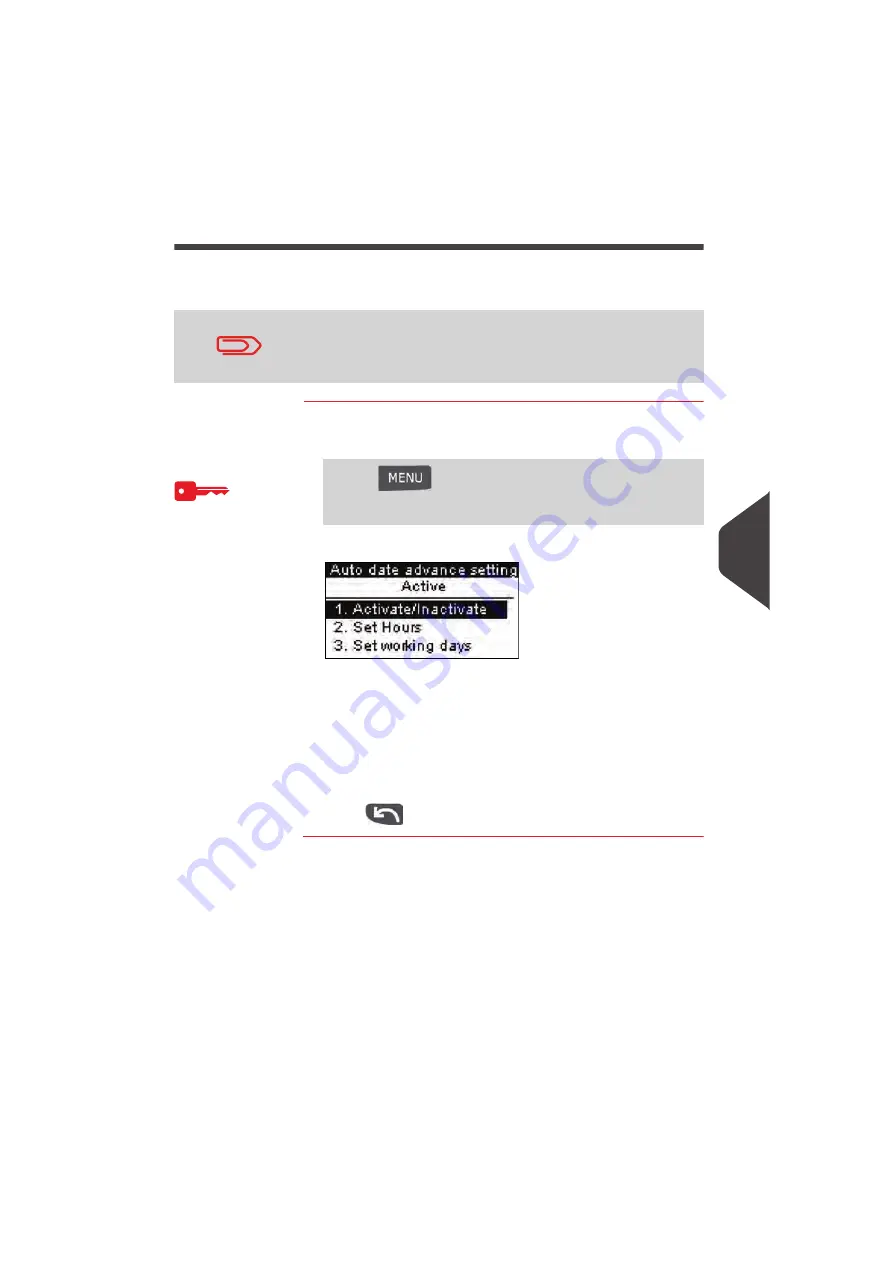
Automatic date advance
screen is displayed.
2
Select
ON
and press [OK] to enable the Auto Date Advance
function.
3
On the first screen, type 2, enter the Automatic Date
Advance time (00:00 hours is not allowed) and press [OK.]
4
On the next screen type 3 following by the day number on the
keypad to select/deselect each day, and then press [OK].
5
Press
to exit.
After 5pm, the mailing system automatically advances the post-
age date to the next day.
When the notification screen pops up, please press Yes to con-
firm.
Press
and
type
3.3.5
or select the path:
> Default user settings > Default imprint parameters >
Automatic date advance
Summary of Contents for IS-330
Page 1: ...User Guide IS 330 350 Franking machine ...
Page 5: ...Read this First 2 1 ...
Page 13: ...Read this First 10 1 ...
Page 15: ...Meet Your Mailing System 12 2 ...
Page 27: ...Processing Mail 24 3 ...
Page 61: ...Money Operations 58 4 ...
Page 67: ...Money Operations 64 4 ...
Page 69: ...Managing Accounts and Assigning Rights 66 5 ...
Page 83: ...Reports 80 6 ...
Page 101: ...Reports 98 6 ...
Page 103: ...Online Services 100 7 ...
Page 128: ...Configuring your Mailing System 125 8 Geodesic map ...
Page 129: ...Configuring your Mailing System 126 8 Geodesic codes ...
Page 141: ...Options and Updates 138 9 ...
Page 155: ...Options and Updates 152 9 ...
Page 157: ...Maintaining your Mailing System 154 10 ...
Page 167: ...Troubleshooting 164 11 ...
Page 175: ...Specifications 172 12 ...
Page 182: ...179 ...
Page 183: ...A0021288 A0021288 C 17 03 2020 ...
Page 184: ...A0021288 D 17 03 2020 ...


