


iSCSI GbE to SAS/SATA II RAID Subsystem
User Manual
81
4.4.1 Create Snapshot Volume
To take a snapshot of the data, please follow the procedures.
1.
Select
“/ Volume configuration / Virtual disk”
.
2.
Move the mouse pointer to the gray button next to the VD number; click
“Set
snapshot space”
.
3.
Set up the size for snapshot. The minimum size is suggested to be
20%
of VD
size, then click “
“. It will go back to the VD page and
the size will show in snapshot column. It may not be the same as the number
entered because some size is reserved for snapshot internal usage. There will
be 2 numbers in
“Snapshot (MB)”
column. These numbers are
“Used
snapshot space”
and
“Total snapshot space”
.
4.
There are two methods to take snapshot. In
“/ Volume configuration /
Virtual disk”
, move the mouse pointer to the gray button next to the VD
number; click
“Take snapshot”
. Or in
“/ Volume configuration /
Snapshot”
, click “
”.
5.
Enter a snapshot name, then click “
”. A snapshot VD is
created.
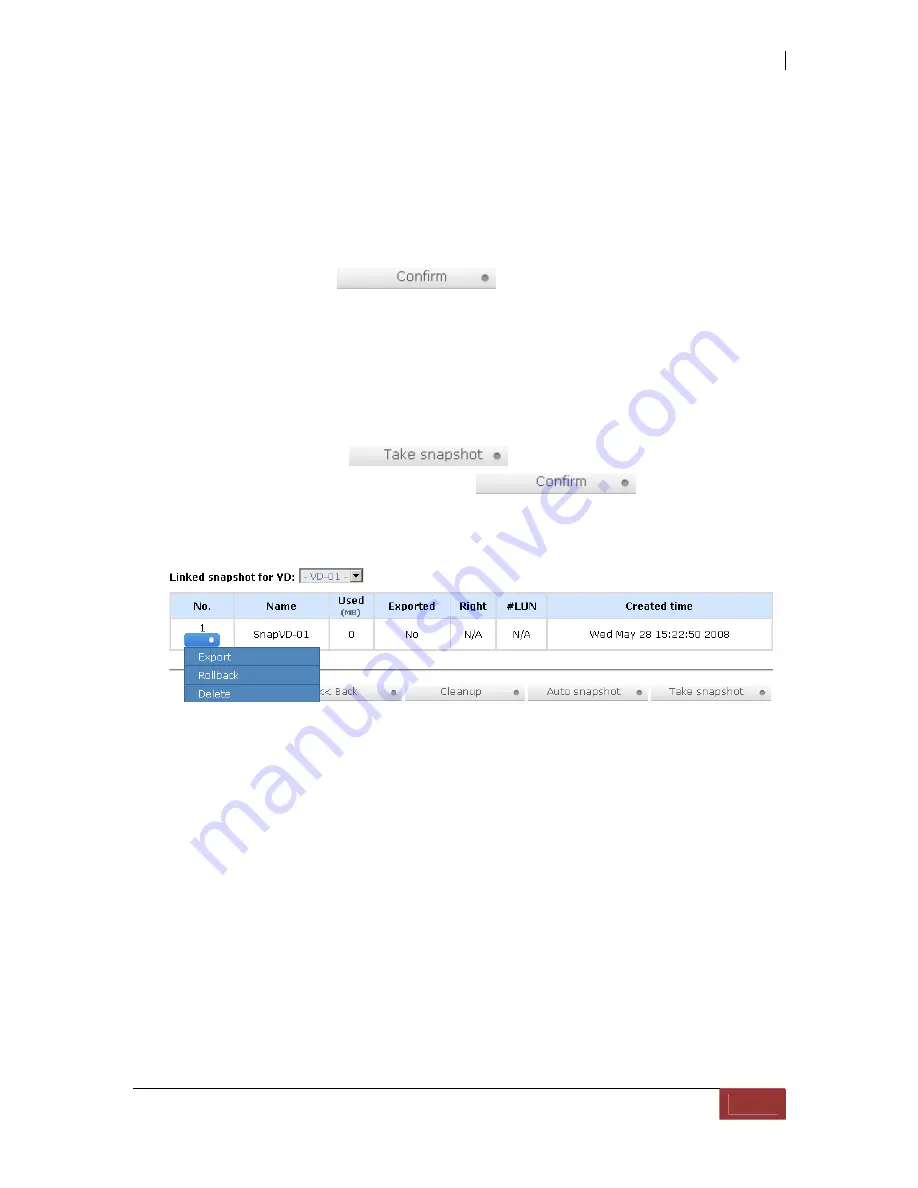
6.
Select
“/ Volume configuration / Snapshot”
to display all snapshot VDs
related to the VD
7.
Move the mouse pointer to the gray button next to the Snapshot VD number;
click
“Export”
. Enter a capacity for snapshot VD. If size is zero, the exported
snapshot VD will be read only. Otherwise, the exported snapshot VD can be
read/written, and the size will be the maximum capacity to read/write.
8.
Attach a LUN for snapshot VD. Please refer to the previous chapter for
attaching a LUN.
9.
Done. It can be used as a disk.


