68
Tap the
Camera
Settings
icon to access your camera general settings.
To change the settings:
1. Tap on a setting.
2. A window appears with the selected setting options. Tap an option to select it. A blue check
mark appears by the selected setting.
3. Tap
Settings
to return to the main camera Settings window.
4. Tap
Done
to save your selected settings and return to the Live Capture Mode screen.
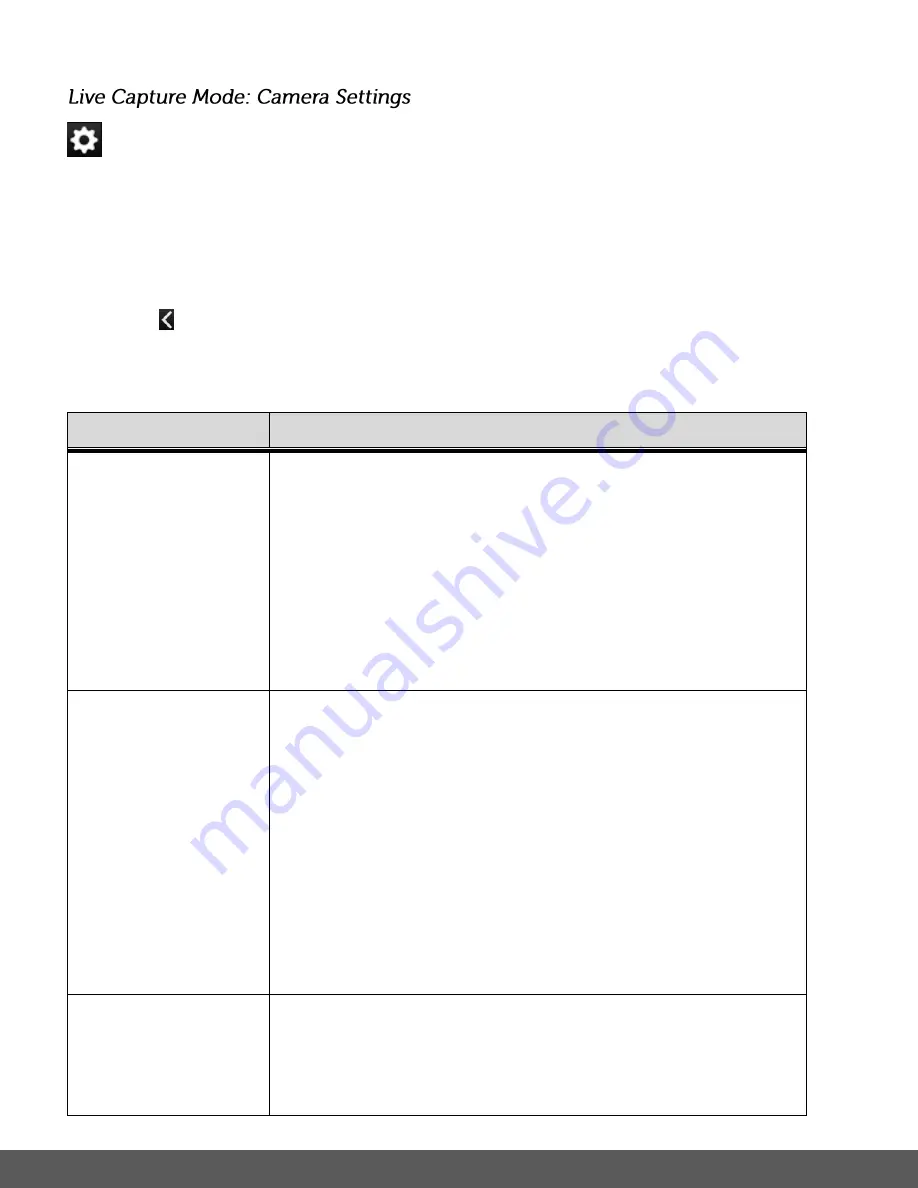
SETTING
DESCRIPTION
FREQUENCY
The ‘Frequency’ options represent the frequency of the electrical
current in fluorescent lighting sources in your locale. If your camera
is set to a frequency that does not match your country’s electric
current, you may see waves on the images taken by your camera.
The Frequency options include:
50Hz
– UK, Europe and Australia (default)
60Hz
– US, Canada and South America
DATE STAMP
The Date Stamp option allows you to activate the Date stamp
feature. When you capture an image with your camera, the image
can include a time stamp with the date or date and time that the
image was taken. This information can then be seen in Playback
Mode on the image itself.
The Date Stamp options include:
Off
– No date stamp appears on the recorded images.
Date
– The date appears on the recorded images
Date & Time
– The date & time appear on the recorded images.
FLASH LAMP
CONTROL
The Flash Lamp Control options allows you to set the Flash for
photos only. The Flash Lamp Control options include:
Auto
– When you want the camera to determine if Flash is
needed, select ‘Auto’. The camera’s flash automatically turns on


