42
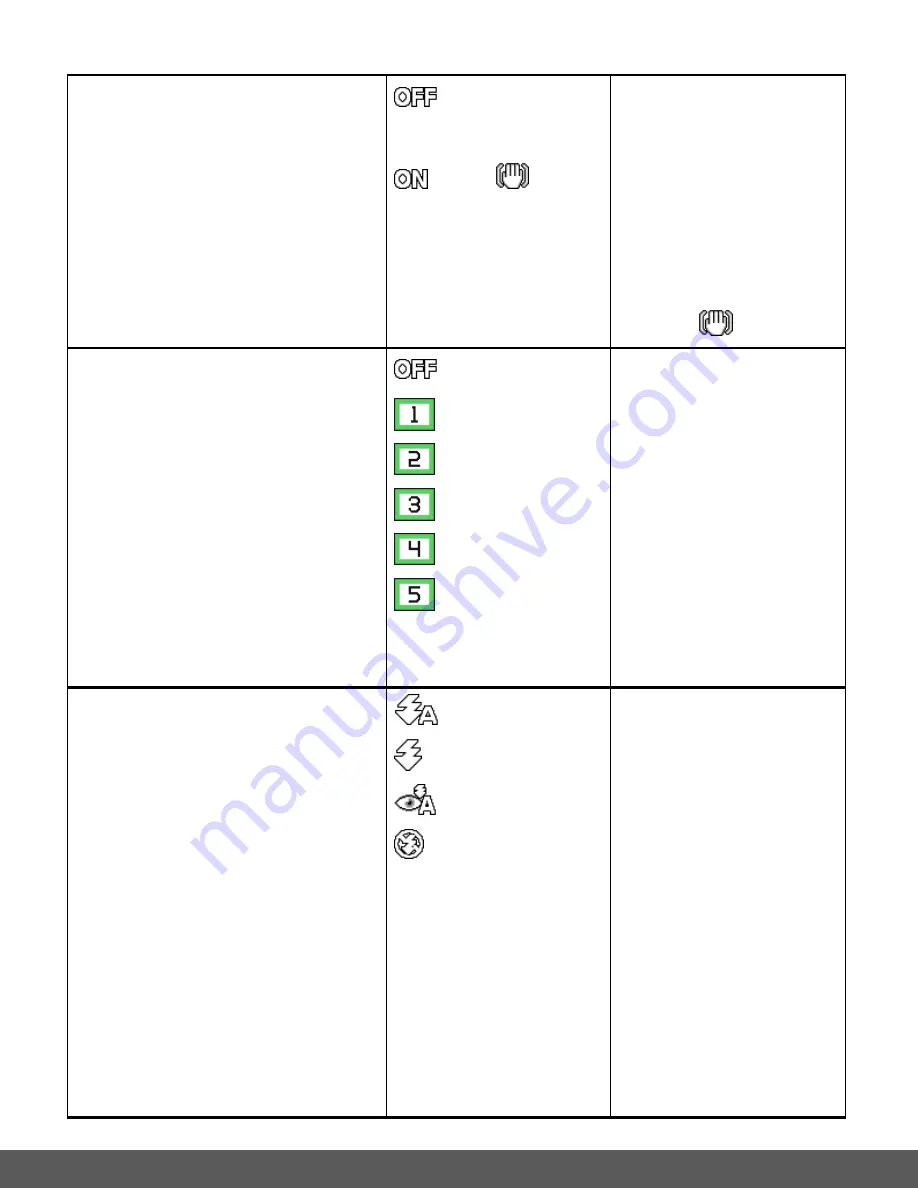
Stabilizer
Th
e ‘Stabilizer’ feature reduces image
distortion that can be caused by movement of
the camera while capturing the image.
Note
: The
‘ON’ setting option appears as an
icon on the LCD screen. The
‘Off’ setting
options does not appear as an icon on the
LCD screen.
Off
(Default)
– no
icon
On >
The Stabilizer menu
displays the Stabilizer
setting options.
Off
– The anti-shake
feature is turned off. No
icon appears on the LCD.
On
– The stabilizer feature
is turned on. The following
icon appears on the LCD
screen when the ON is
selected:
Photo Frame
The ‘Photo Frame’ allows you to take a photo
with a colorful and fun frame added to the
photo. The frame can be seen on the LCD
screen as you capture your images.
Off
(Default)
Frame 1
Frame 2
Frame 3
Frame 4
Frame 5
The Photo Frame menu
displays the Photo Frame
setting options.
Frame 1 > Birthday Frame
Frame 2 > Garden Frame
Frame 3 > Party Frame
Frame 4 > Love Frame
Frame 5 > Market Frame
Once a frame is selected,
the photos you take will
have the frame included.
Select ‘Off’ to disable the
frame feature and the
photos you will take will not
include any frame.
FLASH
There are several Flash options available on
your camera. The ‘Flash’ feature allows you
to increase the lighting as per your current
surroundings.
Note
: The selected setting option appears as
an icon on the LCD screen.
Auto
Forced Flash
Red-Eye
Off (No Flash)
(Default)
The Flash menu displays
the Flash setting options.
The Flash options include:
Auto Flash -
When you
want the camera to
determine if Flash is
needed, select Auto Flash.
The flash automatically
turns on according to the
lighting conditions.
When the LED light stops
blinking, the Flash is ready
for use.
Forced
On
– The flash is
enabled for each photo.
Note
: If you use this option
in a well-lit environment,
your photo may be appear
too bright/light (overexposed).


