6-2
SV61831 Rev. A DA50S/DA55S/DA70S/DA75S AddressRight™ Printers Service Manual
6 • Adjustments
You can test and calibrate the paper sensors without taking off the covers of
the printer. If you have access to the Control Panel software on the host PC,
use the options in the “Test and Adjust” screen (see also the built-in help for
more information).
You can also test and calibrate the sensors via the control panel on the print-
er. See
Appendix A - Menu Configuration
, Service Menu>Paper Sensor Test
for more information.
Checking/Calibrating the Paper Sensors
1. Remove the front cover.
2. Select Calibrate Paper Sensor from the Service Menu. (See page A-19 of
this manual for instructions on using the Service Menu.)
3. Raise the Print Station U-Channel Assembly to fully open with the sensor
path clear, then do the following:
· Run the calibration by pressing Enter on the panel
· If the calibration fails then:
A. Verify cable connections at sensor and at board
B. Verify that the sensor is not blocked
C. Clean the sensor for dirt and dust
· If the calibration still fails:
a. Replace the sensor and retry calibration
b. Replace main board and retry calibration
6.2 LCD
Display
(All Models)
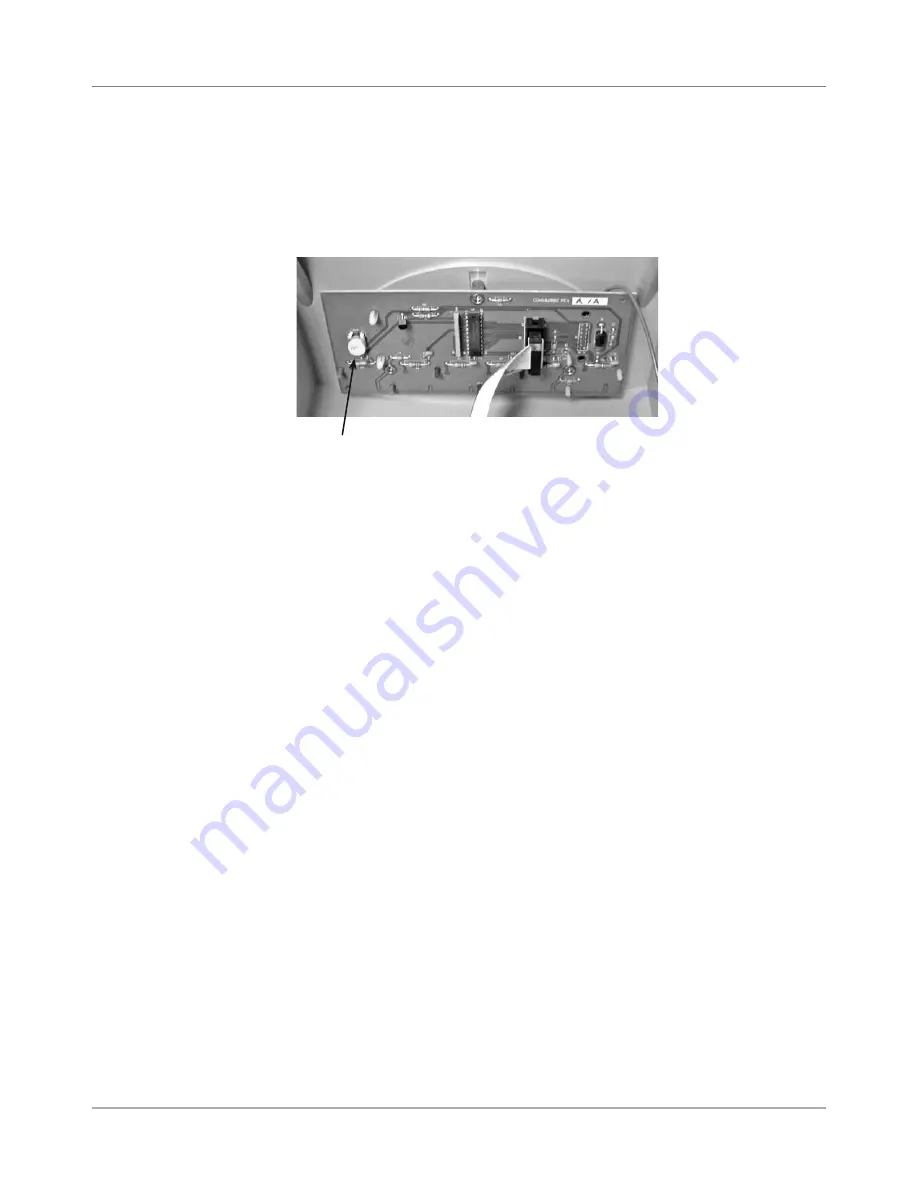
1. Unfasten operator side cover (two phillips screws). Lift up printer slightly
to completely remove cover (two printer feet are captured by the cover)
2. From behind cover, use a flat-blade screwdriver to adjust the yellow pot
(clockwise to increase brightness, counterclockwise to decrease bright-
ness).
Yellow Pot to Adjust LCD Display Under Control Panel Cover
Figure 6-1 LCD Board
6.3 Paper
Sensor
Test and
Calibration
(All Models)


