138
5
Edi
tin
g an
d Pri
n
ti
ng
Ima
g
es
3
Use the four-way controller
(
2345
) to select
o
(Cropping).
4
Press the
4
button.
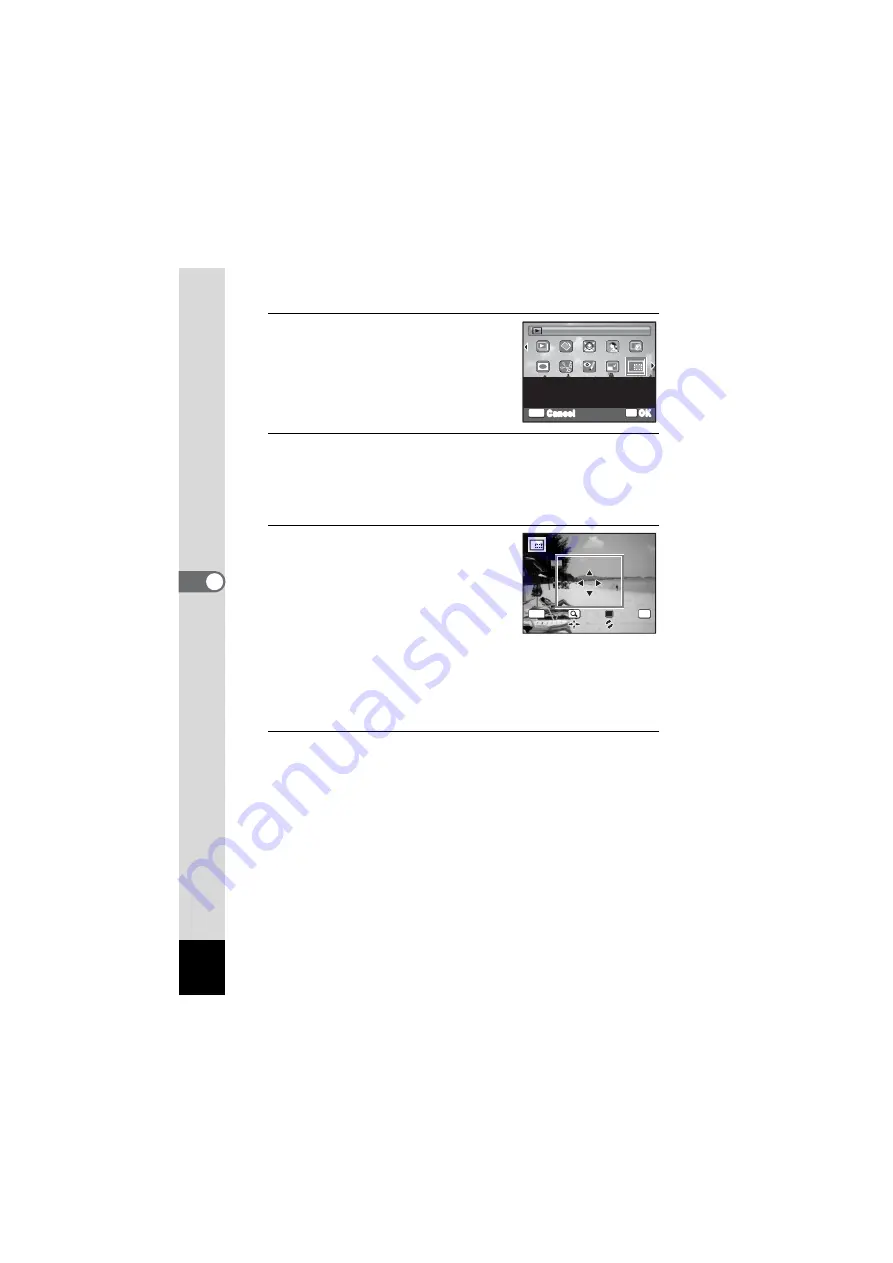
The cropping screen appears.
The largest size of the cropped image is shown with a green frame on
the screen. The cropped image cannot be larger than this cropping
frame size.
5
Choose the cropping conditions.
The following operations move the green
frame and set the area for cropping on the
screen.
Zoom/
f
/
y
button
Changes the size of the cropping
frame
Four-way controller (
2345
) Moves the cropping frame up, down,
left and right
Green button
Rotates the cropping frame
6
Press the
4
button.
The cropped image is saved with a new file name.
The number of recorded pixels is selected automatically according to
the size of the cropped image.
OK
OK
MENU
Cancel
For cropping images to the
size you like. Saved as a
new image
Cropping
Cropping
1/2
1/2
OK
MENU
C a n c e l
C a n c e l
O K
O K
O K
Summary of Contents for OPTIO NB1000
Page 9: ...Memo 7...
Page 28: ...Memo 26...
Page 51: ...2 Common Operations Understanding the Button Functions 50 Setting the Camera Functions 55...
Page 114: ...Memo 112...
Page 136: ...Memo 134...
Page 160: ...Memo 158...
Page 161: ...6 Settings Camera Settings 160...
Page 178: ...Memo 176...
Page 179: ...7 Viewing Images on a Computer Setting Up Your Computer 178 Connecting to Your Computer 185...
Page 222: ...Memo 220...
Page 223: ...Memo...


