Touch io Instruction Manual
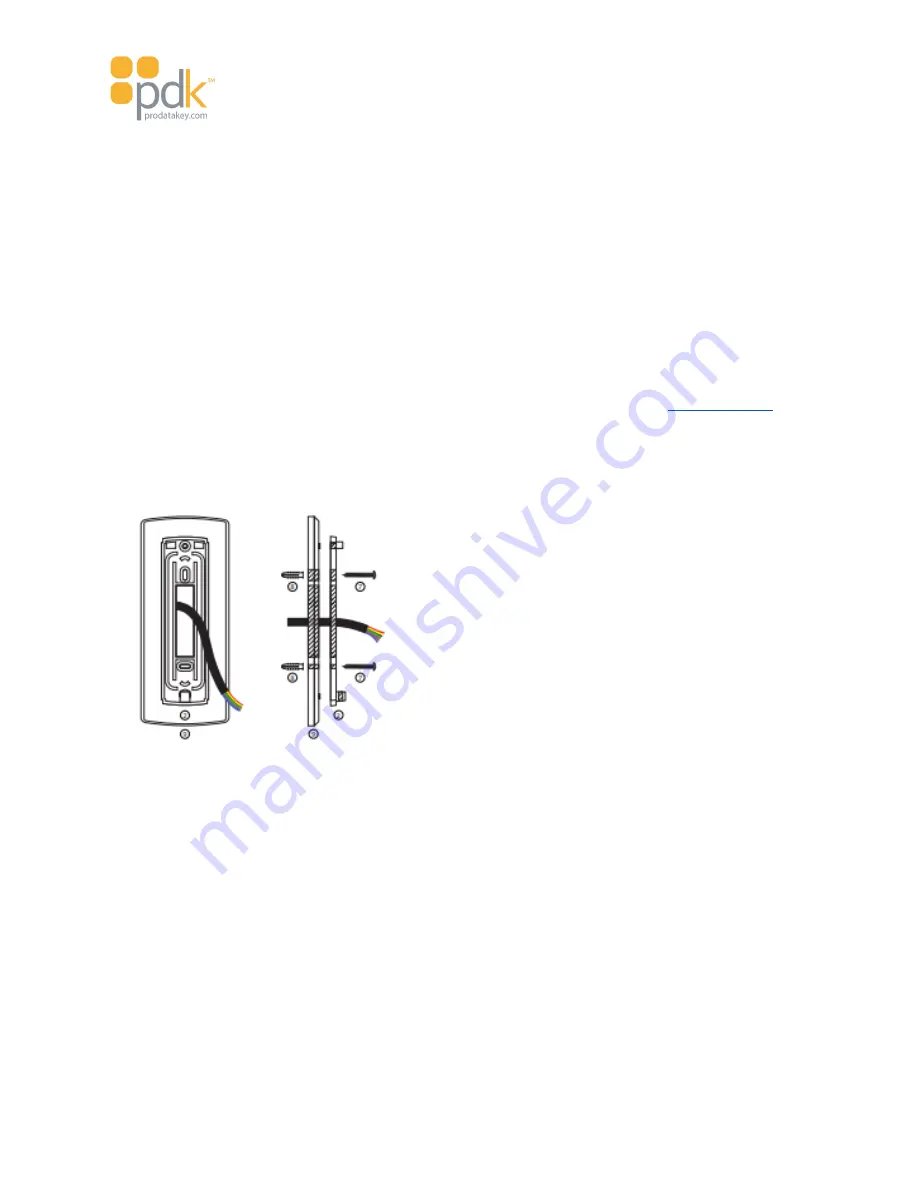
enough for the controller and reader wiring to pass through. (Ensure the hole is large enough to pass the
wires
back
through the hole. Once the wires have been paired and crimped, they will need room to be
pushed back and concealed inside the wall prior to mounting the reader.) Mount the clear bracket with
the single-gang plate by first securing the upper screw to the surface and then level and align the bottom
of the bracket. The bracket’s lower mounting stub should be at the bottom. Secure the bracket with the
lower screw.
4. Feed the wires from the door controller through the wall hole and bracket opening in preparation for
pairing with the
touch io
reader wires.
IMPORTANT
: Before pairing the wires, ensure the power source (including the backup battery) is NOT
energized until all wires are properly connected.
5. Strip the ends of the wires and pair the
touch io
reader wires with the appropriate
by
inserting the exposed ends of each wire pair (one of each door controller and
touch io
reader) into each
end of a B connector wire splice. Ensure that both wires are securely crimped at least three times inside
a B connector to ensure the wire pairs are held securely in the wire splice and will not disconnect.
Repeat this for each set of paired wires.
Page 27


