


65
4. Select a desired camera channel by performing one of
the following.
• Rotate the JogDial clockwise or counterclockwise.
• Press the + or – button.
• Enter the camera number with the numeric buttons.
Note:
You can select a camera channel from 1 to 256.
5. Rotate the shuttle ring clockwise or move the 3D joy-
stick to the right. The cursor will jump to the next item.
Note:
To return to Step 4, rotate the shuttle ring coun-
terclockwise or move the 3D joystick to the left.
6. Select E (= Enabled) or D (= Disabled) by performing
either of the following.
• Rotate the JogDial clockwise or counterclockwise.
• Press the + or – button.
E (= Enabled):
The operator can display the cam-
era image on the monitor and control panning/tilt-
ing. (VIEW & CONTROL)
D (= Disabled):
The operator can display the cam-
era image on the monitor, but cannot control the
panning/tilting. (VIEW ONLY)
Note:
To change the settings of other cameras, repeat
Step 4 to 6.
7. Press the ENTER or CAM (SET) button.
“Set OK?” will appear on the LCD.
Note:
To cancel the setting, press the EXIT or MON
(ESC) button. The LCD display will return to Step 6.
8. Press the ENTER or CAM (SET) button again.
The camera levels will be set for the selected table.
“Memory” will appear on the LCD for a few seconds,
and the LCD display will return to Step 1.
●
Camera Position Registration or
Clearing
This system controller can memorize camera position num-
bers, which are the combination of camera numbers and
preset position numbers. By entering a camera position
number, you can select a desired camera and preset posi-
tion at a time. You can register up to 1 000 camera position
numbers.
1. Display “Cam Posi Map” sub menu. (Refer to Step 1 to
4 of p. 51 To Recall Menu Functions.)
2. Select a camera position number to register by per-
forming one of the following.
• Rotate the JogDial clockwise or counterclockwise.
• Press the + or – button.
• Enter the camera position number with the numeric
buttons.
Notes:
• To register a new position number, press the
numeric buttons.
• You can select a camera position number from 0 to
999.
3. Rotate the shuttle ring clockwise or move the 3D joy-
stick to the right. The cursor will jump to the next item.
Note:
To return to Step 2, rotate the shuttle ring coun-
terclockwise or move the 3D joystick to the left.
4. Select a desired camera channel by performing one of
the following.
• Rotate the JogDial clockwise or counterclockwise.
• Press the + or – button.
• Enter the camera number with the numeric buttons.
Note:
You can select a camera channel from 1 to 999.
5. Rotate the shuttle ring clockwise or move the 3D joy-
stick to the right. The cursor will jump to the next item.
Note:
To return to Step 4, rotate the shuttle ring coun-
terclockwise or move the 3D joystick to the left.
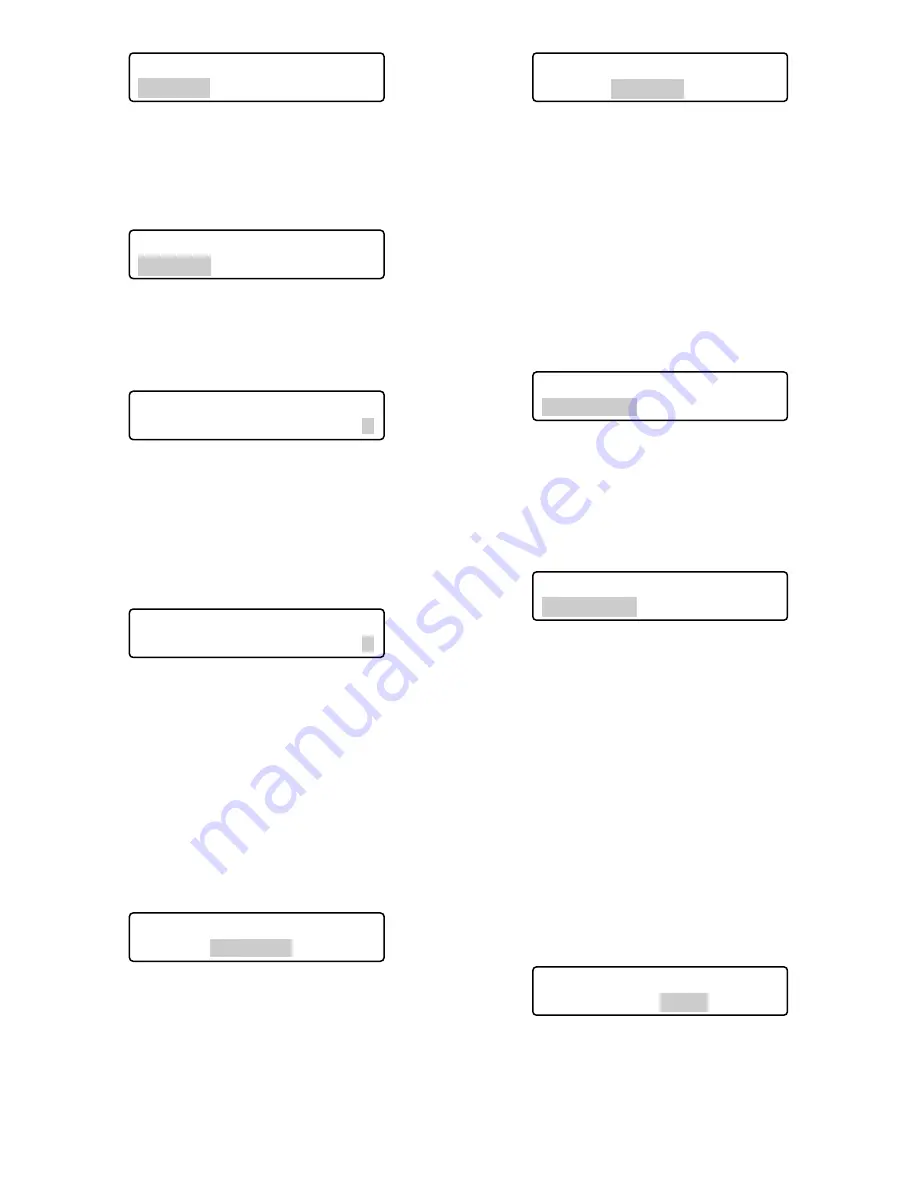
Camera Table3 406
Memory
Cam Posi Map 407
Cam-P016 C005 Pre--
Cam Posi Map 407
Cam-P001 C--- Pre--
Cam Posi Map 407
Cam-P016 C--- Pre--
Camera Table3 406
Cam064 =E
Camera Table3 406
Cam064 =D
Camera Table3 406
Set OK?
Camera Table3 406
Cam001 =E
Camera Table3 406
Cam064 =E
Summary of Contents for WVCU650 - SYSTEM CONTROLLER ADDENDUM
Page 77: ...77 ...


