48
6
Press the [SET] button.
7
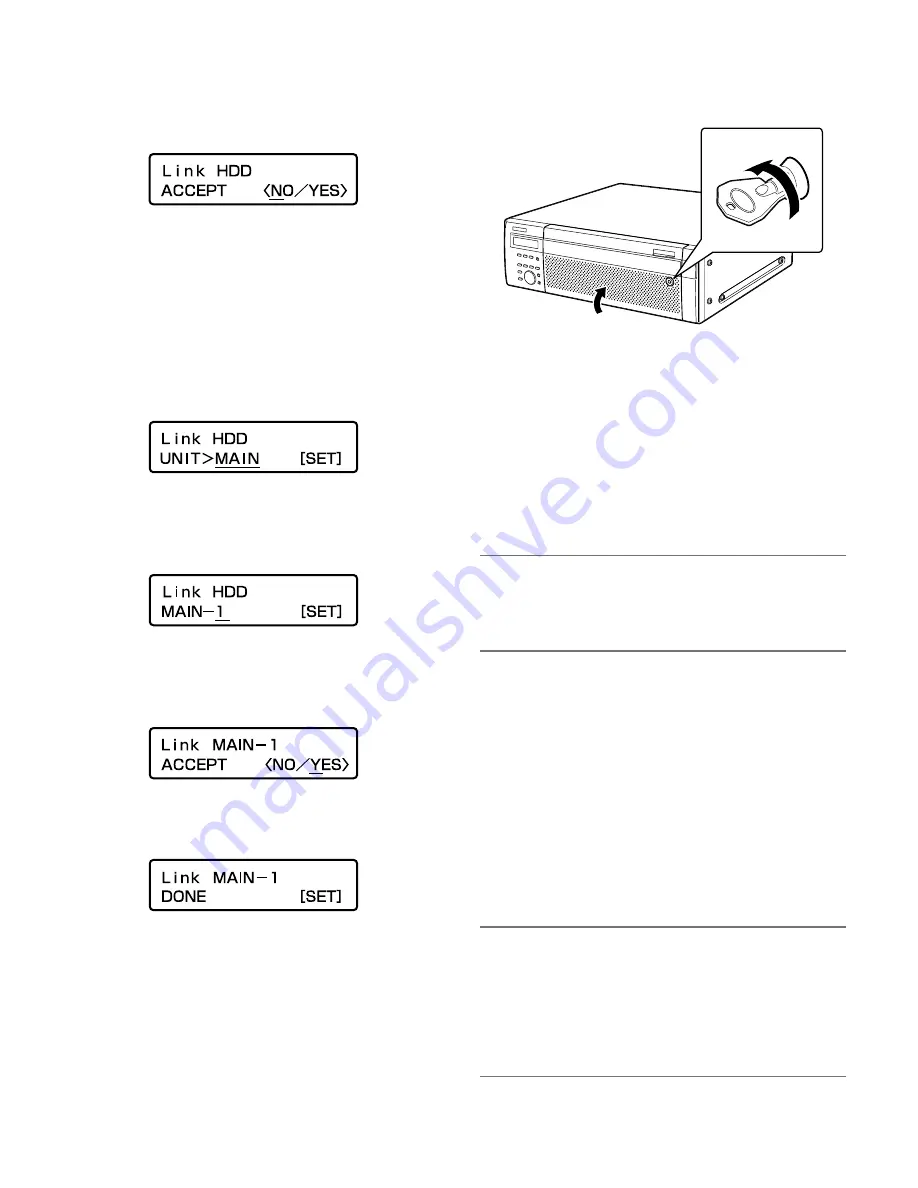
Press the arrow button (up or down) repeatedly until
the "Link HDD" indication is displayed.
8
Move the underscore mark below "YES" using the
arrow button (left or right), and then press the [SET]
button.
9
Select the device in which the HDD unit is installed
(recorder: MAIN, extension unit #: EXT#) using the
arrow button (up or down), and then press the [SET]
button.
10
Select the HDD slot number to which the HDD unit is
to be inserted using the arrow button (up or down),
and then press the [SET] button.
11
Move the underscore mark below "YES" using the
arrow button (left or right), and then press the [SET]
button.
The installed HDD unit will be recognized as the HDD units
for recording use.
When the [SET] button is pressed, the display on the LCD
will return to the time and date display (standby display).
12
Close the front cover and lock it by pushing and
turning the key to the left.
Keep the key in a safe place.
13
Check the disk information.
The following can be checked on the "Disk information"
page on the setup menu. Refer to the setup instructions
(PDF) for further information.
• Total capacity of the hard disk drive
• Available (remaining) capacity of the hard disk drive
• Hour meter
• Operational mode of the hard disk drive
• Time and date range of the images recorded on the
hard disk drive
Note:
• It is impossible to add a hard disk drive when running the
system in the RAID 5 or RAID 6 mode.
Even if an HDD unit is installed (linked) in an empty HDD
slot, it will not be added to the RAID array.
●
Install (link) all the HDD units in the
extension unit at the same time
It is possible to make all the HDD units in the extension unit
available (make them linked) at the same time. Refer also to
the operating instructions of the extension unit.
1
Install the HDD units in the extension unit.
Install the HDD units by following steps 1 and 2 of the
"Install the HDD units" (page 47).
When installing 2 or more HDD units, repeat steps 1 and 2.
Note:
• When installing 2 or more HDD units, do not install the
units at one time. Only after the recognition process of a
single HDD unit is complete, install the next HDD unit by
following steps 1 and 2.
When another HDD unit is installed in the process of the
recognition, the newly installed HDD unit will not be recog-
nized.
(2)
(1)


