Chapter 5
Operations — Content Manager
ENGLISH - 179
1
Link to backup file
Displays a list of links to backup files.
2 Selected display
When the link to a backup file is clicked, [Already selected] is
displayed.
Because this is displayed just by clicking a link without saving
the relevant file, make sure to save all backup files.
r
Procedure
1) Click the [Data management] tab.
f
The
[Data management]
page is displayed.
2) Select the method to select data to be the backup target using the radio buttons.
f
Select the method from among [All schedule], [Schedule(Week)], and [Schedule(Date)].
f
When [All schedule] is selected, proceed to Step
5)
.
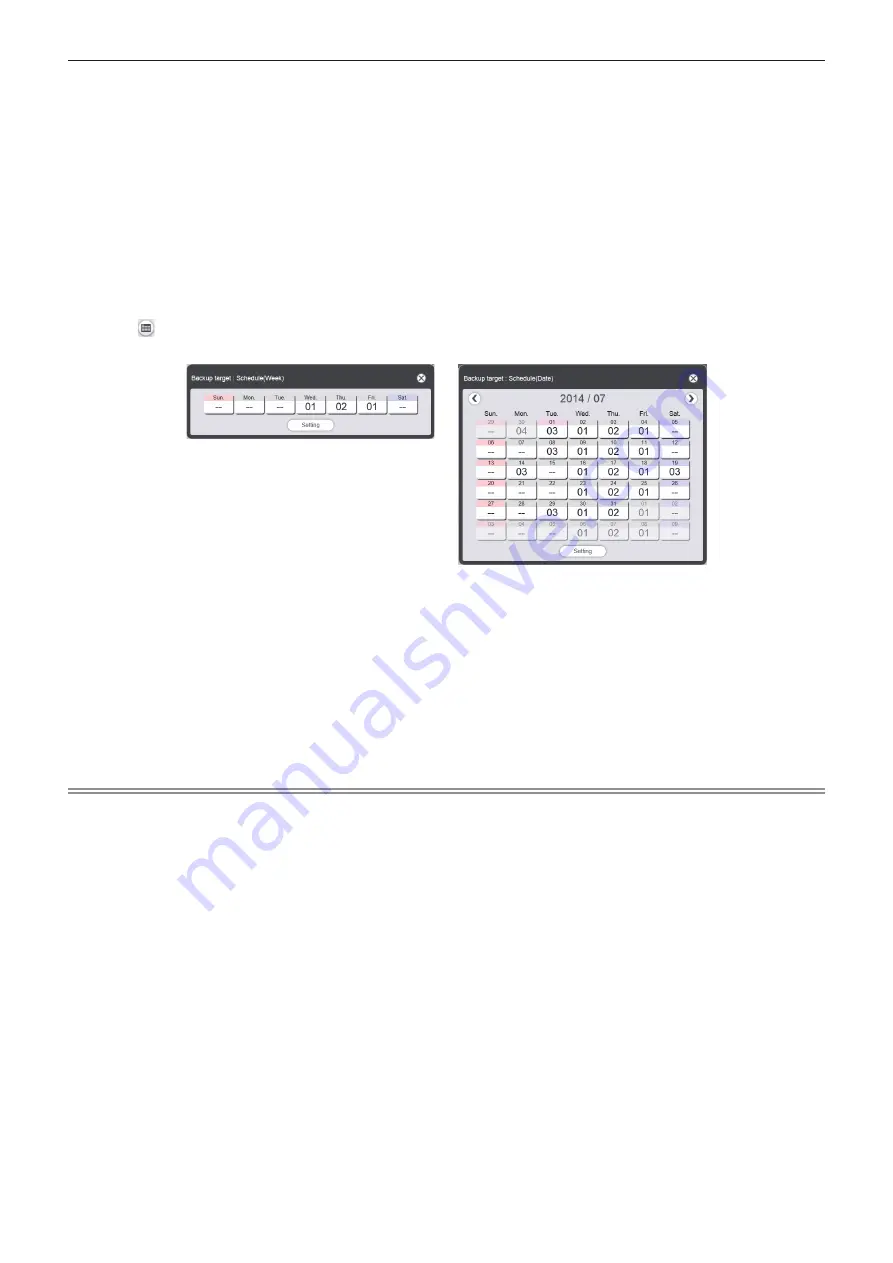
3) Click .
f
The backup target day of the week selection screen or the backup target date selection screen is displayed.
4) Select the date or day of the week in which the target schedule is registered, and click the [Setting]
button.
f
In the [Data management] page, the timetable ID and the timetable name are displayed.
5) Click the [Backup] button.
f
The
[Backup file list]
screen is displayed.
f
If the size of the backup target data is large, several backup files are created.
6) Click the link to the backup file, and save the file in any place.
f
The screen to be displayed will differ depending on the web browser.
Note
f
Backup data contains all information regarding the relevant schedule such as contents registered in the timetable and system setting
information.
f
Backup files are saved in tar format.
f
Acquisition of backups of schedules are supported only in Windows computers or Mac.
f
By uploading the obtained backup data to another projector equipped with the Content Manager, you can play back the same content in the
same schedule.


