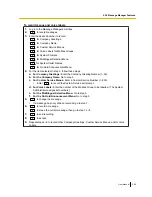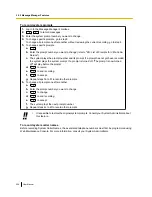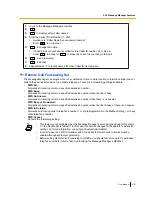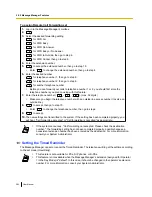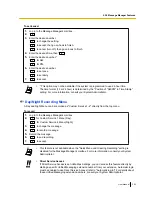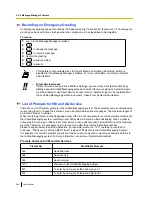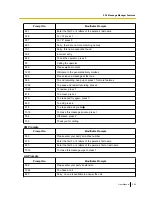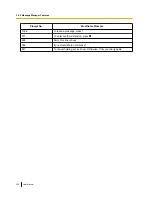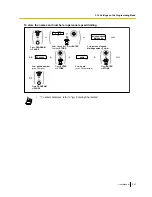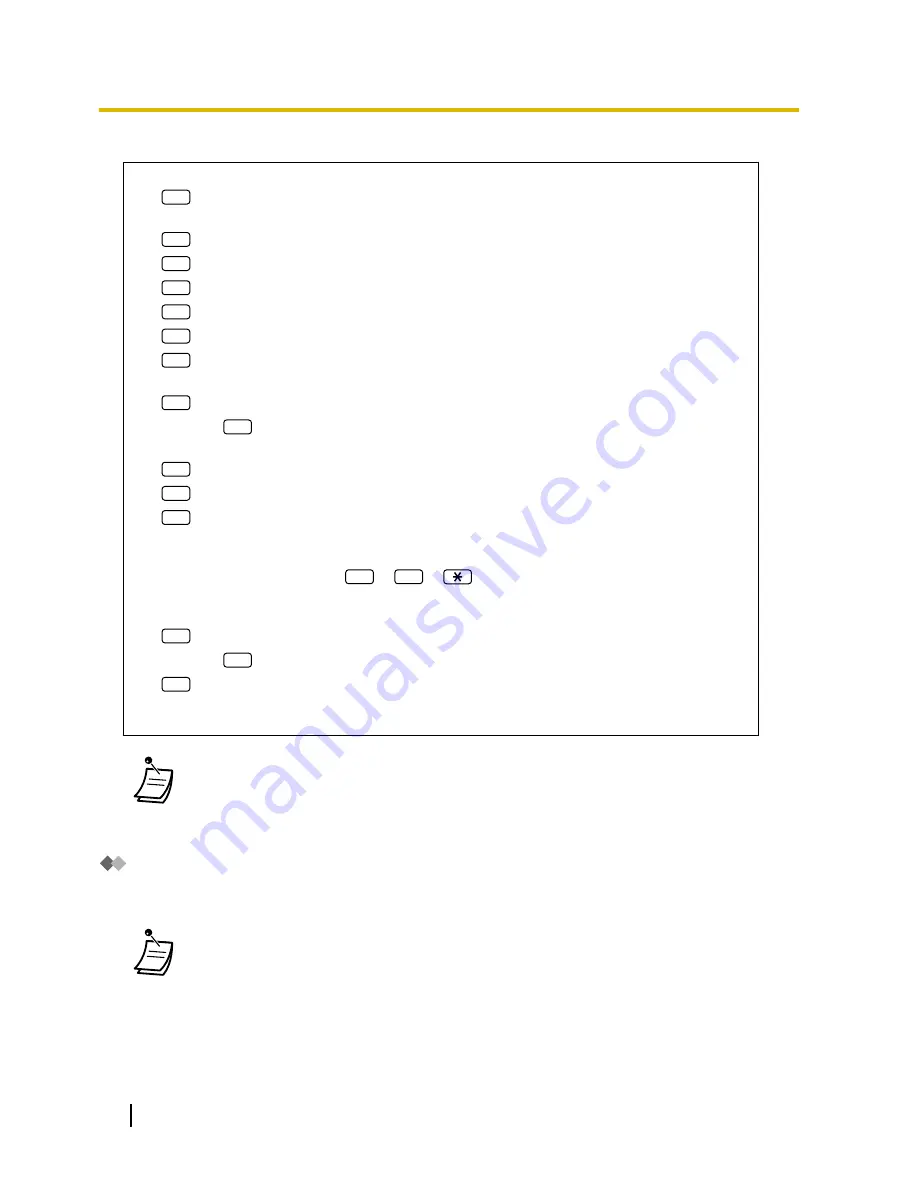
To assign Remote Call Forwarding set
1.
Log in to the Message Manager’s mailbox.
2.
5
3.
Select the desired forwarding setting.
1
for FWD All.
2
for FWD Busy.
3
for FWD No Answer.
4
for FWD Busy or No Answer.
5
for FWD to Outside, then go to step 6.
6
for FWD Cancel, then go to step 9.
4.
Enter the extension number.
5.
2
to accept the extension number, then go to step 10.
•
Enter
1
to change the extension number, then go to step 4.
6.
Enter the desired number.
1
for telephone number 1, then go to step 8.
2
for telephone number 2, then go to step 8.
3
for another telephone number.
•
Before you can forward your calls to telephone number 1 or 2, you should first store the
telephone numbers you plan on using with this feature.
7.
Enter the telephone number (
0
–
9
,
). (max. 32 digits)
•
Make sure you begin the telephone number with an outside line access number (to seize an
outside line).
8.
2
to accept, then go to step 10.
•
Enter
1
to change the telephone number, then go to step 6.
9.
2
to accept.
10.
The new settings are transmitted to the system. If the setting has been completed properly, you
will hear: "Call forwarding accepted" or "Call forwarding is cancelled" as appropriate.
•
If the system announces, "Call forwarding not accepted. Please check the destination
number.", the forwarding setting has not been completed properly, possibly because a
nonexistent extension number has been entered as the destination. For more information,
consult your System Administrator.
Setting the Timed Reminder
The Message Manager can set or cancel the Timed Reminder. The telephone will ring at the set time according
to the set mode (Once/Daily).
•
This feature is not available for PSs, SIP phones, or S-PSs.
•
This feature is not available when the Message Manager’s extension (assigned for Operator
1 in the Day Mode) is "default". In this case, it should be changed to the operator’s extension
number. For more information, consult your System Administrator.
292
User Manual
2.2.2 Message Manager Features
Summary of Contents for KX-NS1000
Page 12: ...12 User Manual Table of Contents...
Page 244: ...Table 1 Standard mode for RU model 244 User Manual 1 14 2 Using the Directories...
Page 245: ...Table 2 Option mode User Manual 245 1 14 2 Using the Directories...
Page 246: ...Table 2 Option mode for CE model 246 User Manual 1 14 2 Using the Directories...
Page 247: ...Table 2 Option mode for GR model User Manual 247 1 14 2 Using the Directories...
Page 248: ...Table 2 Option mode for RU model 248 User Manual 1 14 2 Using the Directories...
Page 256: ...256 User Manual 1 15 1 Cellular Phone Features...
Page 372: ...372 User Manual 5 5 1 PCMPR Software File Version 002 0xxxx...
Page 373: ...Index User Manual 373...
Page 381: ...User Manual 381 Notes...


