32
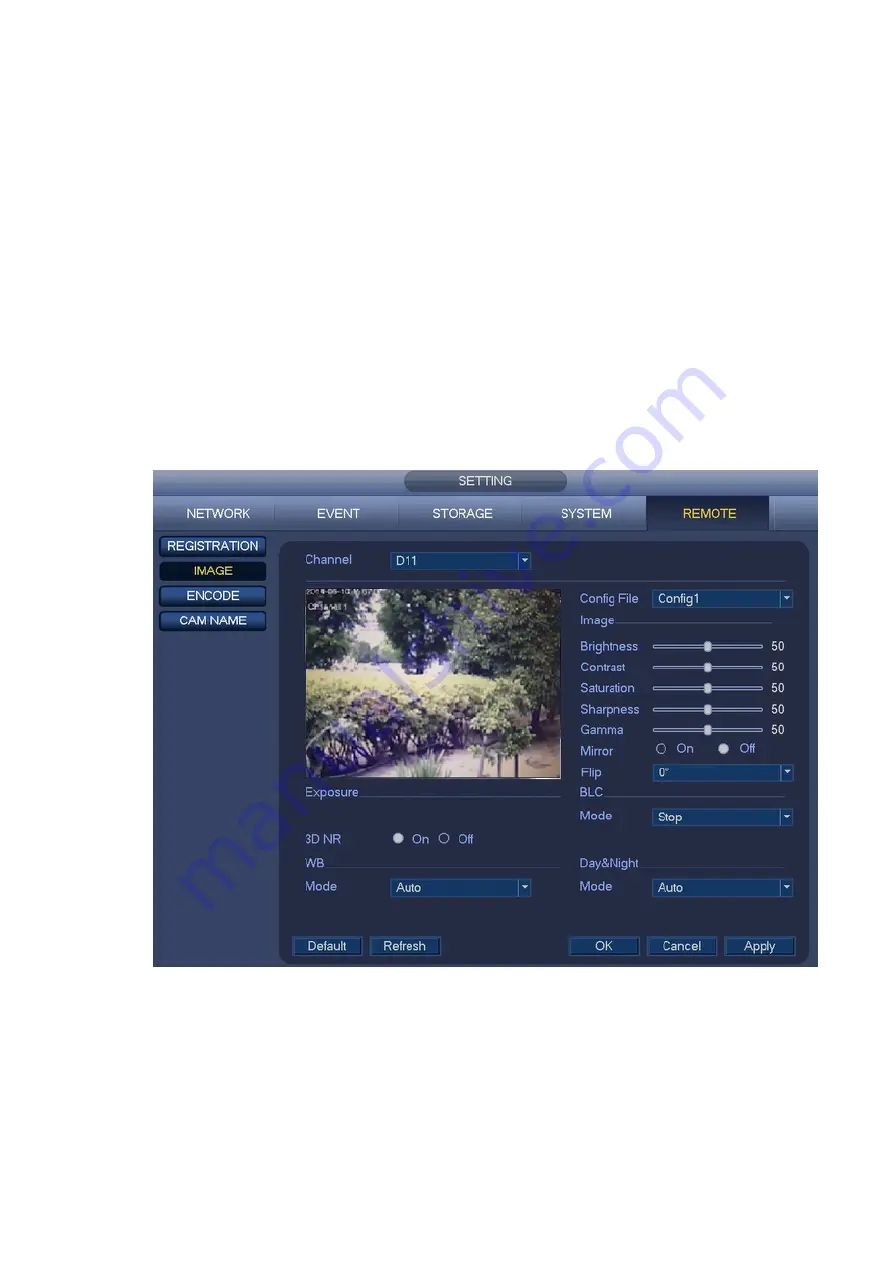
OFF: It is to disable the BLC function. Please note this function is disabled by default.
Scene Mode: It is to set the white balance mode. It has effect on the general hue of the video. This
function is on by default. You can select the different scene mode such as auto, sunny, cloudy, home,
office, night, disable and etc to adjust the video to the best quality.
Auto: The auto white balance is on. System can auto compensate the color temperature to make
sure the vide color is proper.
Sunny: The threshold of the white balance is in the sunny mode.
Night: The threshold of the white balance is in the night mode.
Customized: You can set the gain of the red/blue channel. The value reneges from 0 to 100.
Day&Night. It is to set device color and the B/W mode switch. The default setup is auto.
Colorfull: Device outputs the color video.
Auto: Device auto select to output the color or the B/W video according to the device feature (The
general bright of the video or there is IR light or not.)
B/W: The device outputs the black and white video.
Sensor: It is to set when there is peripheral connected IR light.
Please note some non-IR series product support sensor input function.
Figure 4-16
4.4.4 ENCODE
See 4.7.1.
Summary of Contents for K-NL404K/G
Page 1: ...Network Disk Recorder User s Manual Model No K NL404K G K NL408K G K NL416K G Version 1 0 1 ...
Page 25: ...19 3 4 Connection Sample Please refer to Figure 3 1 for connection sample Figure 3 1 ...
Page 69: ...63 Figure 4 61 Figure 4 62 ...
Page 90: ...84 Figure 4 78 Figure 4 79 ...
Page 91: ...85 Figure 4 80 Figure 4 81 ...
Page 99: ...93 Figure 4 87 Figure 4 88 ...
Page 100: ...94 Figure 4 89 Figure 4 90 ...
Page 101: ...95 Figure 4 91 Figure 4 92 ...
Page 104: ...98 Figure 4 94 Figure 4 95 ...
Page 112: ...106 Figure 4 104 Figure 4 105 ...
Page 121: ...115 Figure 4 115 ...
Page 127: ...121 Figure 4 120 Figure 4 121 ...
Page 132: ...126 Figure 4 125 Figure 4 126 ...
Page 139: ...133 Figure 4 133 Figure 4 134 ...
Page 141: ...135 Figure 4 136 ...
Page 143: ...137 ...
Page 146: ...140 Figure 4 140 Step 2 Click Add user button Enter Add user interface See Figure 2 141 ...
Page 151: ...145 Figure 4 144 1 ...
Page 157: ...151 ...
Page 158: ...152 Please input your username and password Figure 5 3 ...
Page 191: ...185 Figure 5 41 ...
Page 192: ...186 Figure 5 42 ...
Page 193: ...187 Figure 5 43 Figure 5 44 Figure 5 45 ...
Page 198: ...192 ...
Page 199: ...193 Figure 5 49 ...
Page 205: ...199 Figure 5 55 Figure 5 56 ...
Page 208: ...202 Figure 5 60 Figure 5 61 Figure 5 62 ...
Page 239: ...233 ...


