55
Basic operations
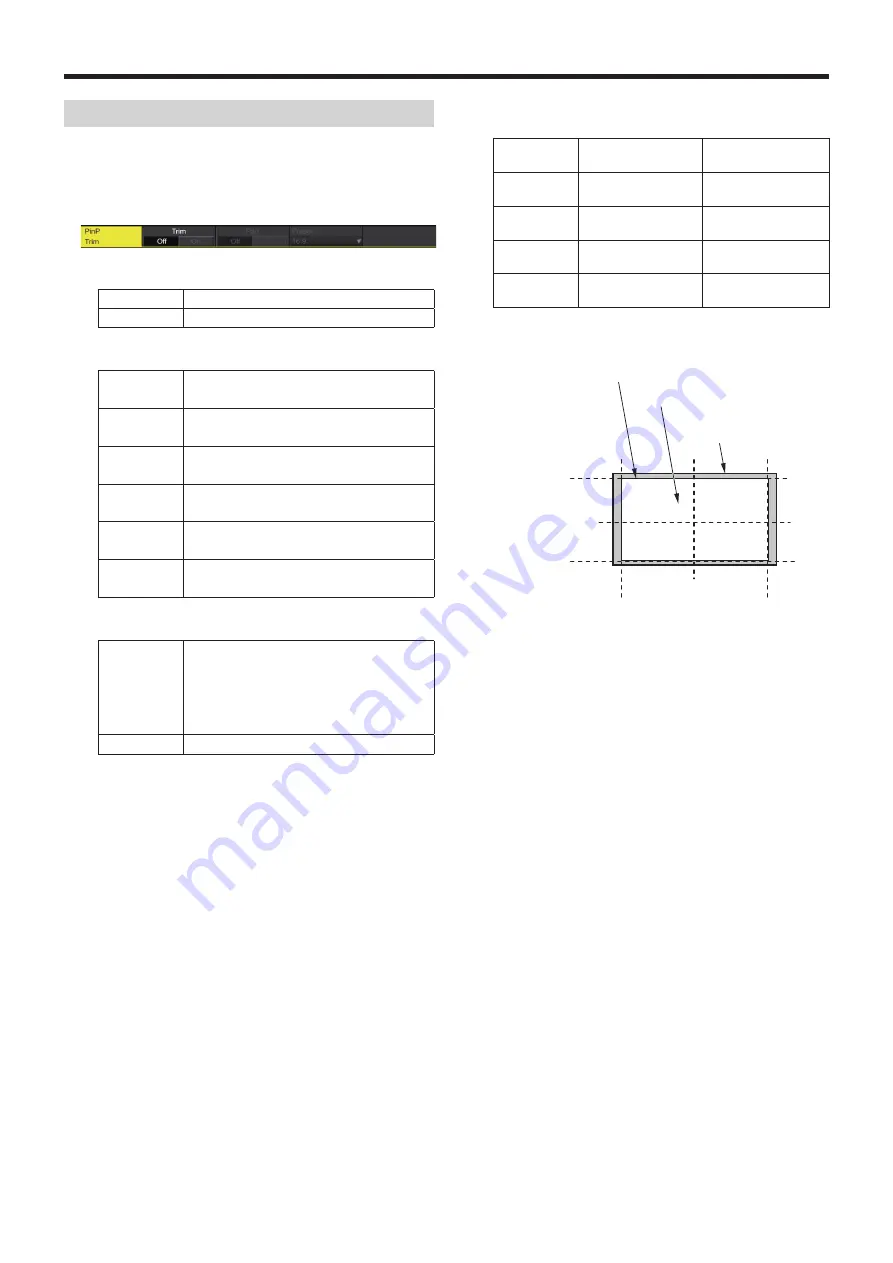
Trimming settings
1
Press the [Key2] button (2K/HD mode) or [Key1] button
(in 4K mode or when there is no 4K DVE unit) to light
the button and display the PinP menu.
2
Use [F1] to display the Trim sub menu.
3
Use [F2] to set the trimming On/Off in the Trim item.
On
Trimming is performed.
Off
No trimming
4
Use [F3] to select the trimming type.
16:9
Automatic trimming so that the aspect ratio
is 16:9.
12:9
Automatic trimming so that the aspect ratio
is 12:9.
9:9
Automatic trimming so that the aspect ratio
is 9:9.
7:9
Automatic trimming so that the aspect ratio
is 7:9.
6:9
Automatic trimming so that the aspect ratio
is 6:9.
Manual
Trimming using the value set on the Trim sub
menu.
5
Use [F3] to set the Pair On/Off in the Pair item.
On
The settings are changed in such a way that
the Left and Right trimming amounts and the
Top and Bottom trimming amounts are the
same.
(This makes for a top-bottom and left-right
symmetry.)
Off
Pair settings not made.
6
Use [F1] to display the PinP Trim Adjust sub menu, and
use [F2], [F3], [F4] and [F5] to set the trimming values.
Operation/
Parameter
Description of
setting
Setting range/
Initial value
F2/
Left
Trimming value at
left
−50.00 to 50.00/
−50.00
F3/
Top
Trimming value at
top
−50.00 to 50.00/
50.00
F4/
Bottom
Trimming value at
bottom
−50.00 to 50.00/
−50.00
F5/
Right
Trimming value at
right
−50.00 to 50.00/
50.00
<Trimming settings> (figure shows the default values)
0
60
-60
60
0
-60
TOP (50)
BOTTOM (-50)
(-50)
LEFT
(50)
RIGHT
Area trimmed
Area where PinP is effective
Original size of PinP


