– 75 –
Chapter 5 Web Screen — Setting the network
f
After clicking the [Save] button, it will take approximately two minutes to complete configuration of the camera.
Disconnecting the AC adaptor or LAN cable before the configuration has been completed will invalidate the settings. In such a case, configure the
settings again.
@
@
NOTE
t
This camera does not support IPv6.
t
If a firewall (including software) is used, set access permission to all UDP ports.
t
This camera does not support DNS.
Installing the plugin software for display
To display the IP images of the camera on the web browser, the plugin software for display Network Camera View 4S (ActiveX
®
) must be installed.
Install the plugin software for display from this camera directly.
f
[Automatic installation of viewer software] is set to [On] in the factory settings, which allows installation from the camera directly.
If a message appears on the information bar of the web browser, refer to “Troubleshooting” (page 94).
f
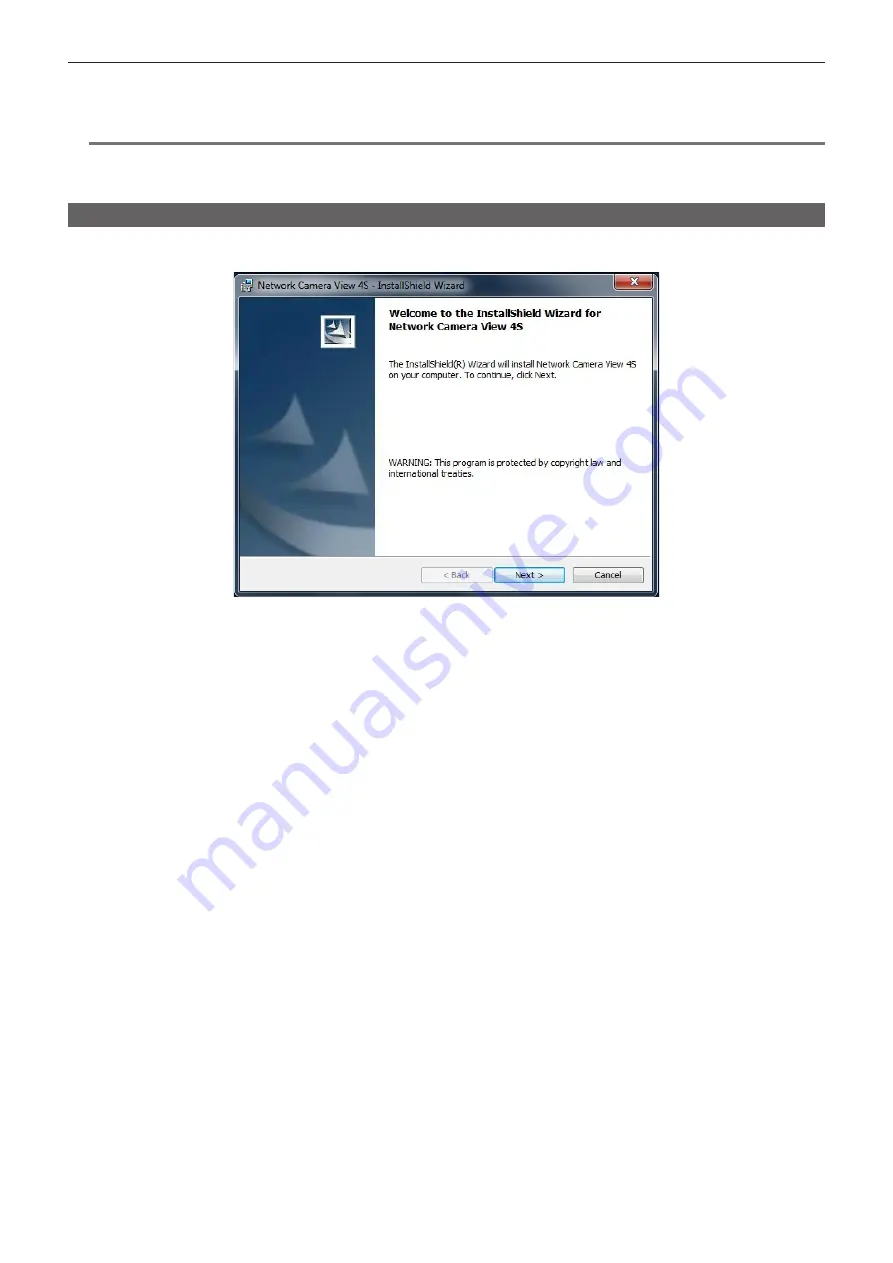
When the [Live] screen is displayed for the first time on a computer, the installation screen for the plugin software for display (ActiveX
®
) appears. Install
the software by following the on-screen instructions.
f
If the installation screen appears every time you switch the screen even after the plugin software for display (ActiveX
®
) has been installed, restart your
computer.
f
To uninstall the plugin software for display, select [Control Panel] - [Program] - [Uninstall programs] on Windows, and uninstall Network Camera View
4S.
f
The plugin software for display requires a license for each computer.
The number of times that the plugin software for display has been automatically installed can be viewed in the [Maintenance] screen. (page 90)
For details on licenses, contact your dealer.


