80
Since there are so many different types of ignition switches, chose from one of
the following that best fits your application:
GM Key on the Column
Many of the popular retro fitted GM columns people use in their vehicles have the
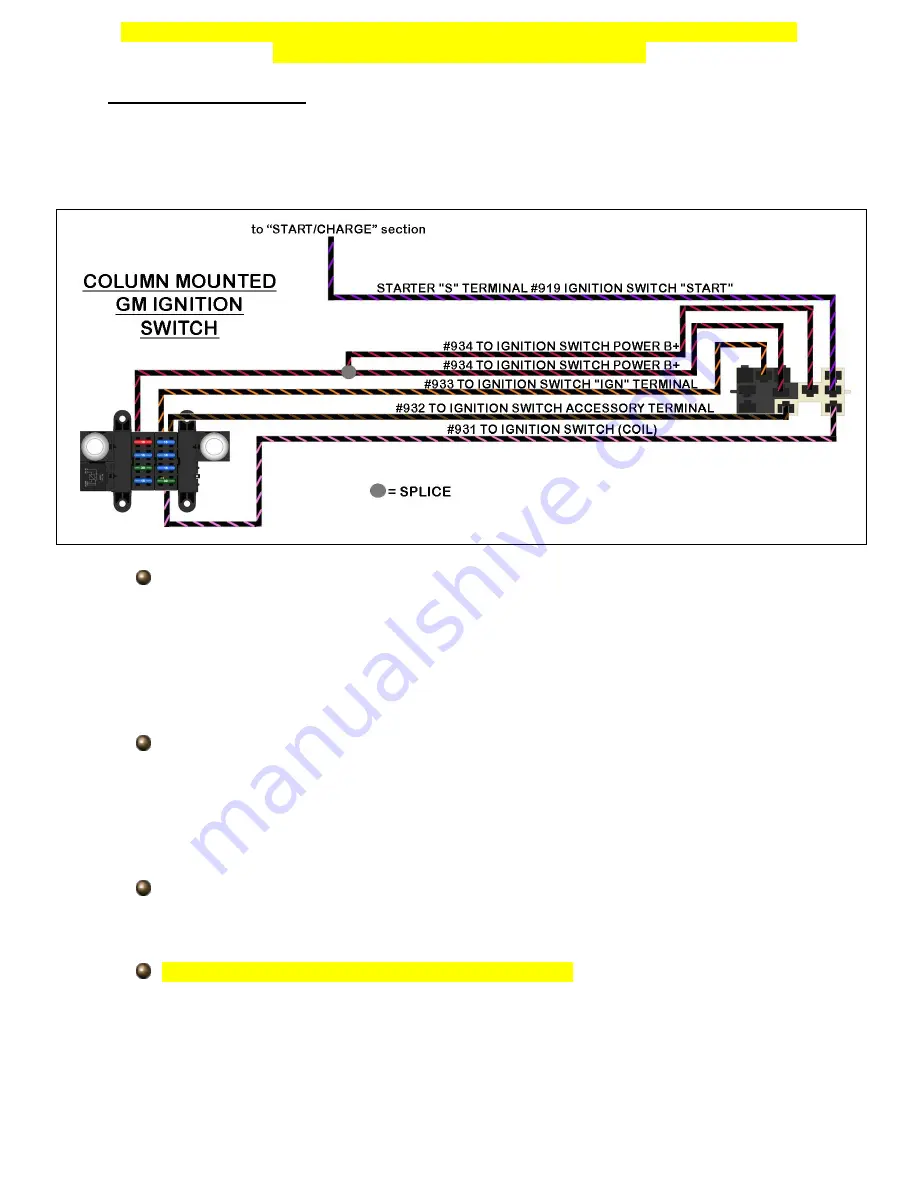
ignition key on the column. The diagram and instructions below instruct you on how to
properly connect to this type of ignition switch.
If you have connectors from the harness previously installed or from the donor
vehicle your column came from, cut them from the harness leaving about 4”-6” of
wire coming from the connectors. This will create pigtails which will allow you to
splice the new 10309 nostalgia harness to.
Painless offers part
#30805
and
#30806
which have these connectors. Insulated
terminals can also be used in the event you do not have connectors.
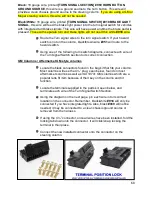
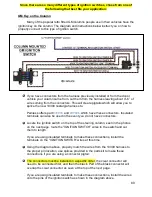
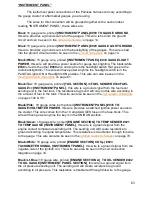
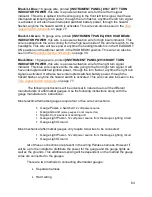
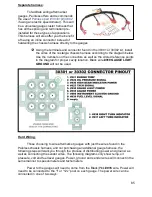
Locate the ignition switch on the top of the steering column, seen in the photos
on the next page, route the “IGNITION SWITCH” wires to the switch and cut
them to length.
If you are using insulated terminals to make these connections, install the
terminals on the “IGNITION SWITCH” wires at this time.
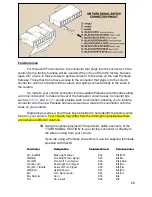
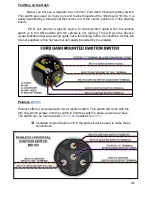
Using the diagram above, properly match the wires from the 10309 harness to
the proper pin location, use splices provided in the parts kit to make these
connections if you are using a connector pigtail.
The connectors must be installed in a specific order; the clear connector will
need to be connected first, and then the black. Part of the black connector will
overlap the clear connector as seen at the top of the next page.
If you are using insulated terminals to make these connections, install the wires
onto the pins of the ignition switch as shown in the diagram above.

