134
When the PAR Clip is used
The PAR Clip is an Optional accessory but it is highly recommended. Make sure that the
fiber bundle is inserted all the way into the hole provided on the PAR Clip, and lock the
locking screw. If the PAR clip is being used, then the measurement may be triggered by
pressing the black button on the bottom of the PAR Clip, the measure button on the touch
screen, or the red button on the end of the fiber optic probe. Y(II) varies with most types
of plant stress, but it also varies with light level and temperature. For that reason, the
PAR Clip measures both variables and records the information in the measuring file with
Y(II) and ETR. When the PAR clip is attached to the fluorometer, it overrides “default
PAR” values. A shroud must be used to dark adapt the sample when a PAR Clip is used.
The instrument default setting is off for this feature. By using the + or – button, the
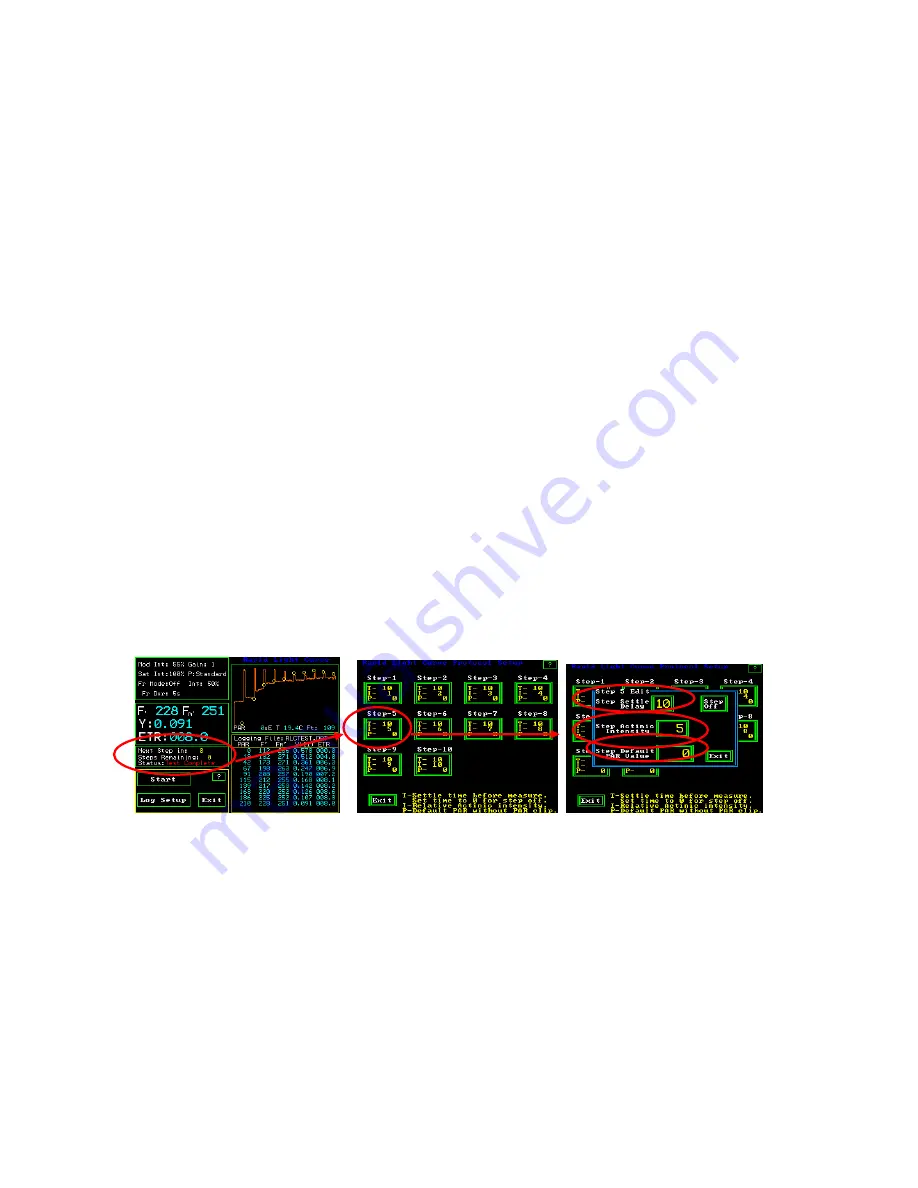
feature can be turned on. The “Step Actinic Intensity” can be set between from 0% to
100% in 1% increments 100% is approximately 1,500
:
mols with a PAR Clip. The actual
intensity is recorded when the PAR Clip is used. Shade leaves usually saturate at about
300
:
mols, while most sun leaves saturate below 1,500 umols. Most steps should be
lower than saturation with one step at or above saturation levels(Ralph 2005). It is
common for “Step Actinic Intensities” to be set at 1, 2, 3, 4, 5, 6, 7, 8, 9, 10 for shade
leaves. Higher values are required for sun leaves.
For Y(II) and ETR measurements, the “Step Settle Delay”, or the time the actinic light is
on for each step, should be set from ten seconds to two minutes before measurement.
When done, one can exit or press save preset. The intensity of the pre-actinic light is held
constant with in a few
:
mols by the PAR Clip to ensure steady state photosynthesis. This
feature is great for the Lab.
RLC Measuring Screen Step Set Up Screen Individual Step Set Up Screen


