


LBL-2008-41-v5 OptoMonitor 3 IFU_en Rev 2021-08
84
|
P a g e
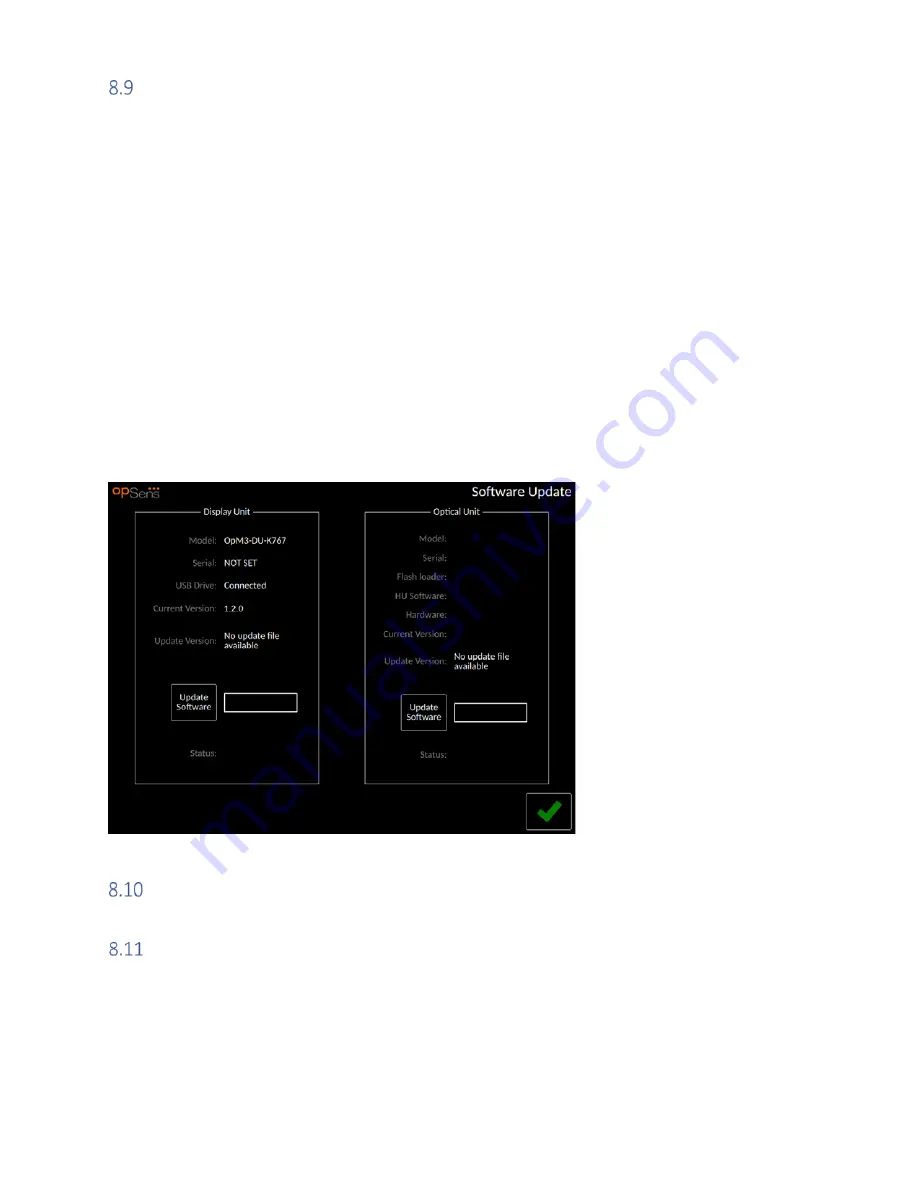
Software Update for Display Unit or Optical Unit
From the maintenance screen, press the “Software Update” button located in the bottom-middle
portion of the grid.
The OptoMonitor 3 Optical Unit and Display Unit firmware can be updated by using a USB key
containing the required software files. Both the Optical Unit and Display Unit are updated one at a time.
The procedure to update either the OU or the DU is the same, however each has its own unique
“Update Software” button. A wired connection is required between DU and OU in order to update the
OU (it must not be wireless).
1-
Insert the USB key into the connector. (NOTE: May require removal of the protective panel
along the bottom of the device to gain access to the USB port).
2-
On the DU screen, press the SETTINGS button.
3-
Press the MAINTENANCE button.
4-
Enter the Maintenance Access Code and confirm.
5-
Press the SOFTWARE UPDATE button; the “Connected” status appears beside the “USB Drive”
field.
6-
Press the “Update Software” button in the appropriate section to update the DU or the OU. The
update process will then begin if a valid update file was found on the USB drive.
Factory Settings
The Factory button is reserved for Manufacturer internal use.
DUMP Logs
The dump logs contain messages concerning the DU or OU history.
To export the logs, insert an USB drive in the DU and navigate to the Maintenance window.
Press “DUMP DU Log” button to save DU logs to the USB drive.
Press “DUMP OU Log” button to save OU logs to the USB drive.