


Chapter 5: Configuration with ACE Software
l
Teach a picture-taking position, which is where the robot will move so that it doesn’t
block the camera’s view of the pick surface.
l
Teach the camera field-of-view to the robot.
l
Teach the robot where to place a part that it has picked.
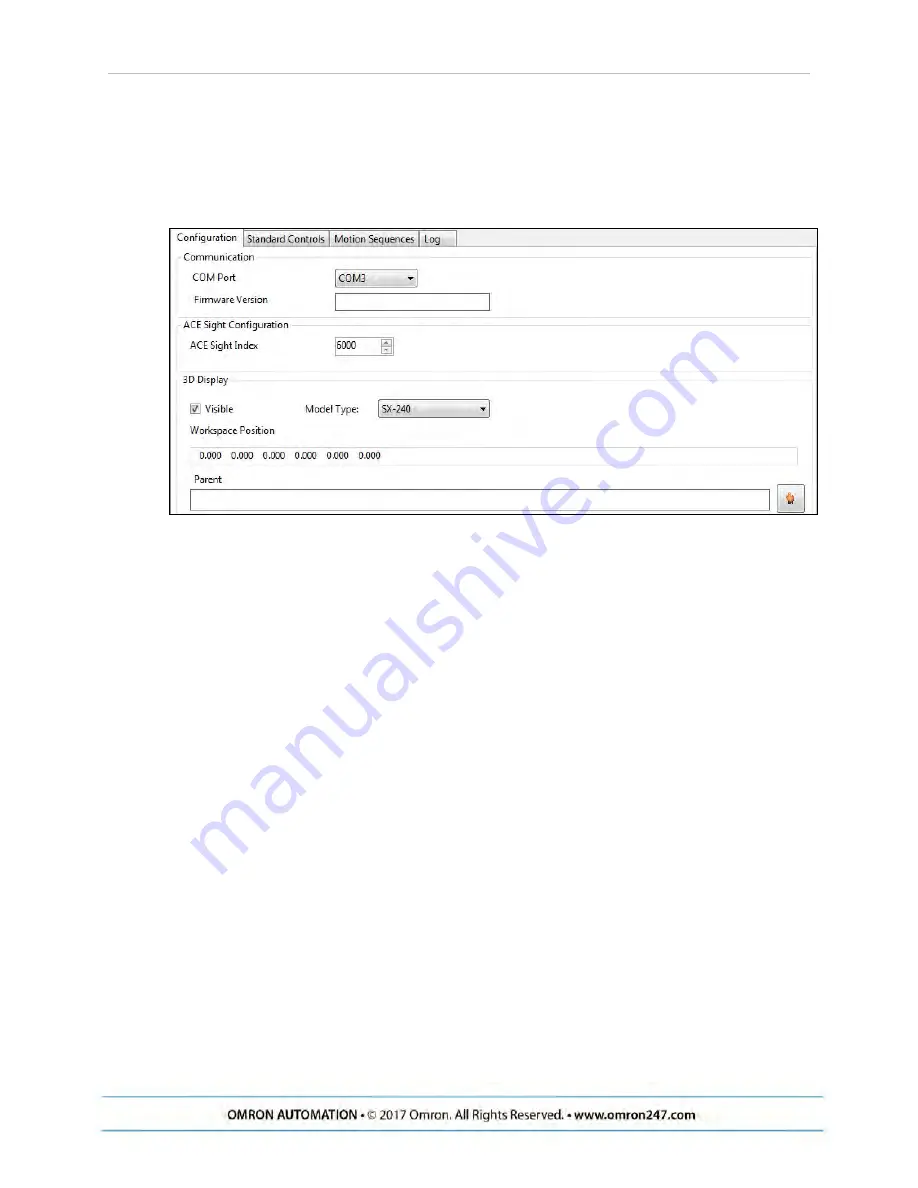
Figure 5-1. Screen AnyFeeder Object
5.3 Pick and Place Sequence Wizard
ACE Sight has a wizard named SmartController Pick and Place Sample, which can be used to
step you through most of the steps needed to set up ACE Sight for use with an AnyFeeder.
From the ACE Getting Started screen, select:
New Sample Application > ACE Sight/V+ Application > SmartController Pick and Place
NOTE:
When you first start ACE, you will have access to this wizard. Refer to the
following figure.
We will not repeat all of the screens shown in this wizard. In general, you just need to follow
the on-screen instructions.
You start by Selecting the Configuration. In our example configuration, with no upward-look-
ing camera and no conveyor belt, the wizard has four phases. Other configurations will vary.
l
Phase 1/4 - Select Robot
Select SmartController
Select Robot
Configure End-effector (requires power-on)
Teach Safe Position
l
Phase 2/4 – Create Feeder - Feeder model, backlight, motion sequences
l
Phase 3/4 – Teach Pick for Arm- or Fixed-Camera Configuration
AnyFeeder
Integration
Guide
- Page
3
0


