5 MANAGING DOCUMENTS
80 How To Manage Documents
5
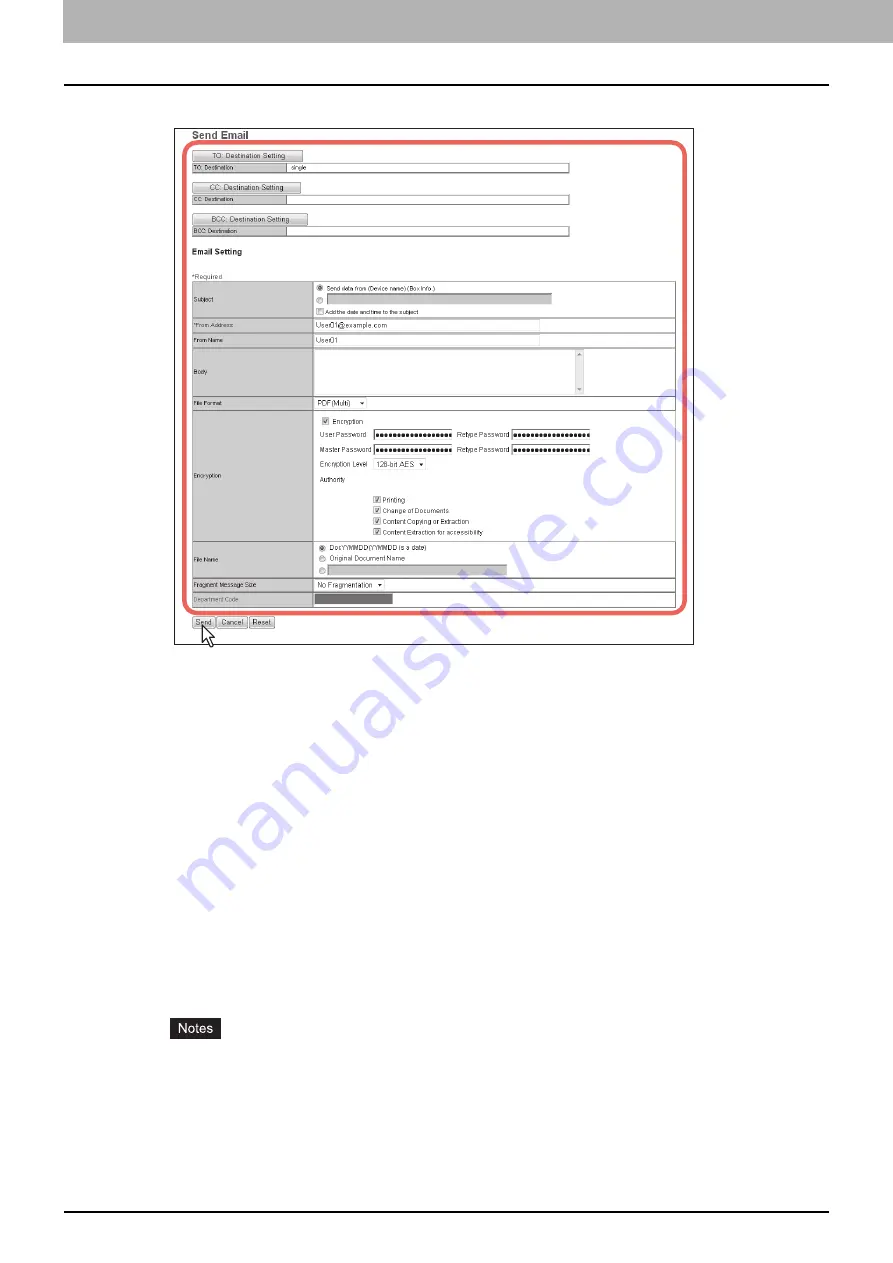
Specify the following items as required and click [Send].
[TO: Destination Setting]
— Click this button to specify the destination. When you click this button, the Recipient
List page appears. For instructions on how to specify the destination, see the following section:
[CC: Destination Setting]
— Click this button to specify the CC destination.
[BCC: Destination Setting]
— Click this button to specify the BCC destination.
Subject
— This option sets the subject of the Email documents. Select [Send data from (Device name) (Box Info.)]
set by default, or enter the desired subject in the box. When you want to add the date and time to the subject,
select the [Add the date and time to the subject] check box.
From Address
— Enter the Email address of the sender. When the recipient replies, the message will be sent to
this Email address.
From Name
— Enter the sender’s name of the Email document.
Body
— Enter the body message of the Email document. You can enter up to 1000 characters (including spaces).
File Format
— Select the file format to which the received document will be converted.
y
TIFF (Multi)
— Select this option to save the scanned images as a multi-page TIFF file.
y
TIFF (Single)
— Select this option to save the scanned images separately as single-page TIFF files.
y
PDF (Multi)
— Select this option to save the scanned images as a multi-page PDF file.
y
PDF (Single)
— Select this option to save the scanned images separately as single-page PDF files.
y
XPS (Multi) —
Select this option to save the scanned images as a multi-page XPS file.
y
XPS (Single)
— Select this option to save the scanned images separately as single-page XPS files.
y
JPEG
— Select this option to save the scanned images as JPEG files. This option is selectable only when you
have scanned the images with either [FULL COLOR] or [GRAY SCALE].
y
If the forced encryption setting is enabled, only [PDF (Multi)] and [PDF (Single)] are selectable for the file
format. For the forced encryption function, refer to the
User’s Manual Advanced Guide
.
y
Files saved in the XPS format can be used in Windows Vista, Windows 7, and Windows Server 2008, or
Windows XP SP2, Windows Server 2003 SP2 or later versions with Net Framework 3.0 installed.
Encryption
— Set this option for encrypting PDF files if you have selected [PDF (Multi)] or [PDF (Single)] as the
file format setting.
y
Encryption
— Select this check box if you want to encrypt PDF files.
y
User Password
— Enter a password for opening encrypted PDF files.
Summary of Contents for MC770 series
Page 1: ...User s Manual e Filing Guide...
Page 11: ...1 e Filing OVERVIEW 10 e Filing Functions...
Page 33: ...2 OPERATIONS WITH THIS EQUIPMENT 32 Managing User Boxes Folders...
Page 111: ...6 EDITING DOCUMENTS 110 Moving and Merging Documents...
Page 115: ...7 SYSTEM ADMINISTRATION 114 Safeguarding Data...
Page 118: ...January 2013 45511202EE Rev1...


