- 91 -
Scanning to Local PC
4
Scanning
3
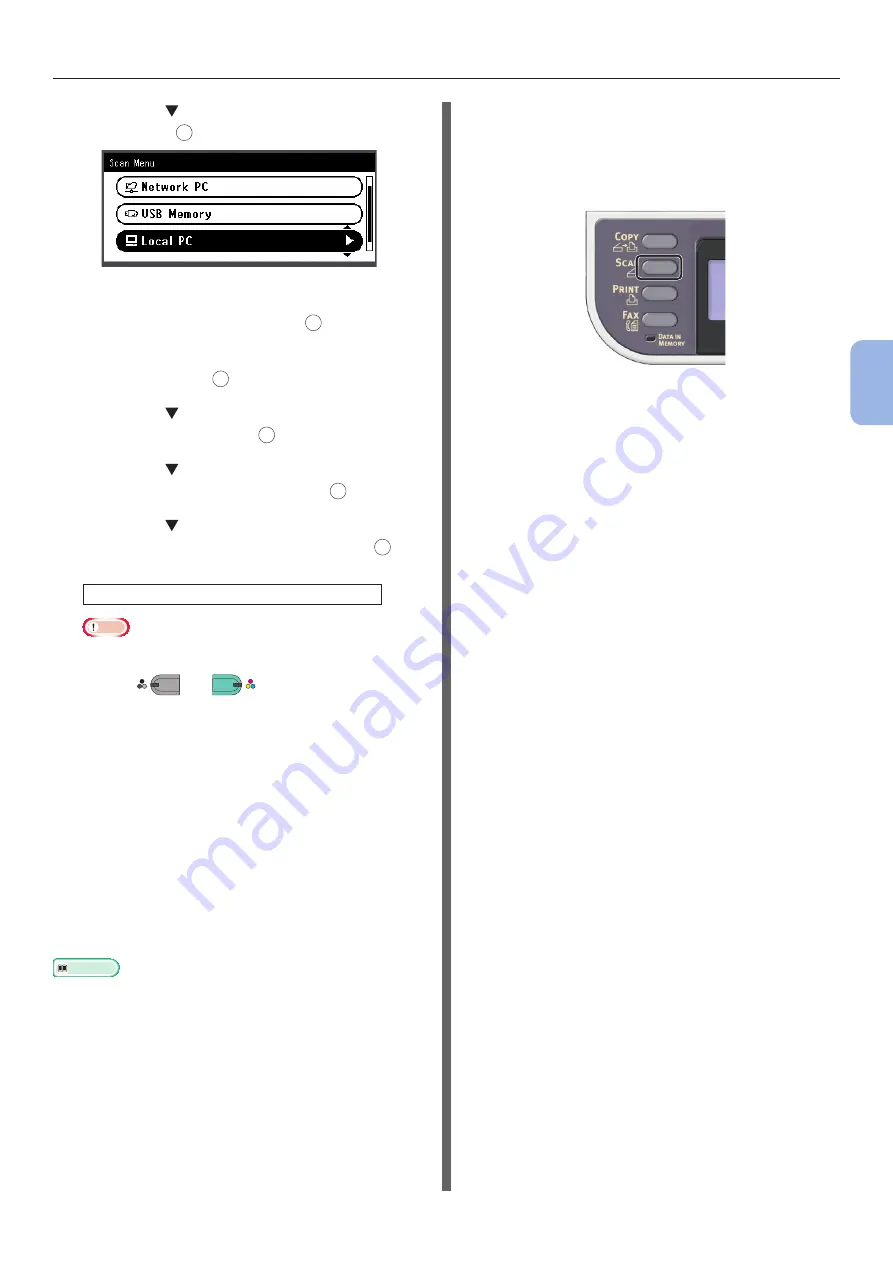
Press the to select [Local PC] and
then press
OK
.
4
Check that [Select A Connecting PC]
is selected and then press
OK
.
5
Check that [From Network] is selected
and then press
OK
.
6
Press the to select the computer you
want and then press
OK
.
7
Press the to select [Select An
Application] and then press
OK
.
8
Press the to select where to send the
scanned document and then press
OK
.
Selectable location Values to send:
Application Folder PC-FAX
Note
●
For Mac OS X, you can select [Folder] only.
9
Press
M
ONO
or
C
OLOR
.
ActKey (for Windows) or Image Capture (for
Mac OS X) starts, and the scan job starts
automatically on the computer. When scanning is
done, the scanned image is processed as below:
- If you select [Application
], the specified
application starts and the scanned image
is displayed on the application.
- If you select [Folder], the scanned image
is saved in the specified folder.
- If you select [PC-FAX], the application for
fax transmission starts. After sending the
scanned image, send a fax with the fax
transmission software on your computer.
Reference
●
To load a landscape document, refer to the User’s Guide >
“Operation” > “Loading document(s)”.
●
You can customize the scan button settings of ActKey. For
details, refer to the Configuration Guide > “Configuring
the scanning to Local and Remote PCs” > “Using Drivers
and Software” > “Using ActKey Software” > “Setting the
Scan Button”.
For USB Connection
1
Press the <SCAN> key on the operator
panel.
Summary of Contents for ES3452 MFP
Page 119: ...119...


