43163501TH Rev.1
54 /
Oki Data CONFIDENTIAL
(2)
Do not disassemble the printer as long as it is operating normally.
(3)
Limit disassembly to a necessary minimum. Do not remove other parts than those specified
in the part replacement procedure.
(4)
Use the designated maintenance tools.
(5)
Conduct disassembly by following the specified sequential order. Failure to observe this order
could damage the parts.
(6)
Screws, collars and other small parts should be attached provisionally to their original
positions, since they are liable to be lost.
(7)
When handling a microprocessor, ROM, RAM and other ICs and circuit boards, do not wear
gloves that tend to generate static electricity.
(8)
Printed-circuit boards should not be placed directly on an equipment or floor.
4.
REPLACEMENT OF PARTS
This section explains the field replacement procedures for parts, assemblies and component units.
While those replacement procedures refer to the disassembling of parts, follow the same
procedures inversely for reassembling them.
The part numbers (1, 2, etc.) employed in this manual are different from those assigned in the
corresponding configuration diagrams of Disassembly for Maintenance (43163501TL) and RSPL
(43163501TR).
4.1
Precautions on the replacement of parts
(1)
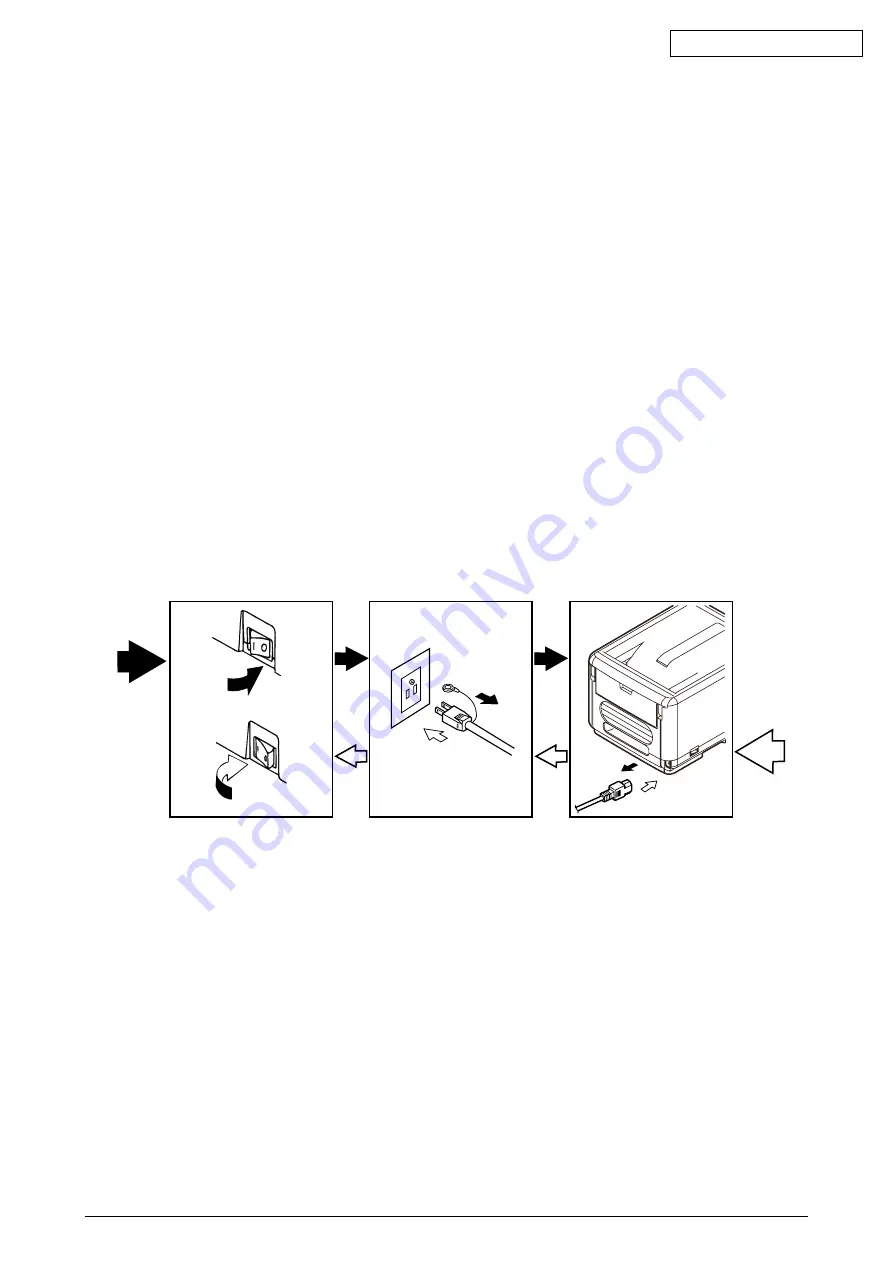
Prior to replacing a part, be sure to disconnect the AC cord and interface cable.
(a) To disconnect the AC cord, always follow the procedure described below:
1
Turn off ("O") the power switch of the printer.
2
Pull out the AC plug of the AC cord from the AC power outlet.
3
Unplug the AC cord and interface cable from the printer.
(b) To reconnect the printer, always follow the procedure described below:
1
Plug the AC cord and interface cable into the printer.
2
Insert the AC plug into the AC power outlet.
3
Turn on ("|") the power switch of the printer.
Disconnect
Connect


