Configuring and programming the I/O ports
Each I/O chip has three ports with eight parallel I/O lines (bits) per port. All lines
can be programmed as all inputs, all outputs or individually as inputs or outputs.
You can alter which bits are inputs or outputs by writing a control command to the
control register of the I/O bank. When a line is configured as an output, it can sink
a maximum of 15 mA at 0.4V or can source 15 mA at 2.4V. On powerup and
software or hardware reset, all digital I/O lines are reset as inputs.
Programming the I/O
Follow these steps to program the I/O chip:
1. Configure the I/O port bit directions, either as inputs or outputs.
2. Write to port A, B, or C with the desired level or read the bit level from the
desired port.
Configuring the I/O
Follow these steps to configure the I/O chip.
Note
In the following examples, “base” for I/O always refers to the base address for I/O 1
(120h). For I/O 2, base is 124h.
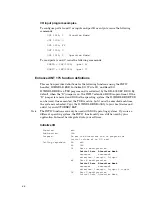
1. Write a “2” to the control register (base a 3). This places the I/O chip
in “direction” mode: (base address = 120h)
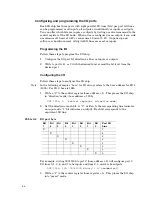
OUT 123h, 2 (control register, direction mode)
2. Set the direction of each bit. A “0” written to the corresponding line indicates
an input and a “1” bit indicates an output. Each bit corresponds to the
equivalent I/O line.
Table 9–4
I/O port byte
Bit
7
Bit
6
Bit
5
Bit
4
Bit
3
Bit
2
Bit
1
Bit
0
Port I/O
Line
X
7
X
6
X
5
X
4
X
3
X
2
X
1
X
0
For example, writing 00011100 to port C (base a 2) will configure port C
I/O lines 0, 1, 5, 6, and 7 to be inputs and lines 2, 3, and 4 to be outputs:
OUT 122h, 1Ch (00011100 binary = 1C hexadecimal)
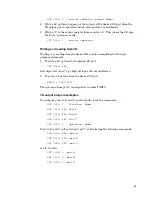
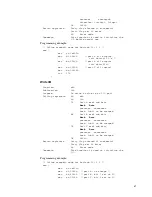
3. Write a “1” to the control register (base re 3). This places the I/O chip
into “preset” mode:
64


