Installing a hard drive
1. Disconnect power to the XE–800 SBC.
2. Insert one end of the hard drive cable into the rear of the hard drive. Make sure
pin 1 on the cable is connected to pin 1 of the drive.
3. Insert the other end of the cable into J4.
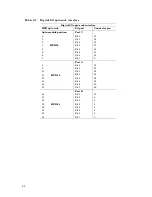
4. If you are connecting two IDE devices, ensure that one of them is configured as
a master and one is configured as a slave (see page 117). If connecting one IDE
device, ensure that it is configured as a master. The BIOS will not be able to
detect an IDE device that is configured as a slave unless a master device is also
installed.
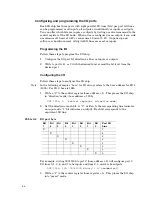
5. Execute the BIOS Setup program to configure your system for a hard drive.
You can execute this program by pressing “F2” during system bootup. The
system steps you through the configuration. Also, refer to the Setup programs
chapter for more information on the BIOS Setup program.
6. If you want to boot the system from the hard drive, you need to format the
drive accordingly, and change the boot order in Setup.
Setup parameters and booting
The parameters in the BIOS Setup must match the actual system configuration for
the XE–800 SBC to properly boot. In particular, if you add an IDE device you must
specify it in the Secondary Slave or Secondary Master fields in the Main menu.
Also, if the added device is to be used to boot the system it must be at the top of the
list in the Setup Boot menu.
Other factors that might affect booting are keyboard/mouse and the X jumper. Most
operating systems do not require a keyboard or a mouse; however, some operating
systems do require both to be connected for proper booting.
If you are using an operating system other than DOS the X jumper should be
removed. The X jumper maps the INT17 extended BIOS into the 0xD8000-
0xDFFFF memory. This can cause problems with applications or hardware running
on other operating systems if they attempt to use this memory range. Removing
the X jumper frees this memory for use by other operating systems.
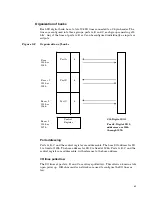
If you are using a CompactFlash it must beformatted properly. A CompactFlash as
shipped from the factory may or may not be formatted; even if formatted, it may or
may not be bootable. See page 53.
57


