88
With an attachment
You can insert pictures or photos, music and sound files, and video clips.
These can be files you’ve taken, filmed or recorded yourself, such as photos you have
taken with your mobile’s digital camera, or videos you’ve transferred or received from
others or music you’ve downloaded. For full details click here and check out the
Multimedia instructions for your O
2
Cocoon.
•
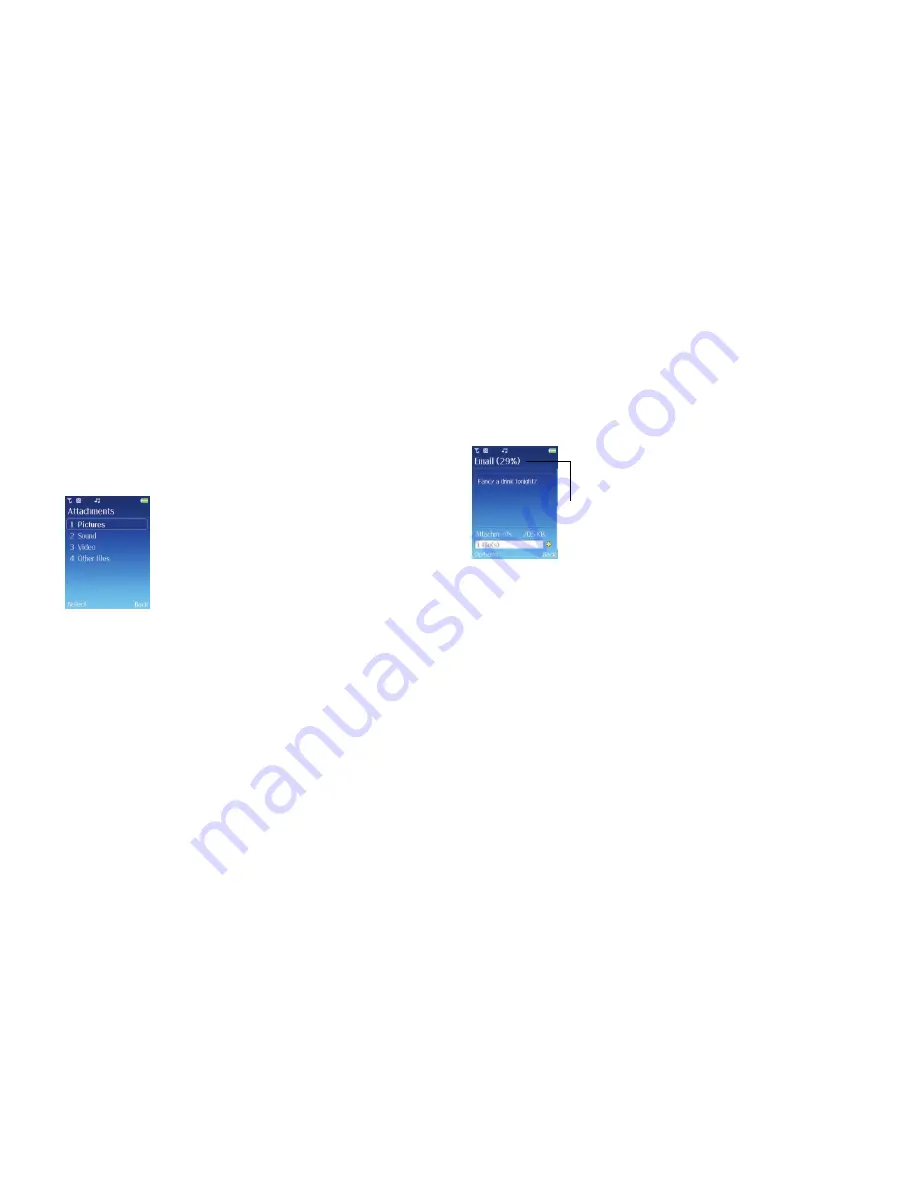
Scroll to
Attachments
and select
Options
–
Add attachment
•
Select
Pictures
/
Sound
/
Video
or
Other files
and scroll through the files available.
To add the file to your email select
Options
–
Select
You can then manage your attachments by following the details below
•
Scroll to
Attachments
and select
Options
–
Edit Attachments
•
In the attachment list screen, scroll to an attachment listed and select
Options
and
select from the following
View
Select to view the attached image
Play
Select to listen to the sound file or view the video
Delete
Select to remove the attachment
•
Once you’ve added all of the attachments you require select
Back
to return to the
email screen
Cocoon tip
•
You won’t be able to forward any protected files as these are rights protected
•
There is a limit to the size and amount of attachments. Your O
2
Cocoon will keep
you updated to how much space is available
The percentage of memory you’re
currently using with your new email
When you’re creating your email you can press the left soft key to select
Options
and
choose from the following
Send
When you’ve finished composing your email select send to complete
Add contact
Select to add a new contact
Save to drafts
Select to save to your drafts folder so you can view at a later date. For
details on your drafts folder click here
Priority
Choose between High, Normal or Low
Input mode
Choose from Number mode, T9 mode or ABC mode. You can also select
to insert a symbol. For details on entering text click here, and for more information on
inserting symbols click here
Click here to return to contents page.


