46
Camera
Your O
2
Cocoon has a 2 mega pixel camera with flash and zoom. It also has auto focus
to ensure great photos are taken. Take pictures and then set them as your wallpaper,
or send to others in a media message, by email or via Bluetooth.
•
Select
Camera
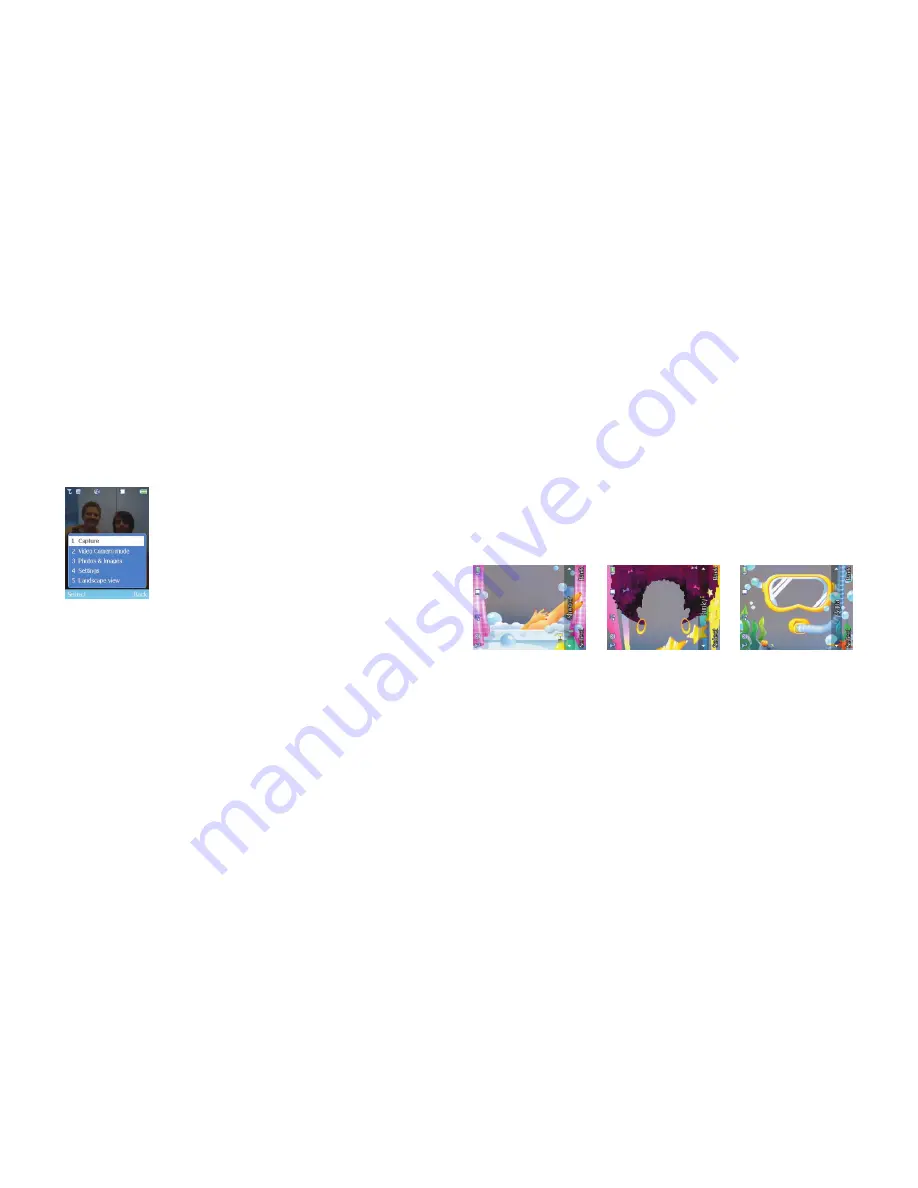
– you can now view your subject through the viewfinder
Before you take your picture you’ve got some choices
•
Select
Options
and choose from
Capture
To take a picture
Funny frames
Add cheeky borders to your images before you take them. This option is
only available when taking a photo in a landscape format. To change formats, scroll
down to Landscape View and select. Click here for help and advice on adding funny
frames
Video Camera mode
Select to change from camera stills to video camera mode
Photos & Images
To view the photos and images you’ve previously saved
Settings
Lets you scroll through and change the default settings before you take the
photo: take your photo in black and white rather than colour; change the file size and
name, and even get in the photo yourself. For further details on the camera settings
click here
Landscape view
/
Portrait view
Take a portrait or landscape shot
Adding funny frames
Funny frames don’t work with some image sizes. To add a funny frame to your image
you’ll need the resolution to be 144 x 176 pixels. No need to change anything now
though as your O
2
Cocoon makes all the necessary changes for you.
Please note
The funny frames option is only available when taking a photo in a landscape format.
To change formats select
Camera
–
Options
–
Landscape view
.
•
Select
Funny Frames
. If your camera is set to the wrong resolution, you’ll be
prompted to change. Just select
Yes
•
Scroll through the options available using the navigation key to add a cheeky
border to your photo
•
To select your border, press the left soft key
Please note
If you change your mind and don’t want to add a frame to your picture or want to
choose another, select
Options
–
No Frame
or
Change frame
.
Click here to return to contents page.


