102
SETUP MENU
Using Mouse
Click on the different parameters and click to change its value. When finished, make sure that
you save the settings by clicking on [Save].
Using Front Panel/Remote
First, use
buttons to highlight different parameters on the screen. Then, press
↵
button to modify or to get into the sub-menu to change its parameter. When finished, make sure
that you save the settings by highlighting [Save] and press the
↵
button.
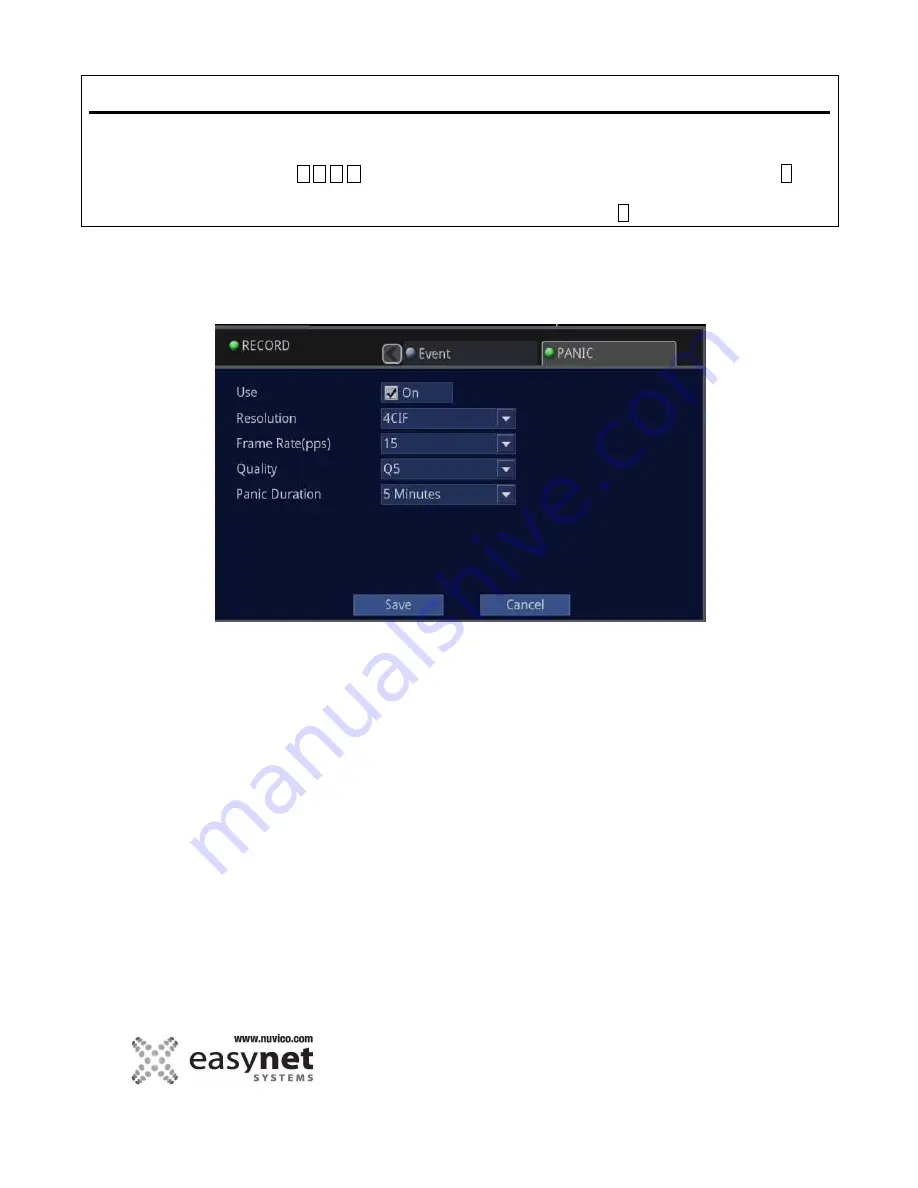
PANIC
PANIC RECORD may be used in case of emergency or if you feel that the event that you are watching is a high priority
event. The DVR will record all cameras according to the PANIC RECORD setting when the PANIC button is pressed. It is
strongly recommended that you set this to the highest recording parameters that this DVR allows for best picture quality
and frame rate.
Use:
Check this option, if you would like to use the Panic Record feature.
Resolution:
Set the resolution to either CIF, 2CIF, or 4CIF.
Frame Rate(pps):
Set the pictures per second.
Quality:
Set the detail quality level.
Panic Duration:
Set the duration for the Panic Record once it is activated.
Summary of Contents for EasyNet ED-P1600
Page 1: ......
Page 9: ...9 OVERVIEW Part Names and Functions Front ED C400 ED C800 ED C1600 ED P400 ED P800 ED P1600...
Page 10: ...10 OVERVIEW ED U1600...
Page 13: ...13 OVERVIEW Part Names and Functions Rear ED C400 ED C800 ED C1600...
Page 14: ...14 OVERVIEW ED P400 ED P800 ED P1600...
Page 15: ...15 OVERVIEW ED U1600...
Page 17: ...17 OVERVIEW Remote Control...
Page 79: ...79 SETUP MENU QUICK SETUP...
Page 134: ...134...
Page 135: ...135...
Page 136: ...136...


