


Copyright © 2019 Nortek Security & Control LLC
37
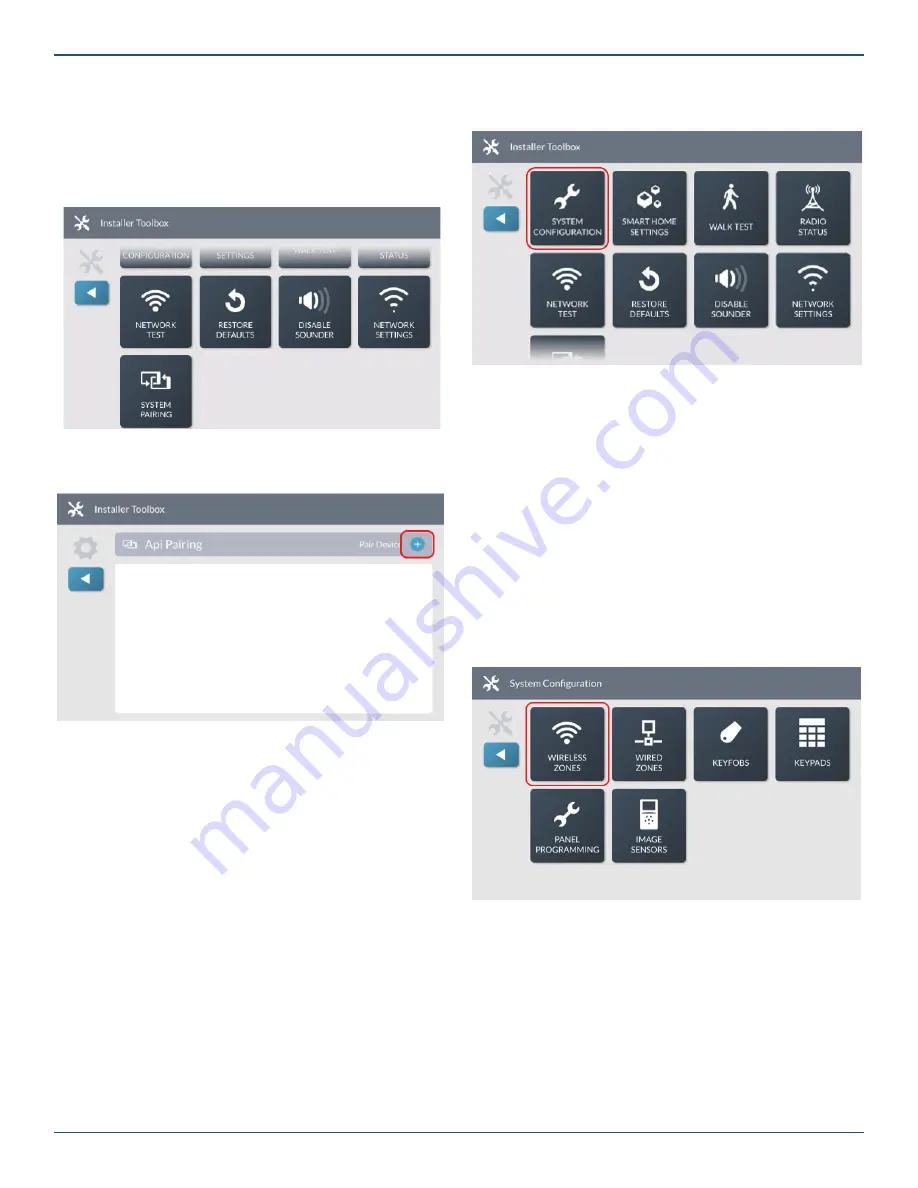
2. At the
Installer Toolbox
menu, tap
System
Con
fi
guration
.
Navigate to the System Confi guration Menu
Program a Wireless Zone
The GC3 Panel lets you program a maximum of 100
wireless zones. To begin zone programming, navigate
to the
Installer Toolbox
. See “Navigate to the Installer
Toolbox” above. Then, tap
System Con
fi
guration
>
Wireless Zones
.
NOTES:
When programming eSensors (Wireless & Keyfobs)
the equipment code must match the sensor being
installed. See page 68 for eSensor Equipment
Codes.
eSeries sensors are only compatible with the GC3e
panel.
Wireless Zones Menu
This reveals the
Wireless Zones
screen shown below.
Step 1: Select a Wireless Zone
First, select the wireless zone to edit.
1. On the left side of the
Wireless Zones
screen,
swipe up or down to move through the list of zones.
2. Tap one of the available zones to highlight it.
Pairing with a System
This feature allows the panel to pair with approved third-
party systems.
1. Navigate to the
Installer Toolbox
and tap
System
Pairing
.
Tap System - Pairing Mode
2. Press the
+
button to start the pairing process.
System Pairing - Enter Key
The system will listen for the pairing request from the third
party system.
Programming Sensors and Peripherals
Navigate to the System Con
fi
guration Menu
The System Con
fi
guration menu provides installers with
access to programming features for wireless zones, wired
zones, keyfobs, and keypads. It also provides installers
with access to panel programming options.
To navigate to the
System Con
fi
guration
menu:
1. Navigate to the
Installer Toolbox
. See “Navigate to
the Installer Toolbox.”


