


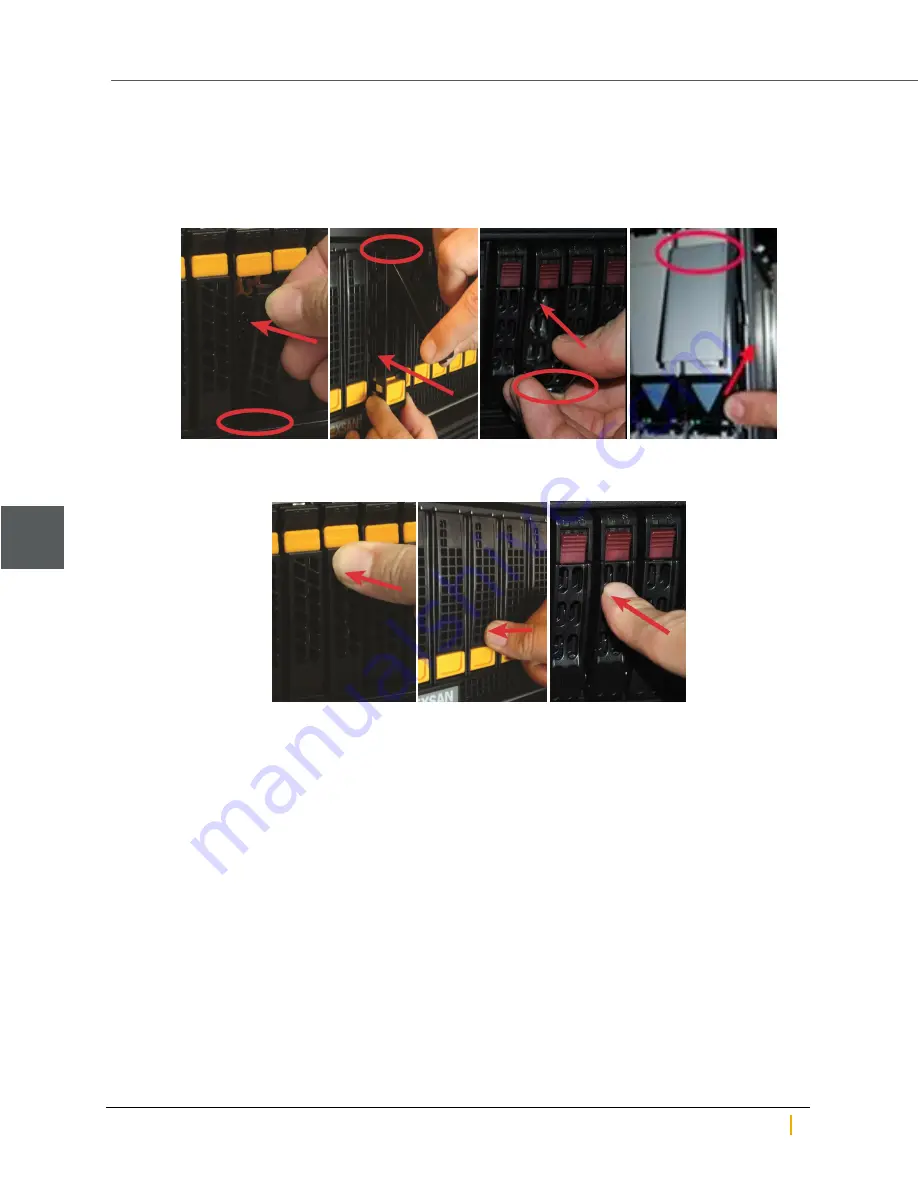
5. Install the new disk drive:
a. Line up the carrier guides with the guides on the front of Unity chassis and slide the disk drive into
the slot.
b. Hook the bottom of the extraction handle beneath the lip of the chassis.
Figure 1-21: Installing the new FASTier drive
c. Press the extraction handle until it clicks into place.
Figure 1-22: Latching the FASTier disk into place
An event is recorded in the event log and can be accessed in the Event Viewer.
6. Assign the new FASTier drive to the storage pool that the old FASTier drive was assigned to.
a. On the
Unity navigation bar
, select
Storage > Storage Pools
.
b. Click the link to the pool that the FASTier disk is assigned to.
c. Select
Summary > FASTier Cache
.
Unity displays the number of available FASTier devices on the system. This number is the number
of installed FASTier disks, minus one.
d. Make the appropriate FASTier cache assignments, either READ or WRITE, depending on your
system and disk options. See "FASTier caching by storage system" in the
Unity Software User
Guide
.
e. Click the
Apply
button.
Disk drives
1
Nexsan Unity Hardware Maintenance Guide v. 5.1
Unity
24